Setting up a lightweight tarp
Jamie Dakota
Super Tarps
During our Primary and Itinerant Courses I advocate carrying the ‘crazy 8’ everyday carry items that make life very much easier when outdoors. With the progress being made in hyper-light tough fabrics though I may start considering adding a super-light tarp to my list.
It’s now possible to get a single person tarp that literally packs down to pocket size, though I currently use a slightly larger one.
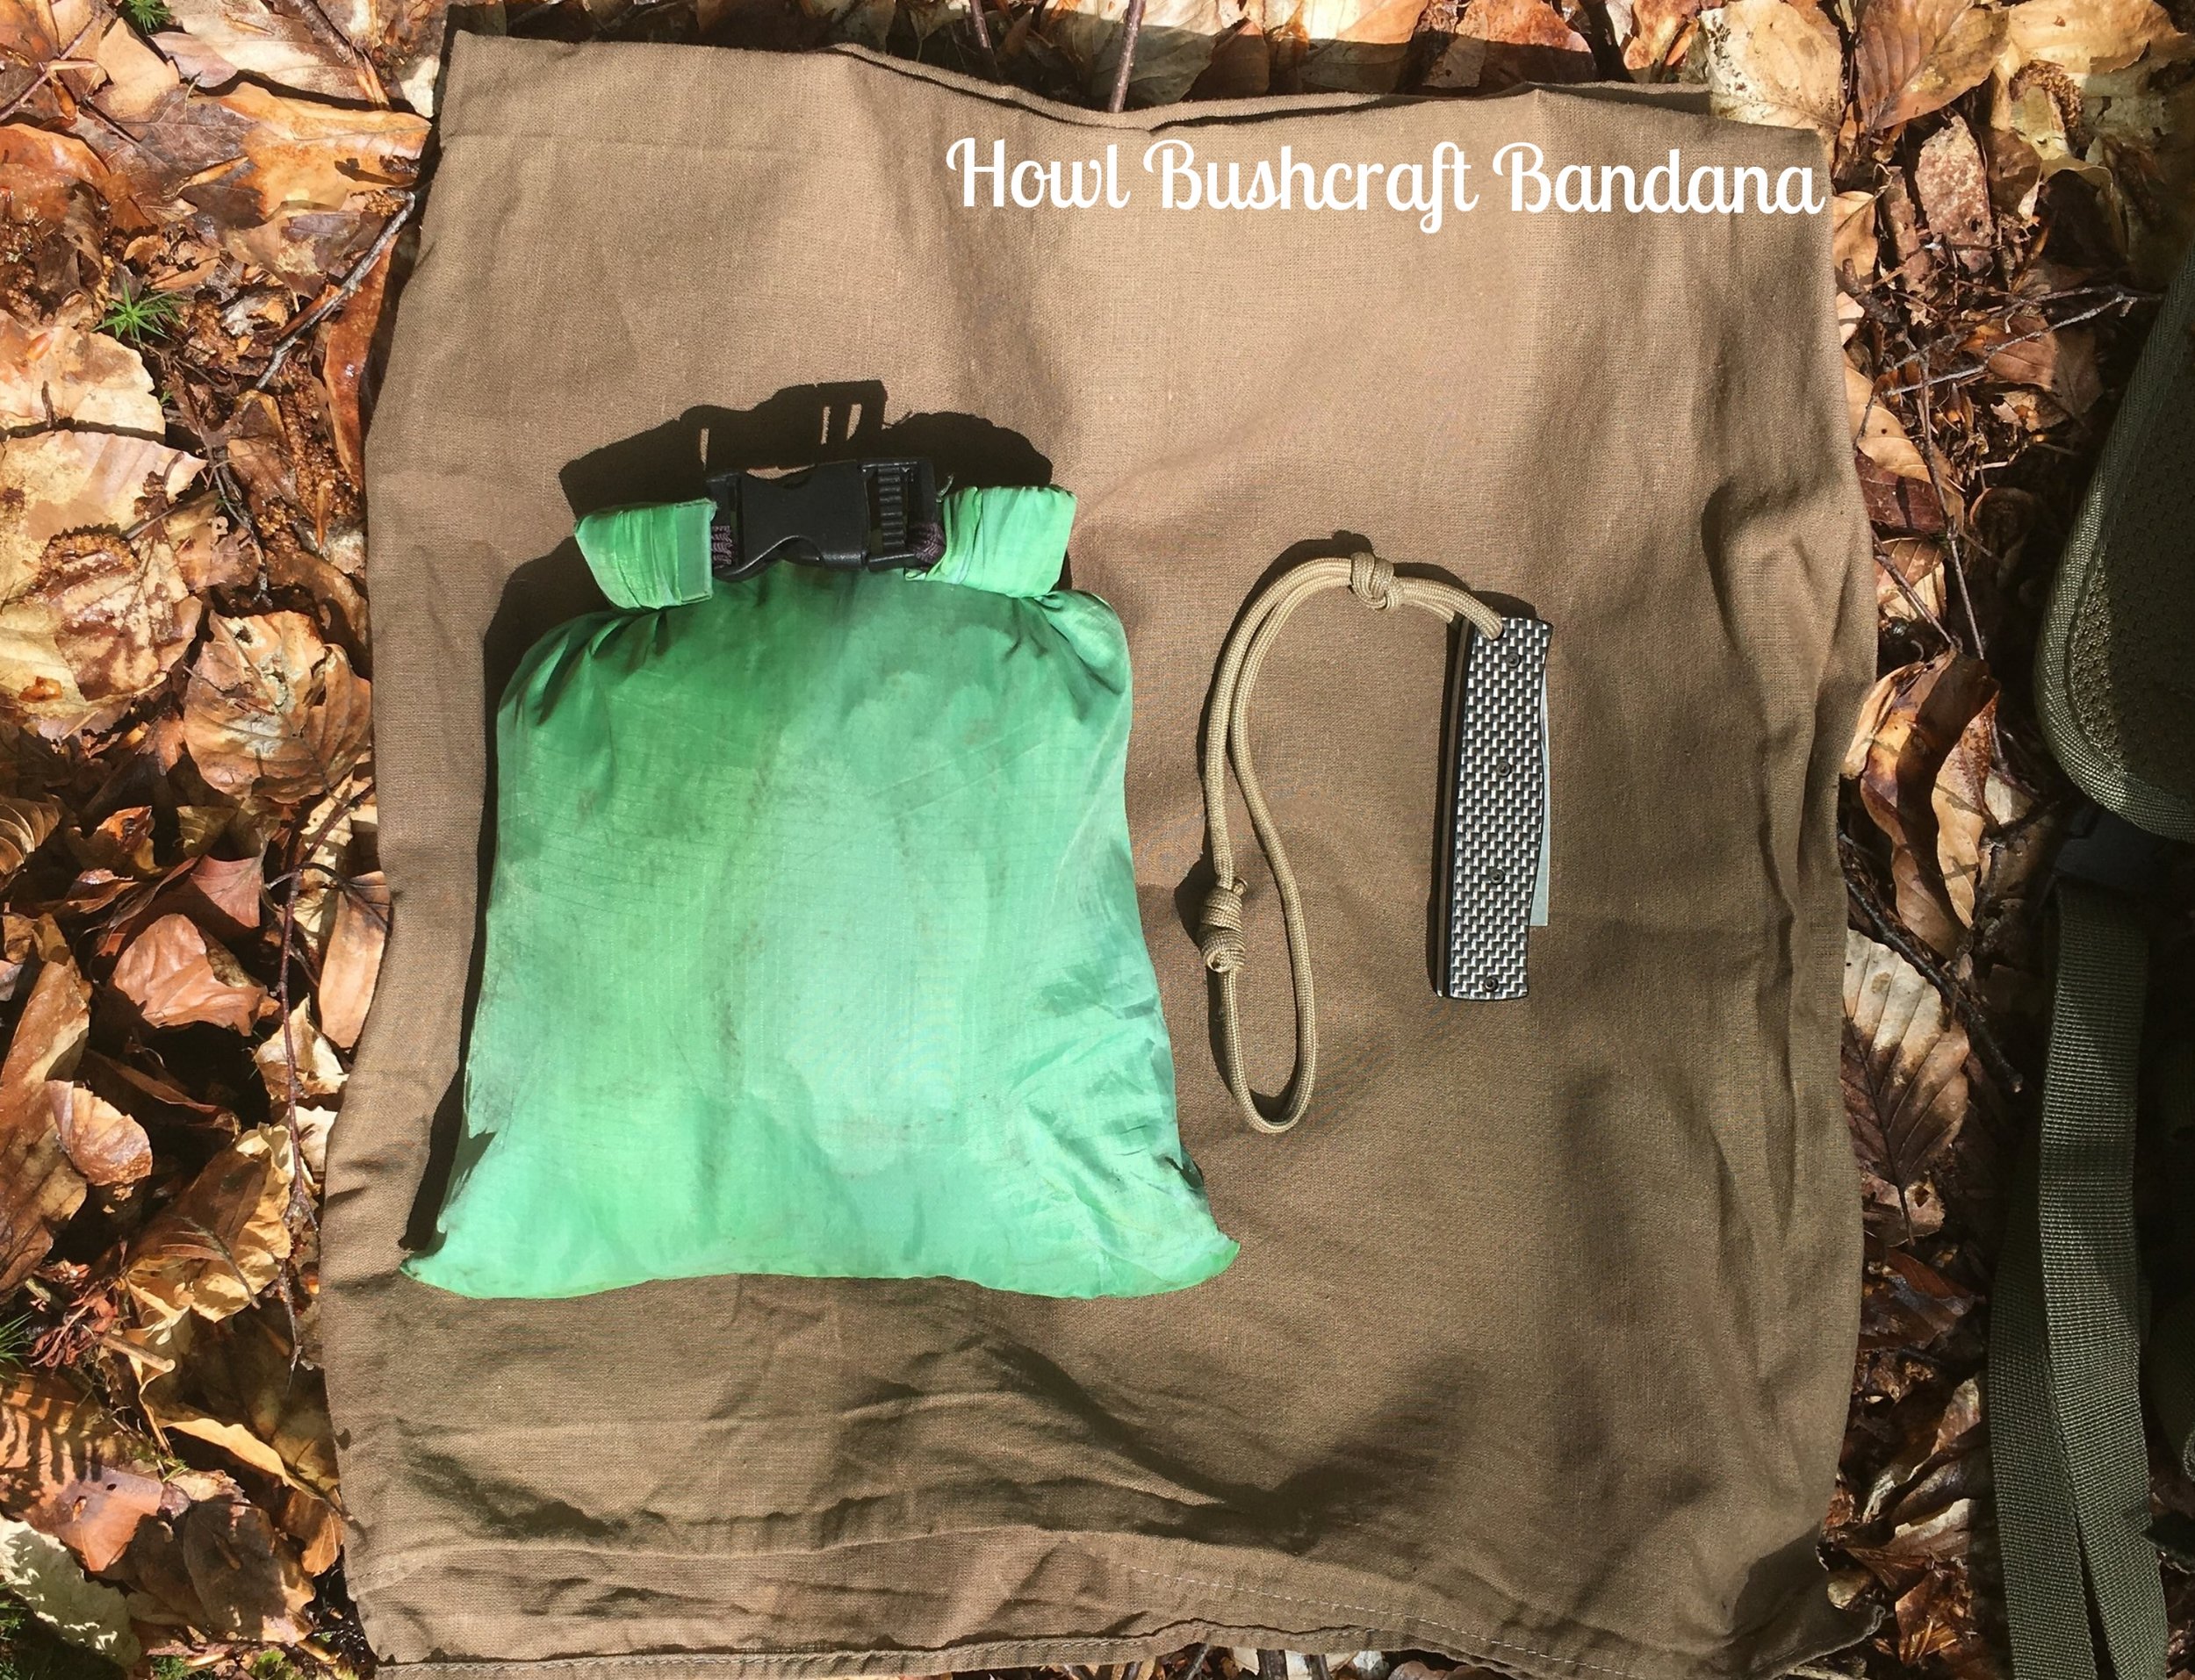
3x3 metre tarp packed up
I’ve carried a DD Hammocks 3x3 super-light tarp in my day-pack for the last few years, I never notice it until I need it. Pictured here with a pocket knife for scale, the stuff sack contains the tarp and a set of guy-lines.
I typically rig my tarps with a solid ridge-line and corner guy-lines, however to keep weight and pack size down to a minimum I’ve arranged my super-light without a ridge-line.
Instead I opt to use two spare guy-lines tied off to the centre tabs/loops, in this way there’s no ridge-line to support the tarp.
Adjustable knots
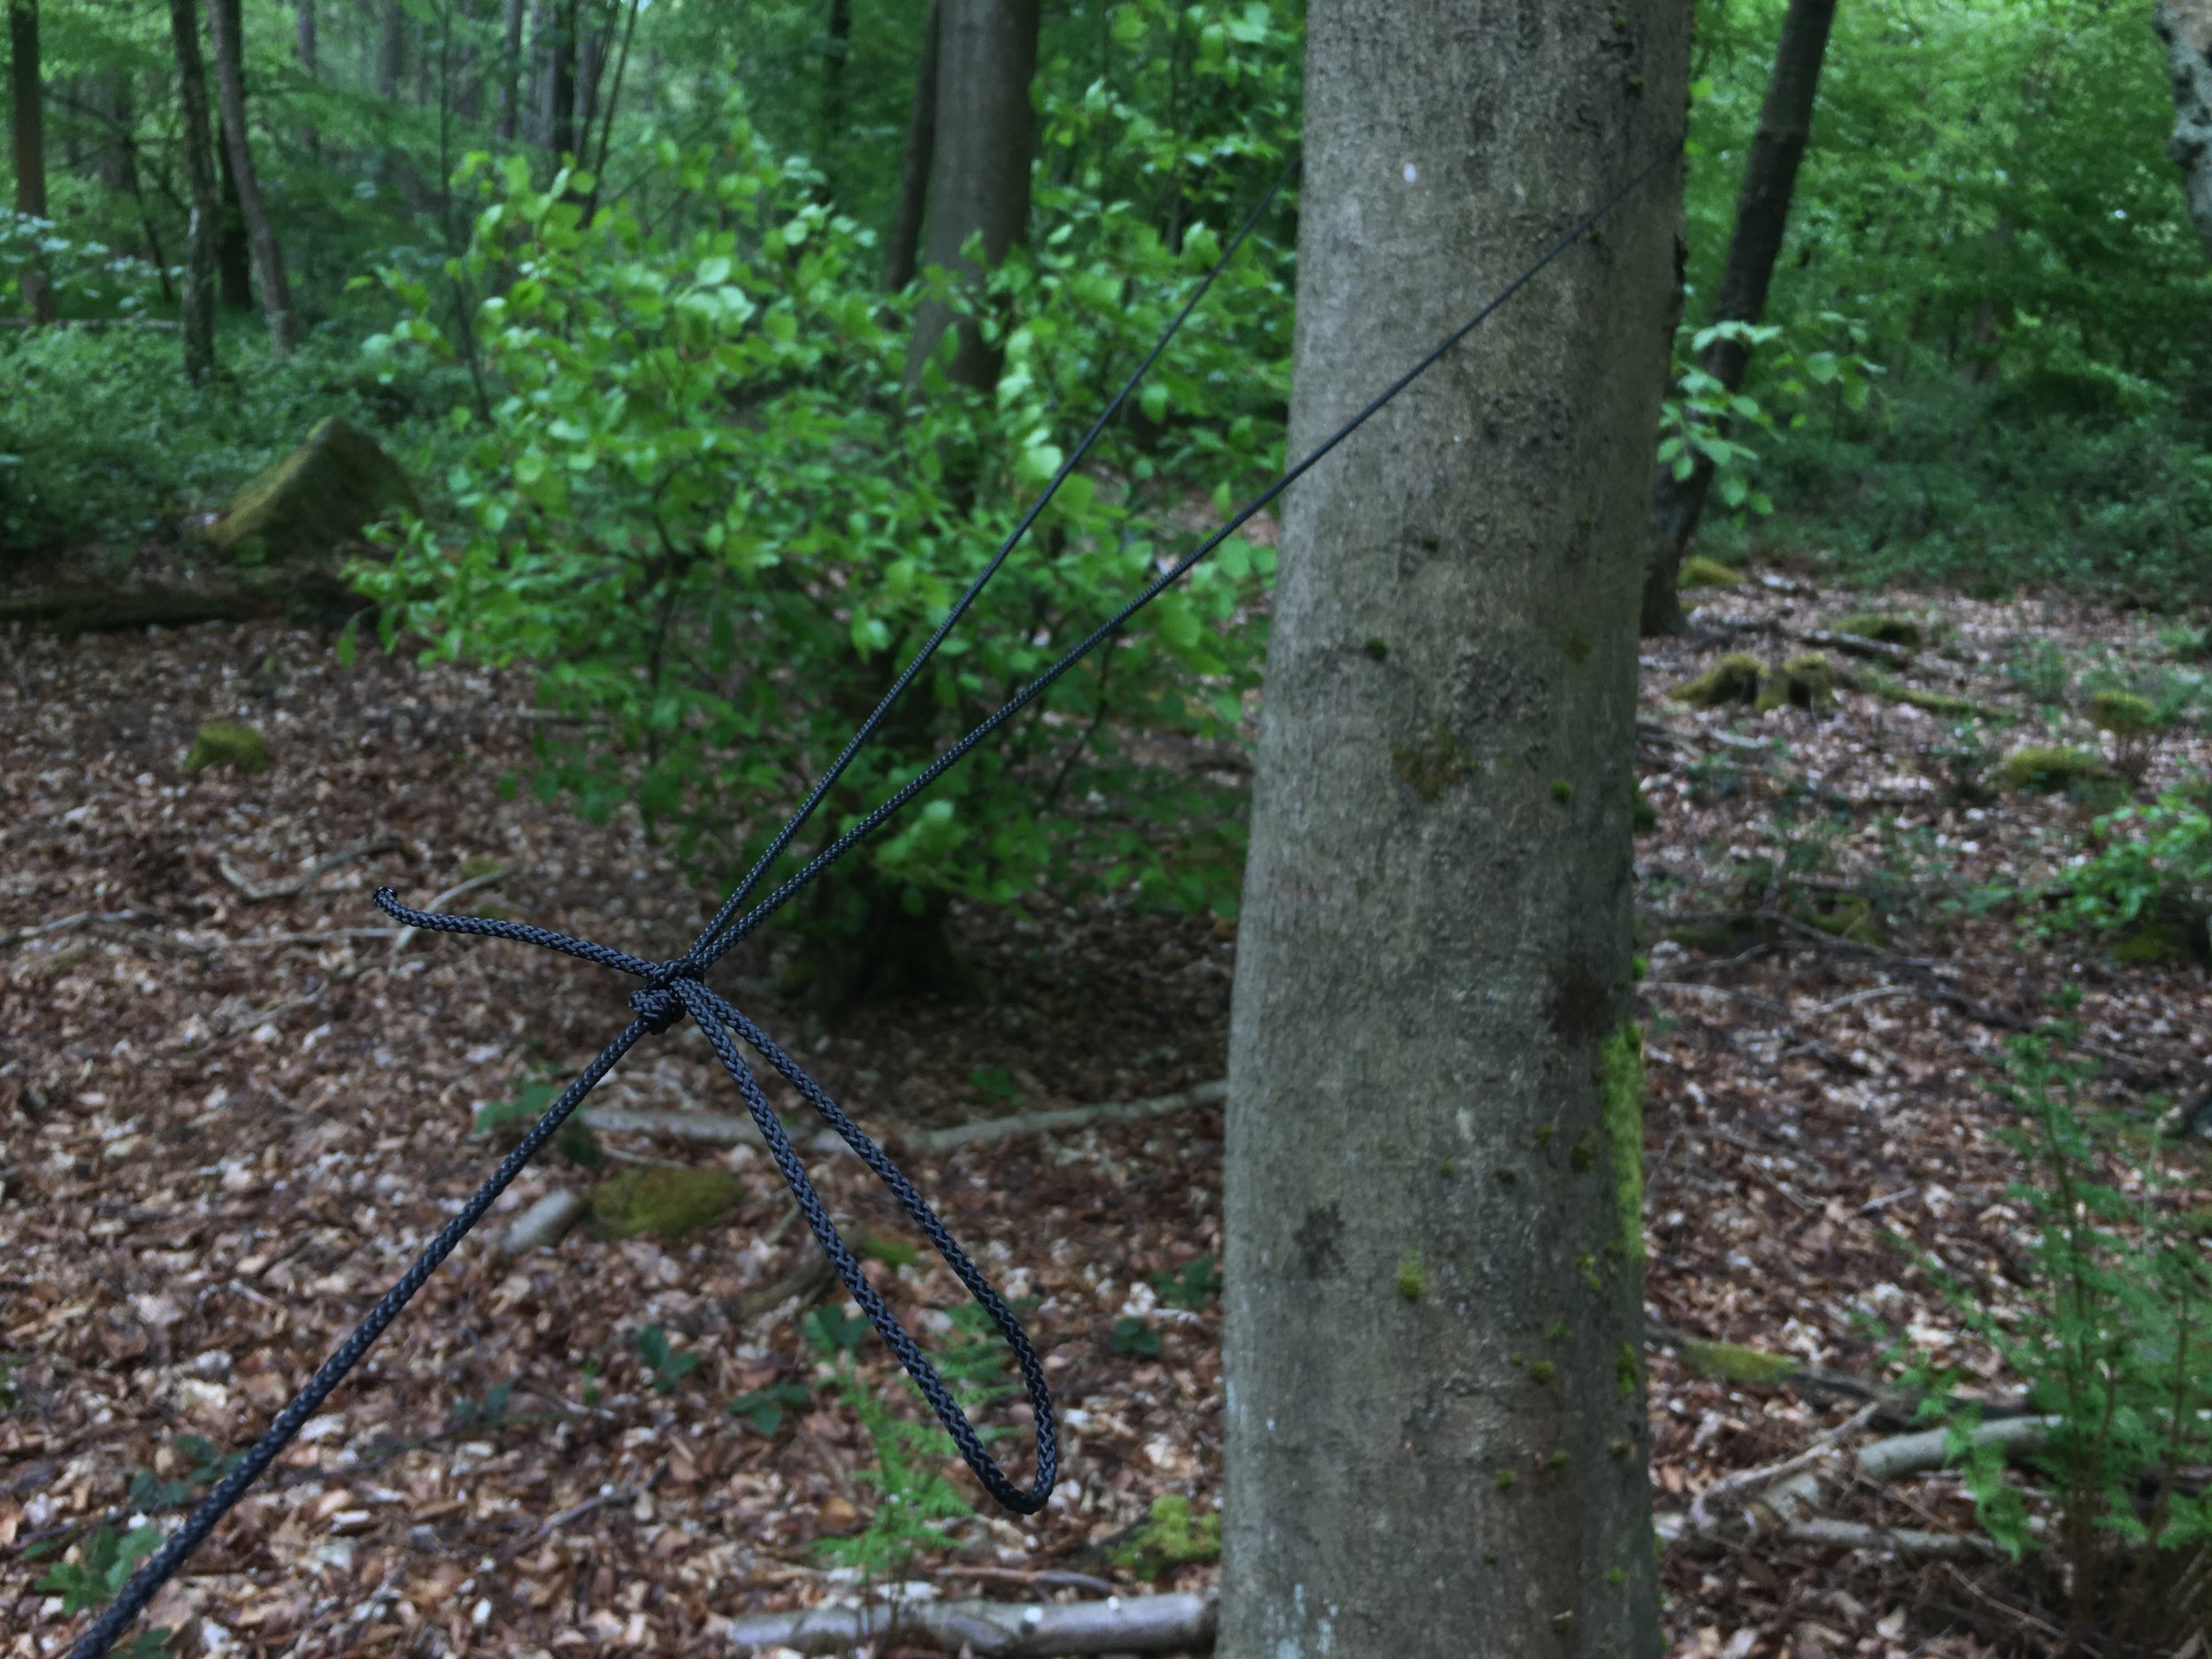
Using the guy-lines then, I tie each one off with an adjustable guyline hitch.
I’ll note here that although there are thinner and lighter (by a few grams) options for guylines, I find anything smaller than 2 or 3mm in diameter cuts into the bark and also makes tying knots in the cold difficult. The friction knots also have a hard time gripping slippery, very thin, lines.
Tying off
In this way I start by tying one of the centre lines to an anchor tree, followed by the other. By using an adjustable hitch on each of these I can fine tune the tension and position of the tarp between the trees.
Note where you’re siting your tarp, especially for overnights or in heavy weather. Deadfall, window-makers and uneven ground are all considerations here.
Corners and angles
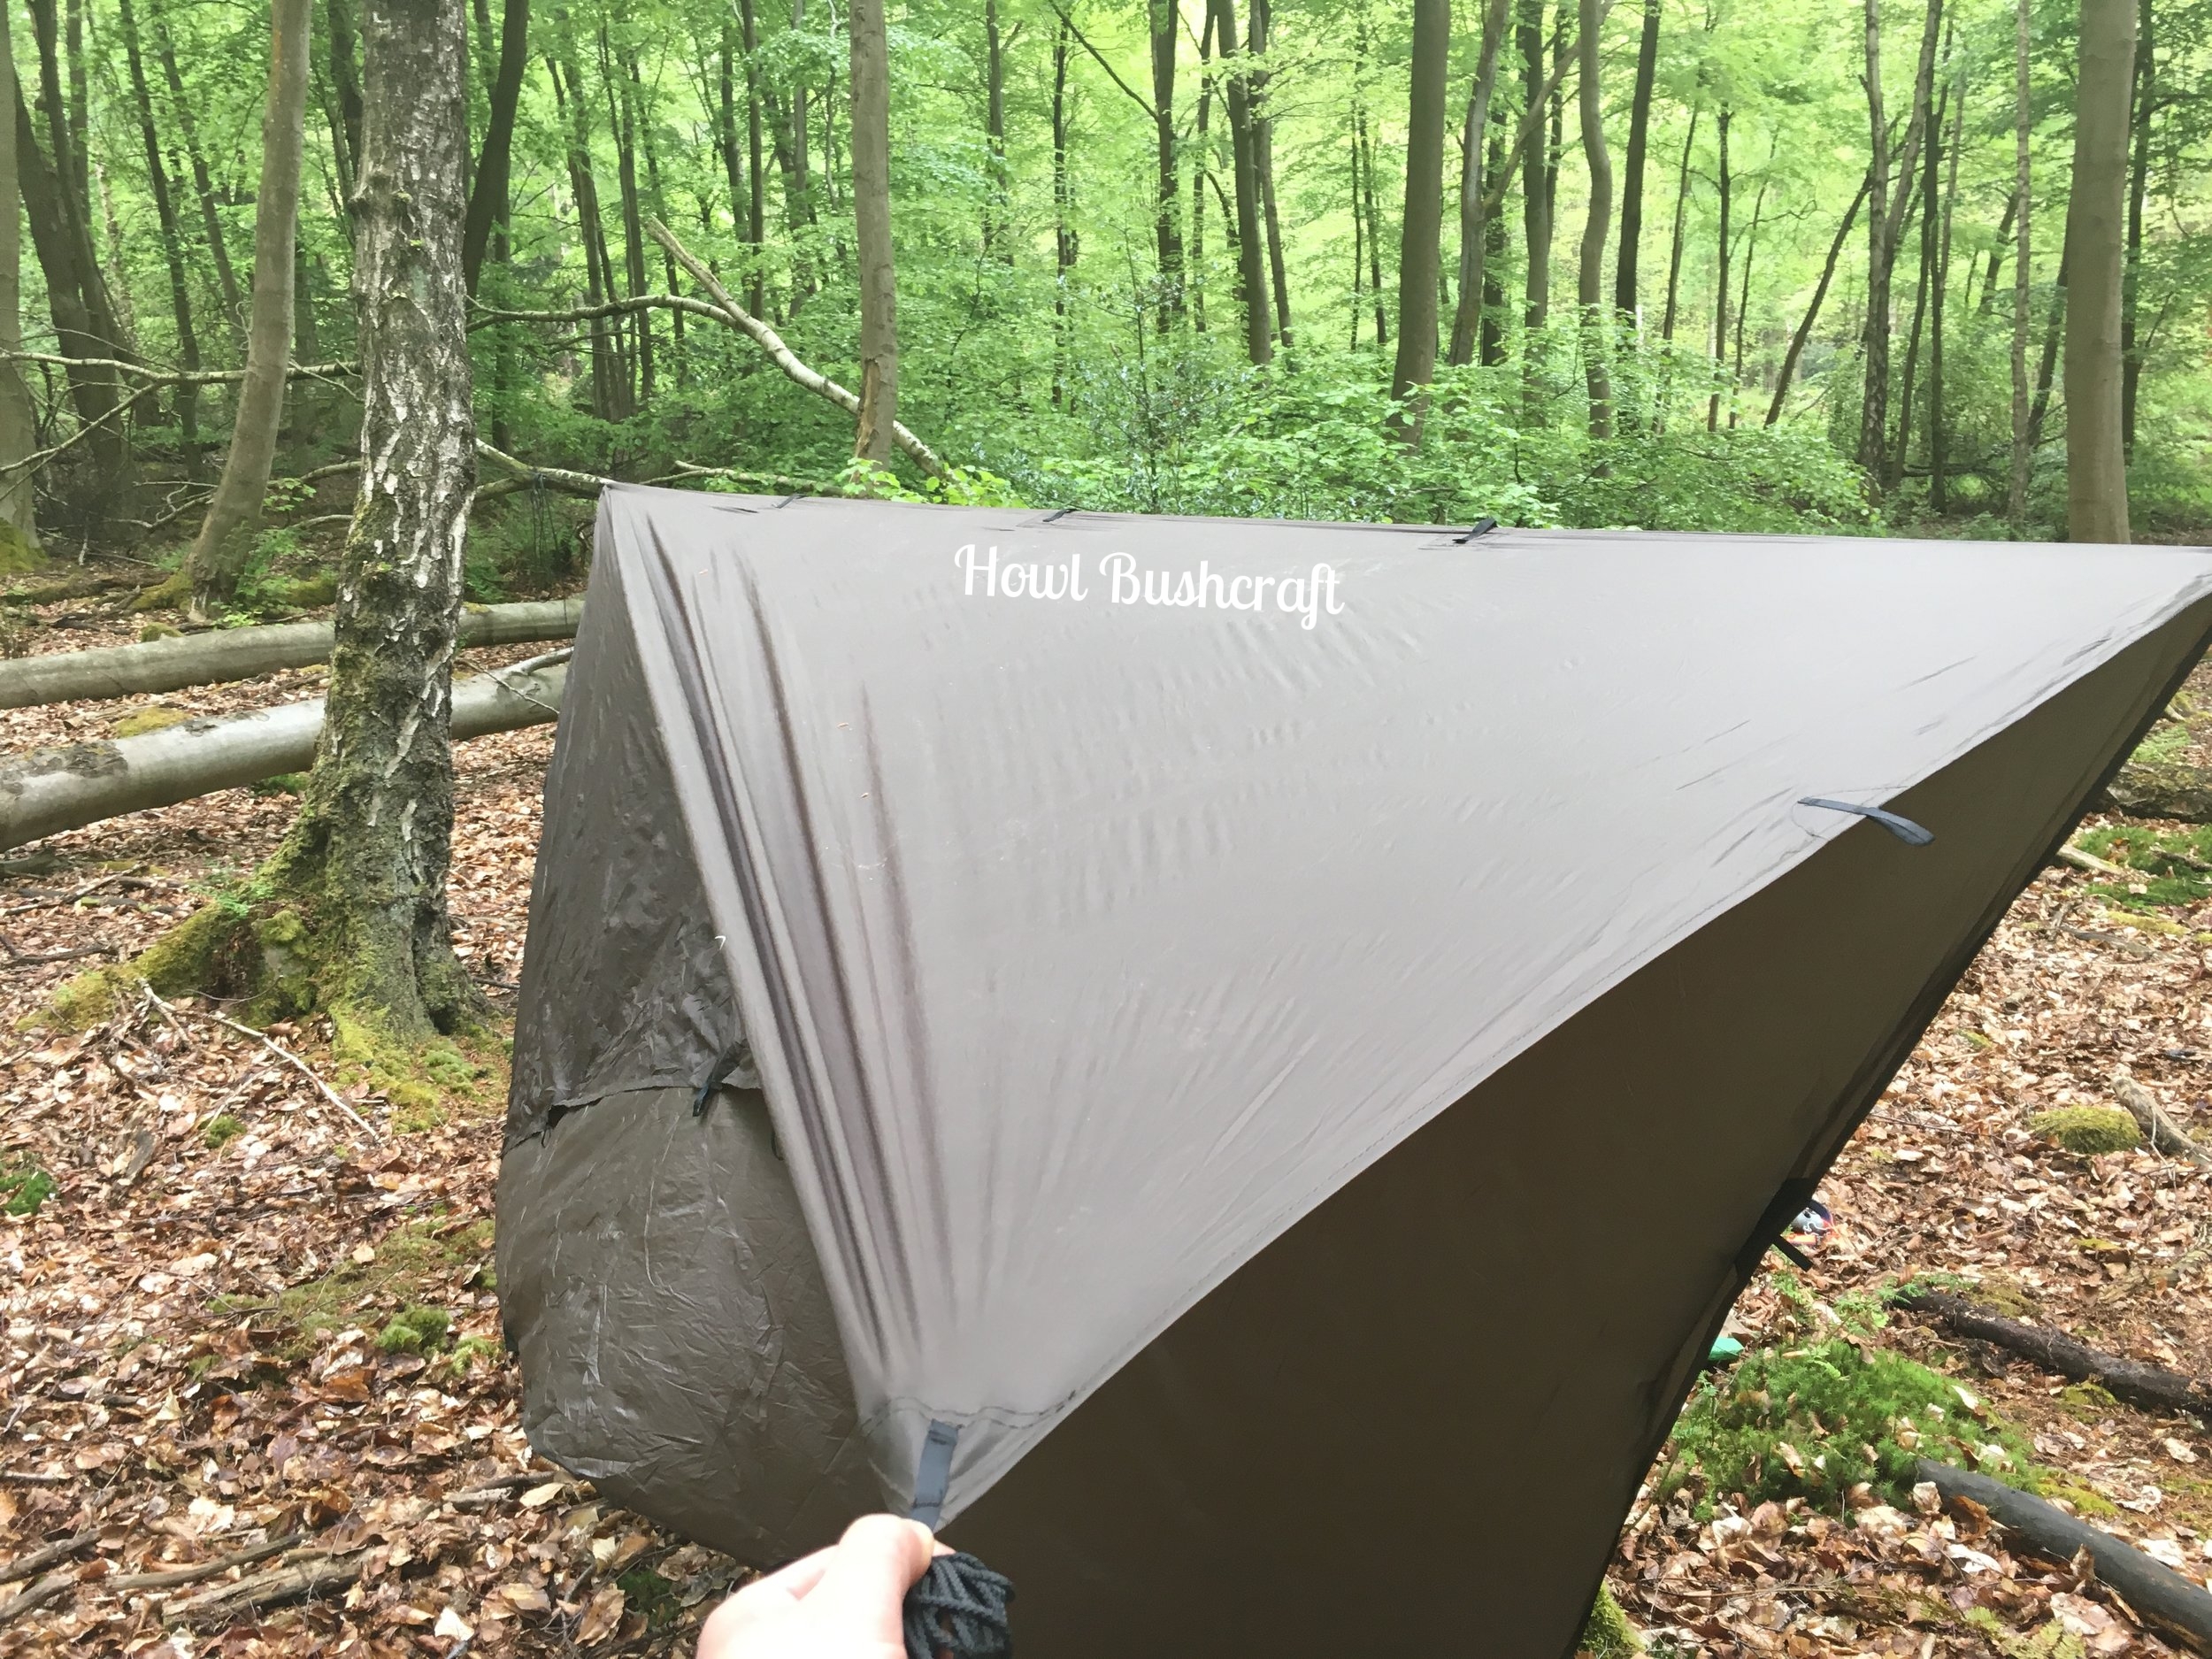
Here’s my tip for setting up a pro style tarp with clean lines and even tension:
The image says it all, and I repeat this at each corner. Pull your corner tab, and create a taut edge up to the ridge-line. Then move the corner left and right until you see a crisp rib form diagonally across the tarp up to the other ridge-line point. This sweet spot is the angle that your corner guy-line needs to sit at to set the tarp well.
Tie it off to a tree, tarp peg, rock or root with the adjustable hitch.
Get Inventive
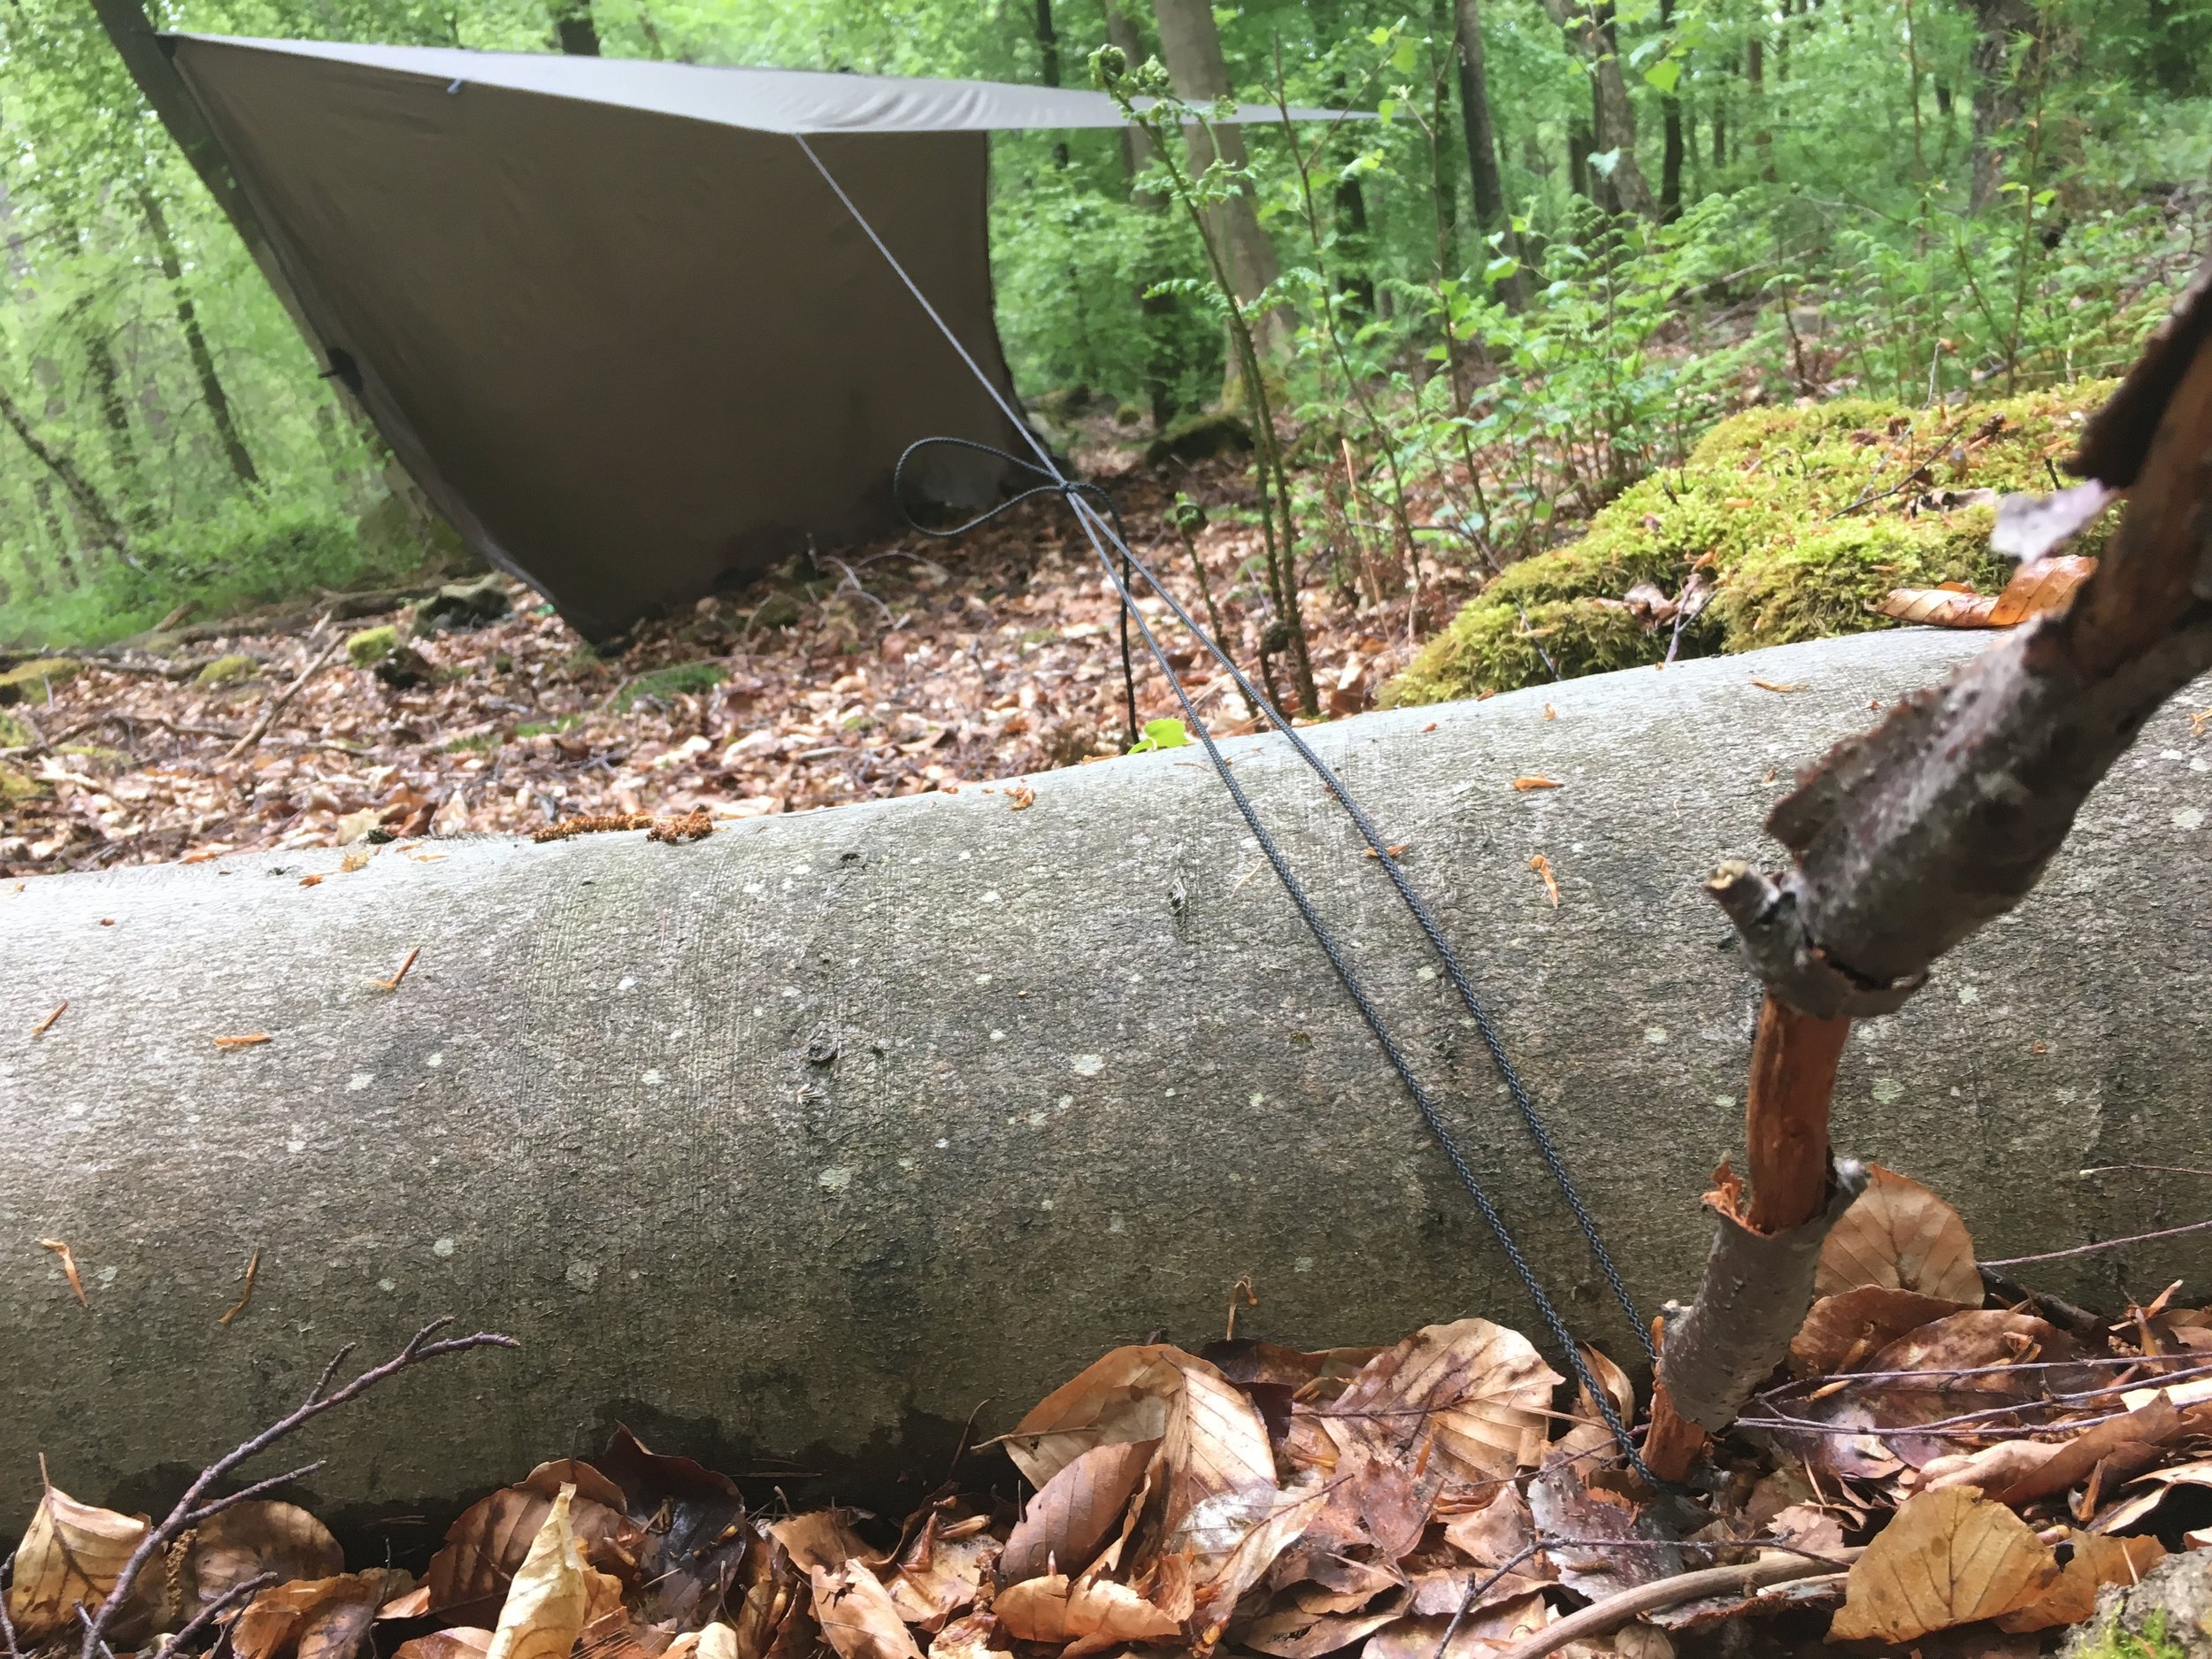
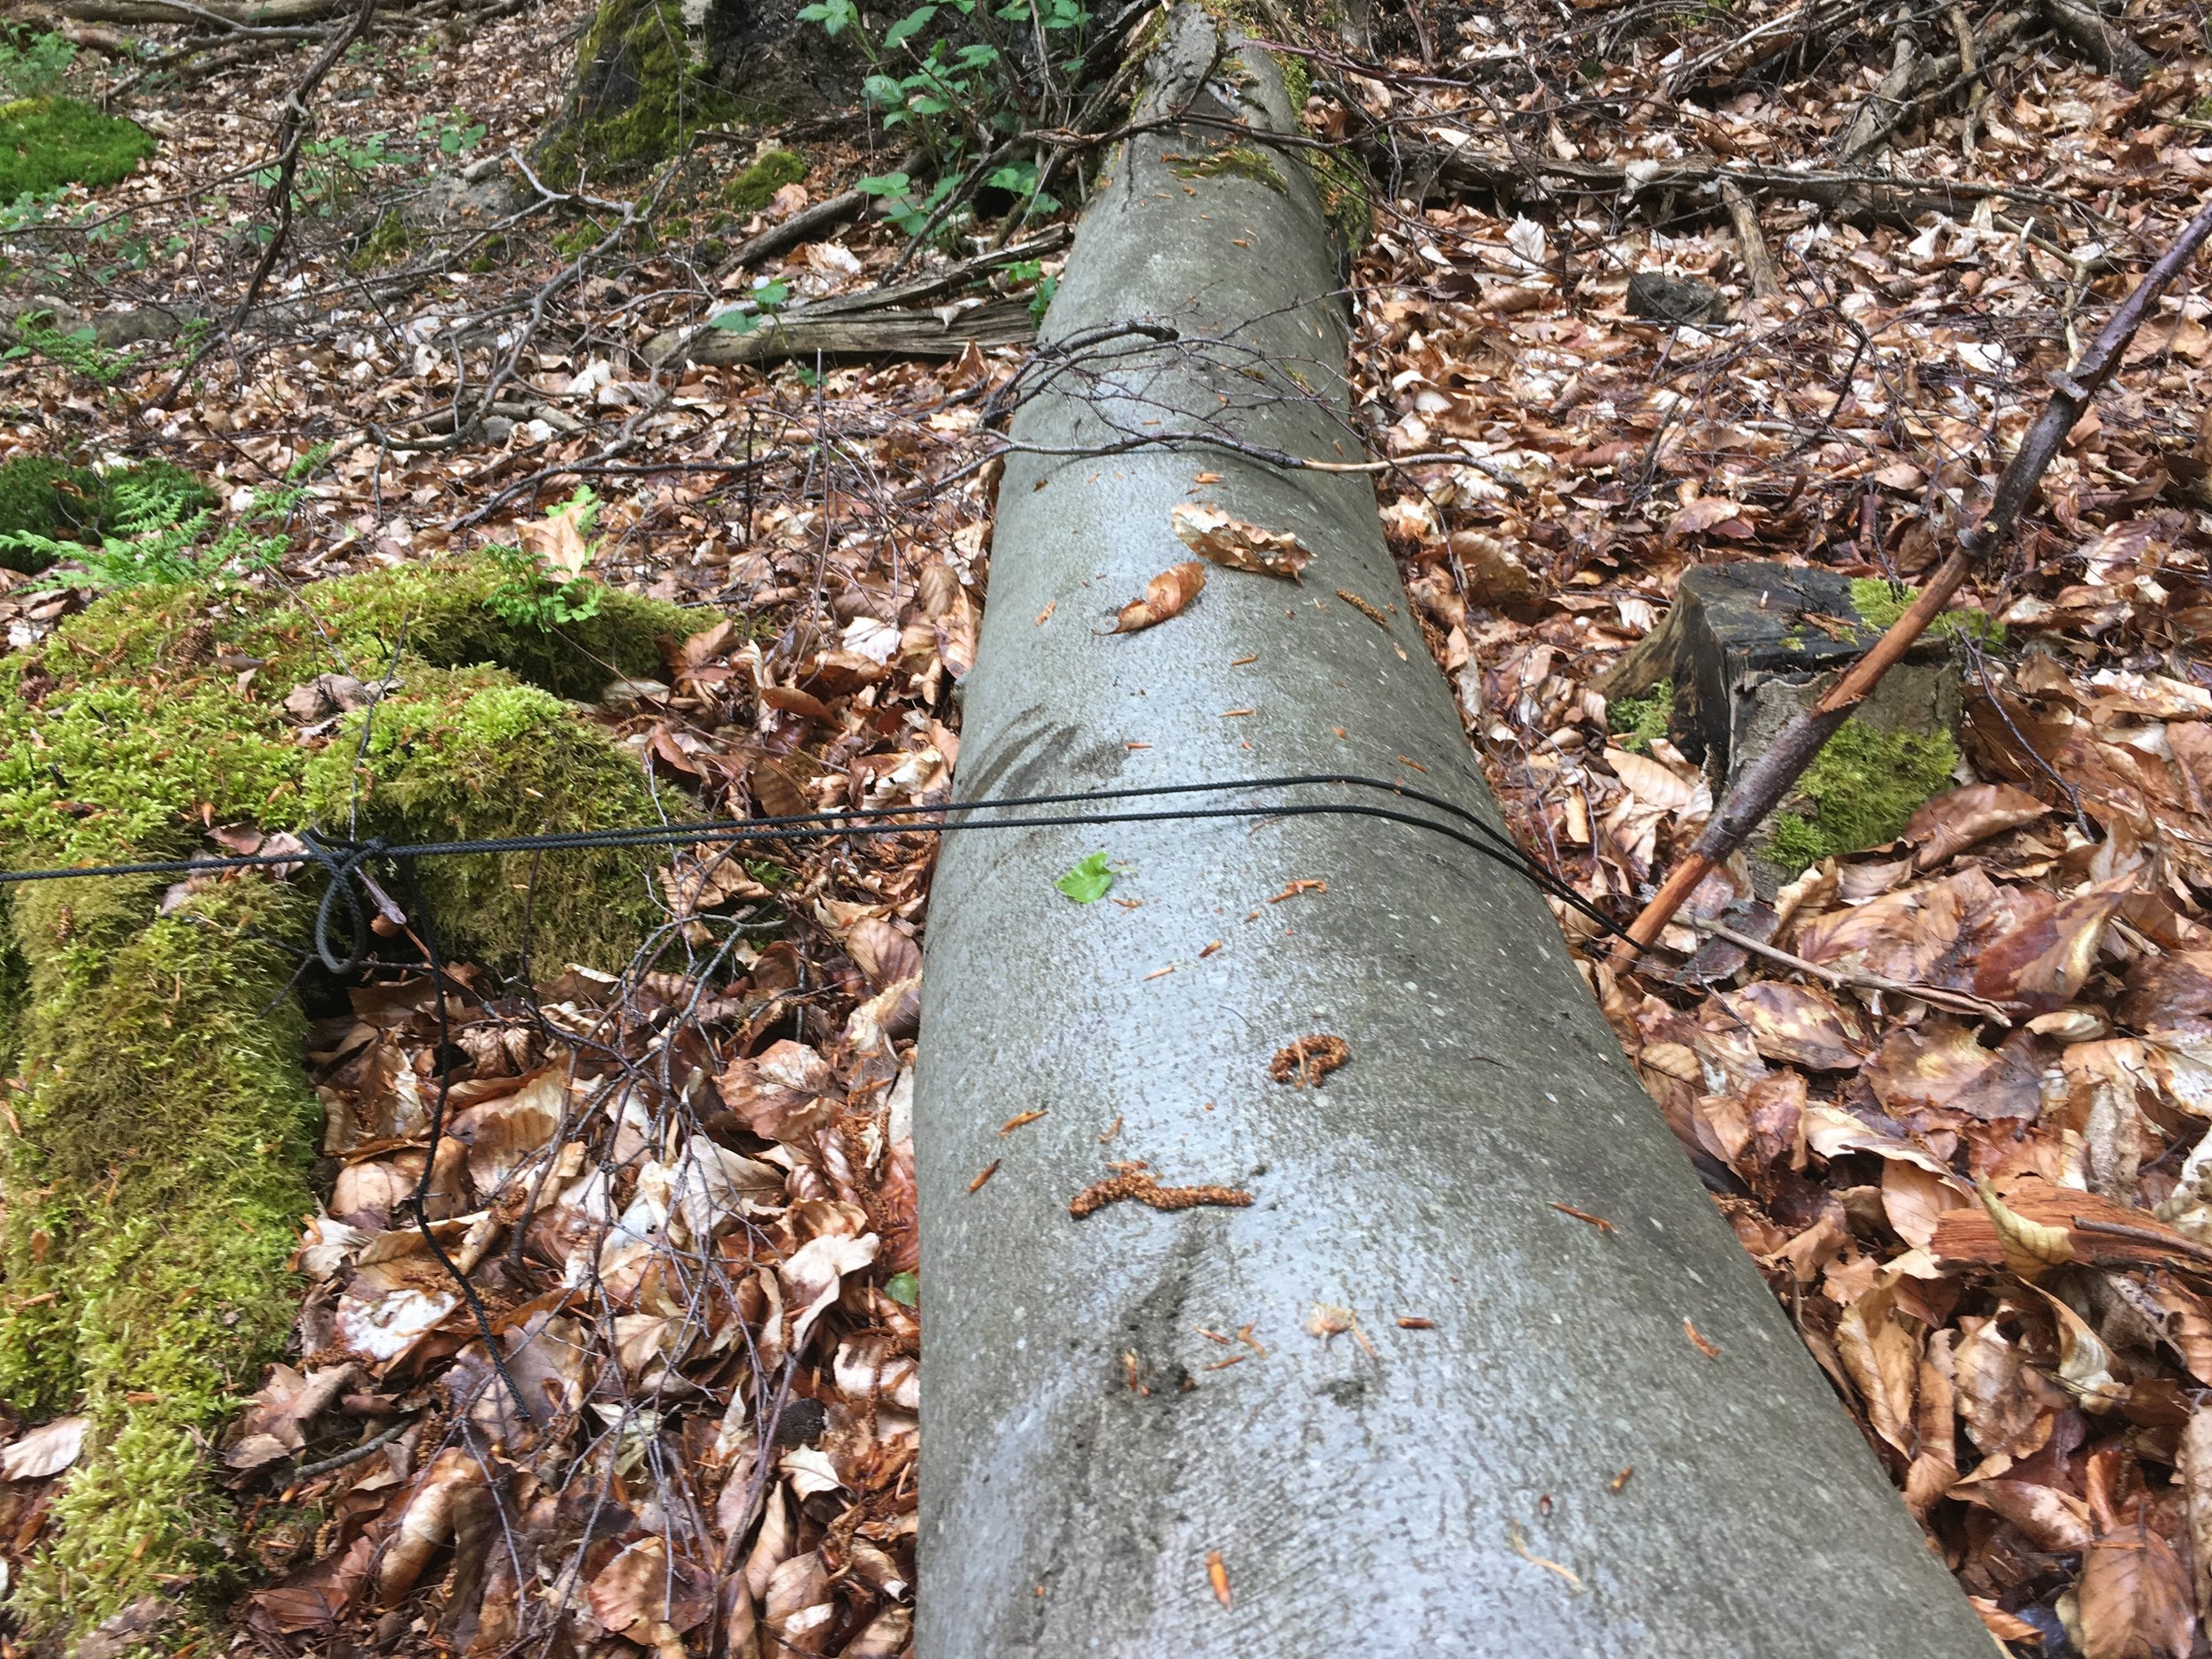
The soft forest floor can sometimes cause a issue with getting pegs to bed in without moving. I teach clients how to make quick and effective forest pegs during courses, but equally effective is using natural features as a cross brace: such as a fallen tree for the peg to lever against.
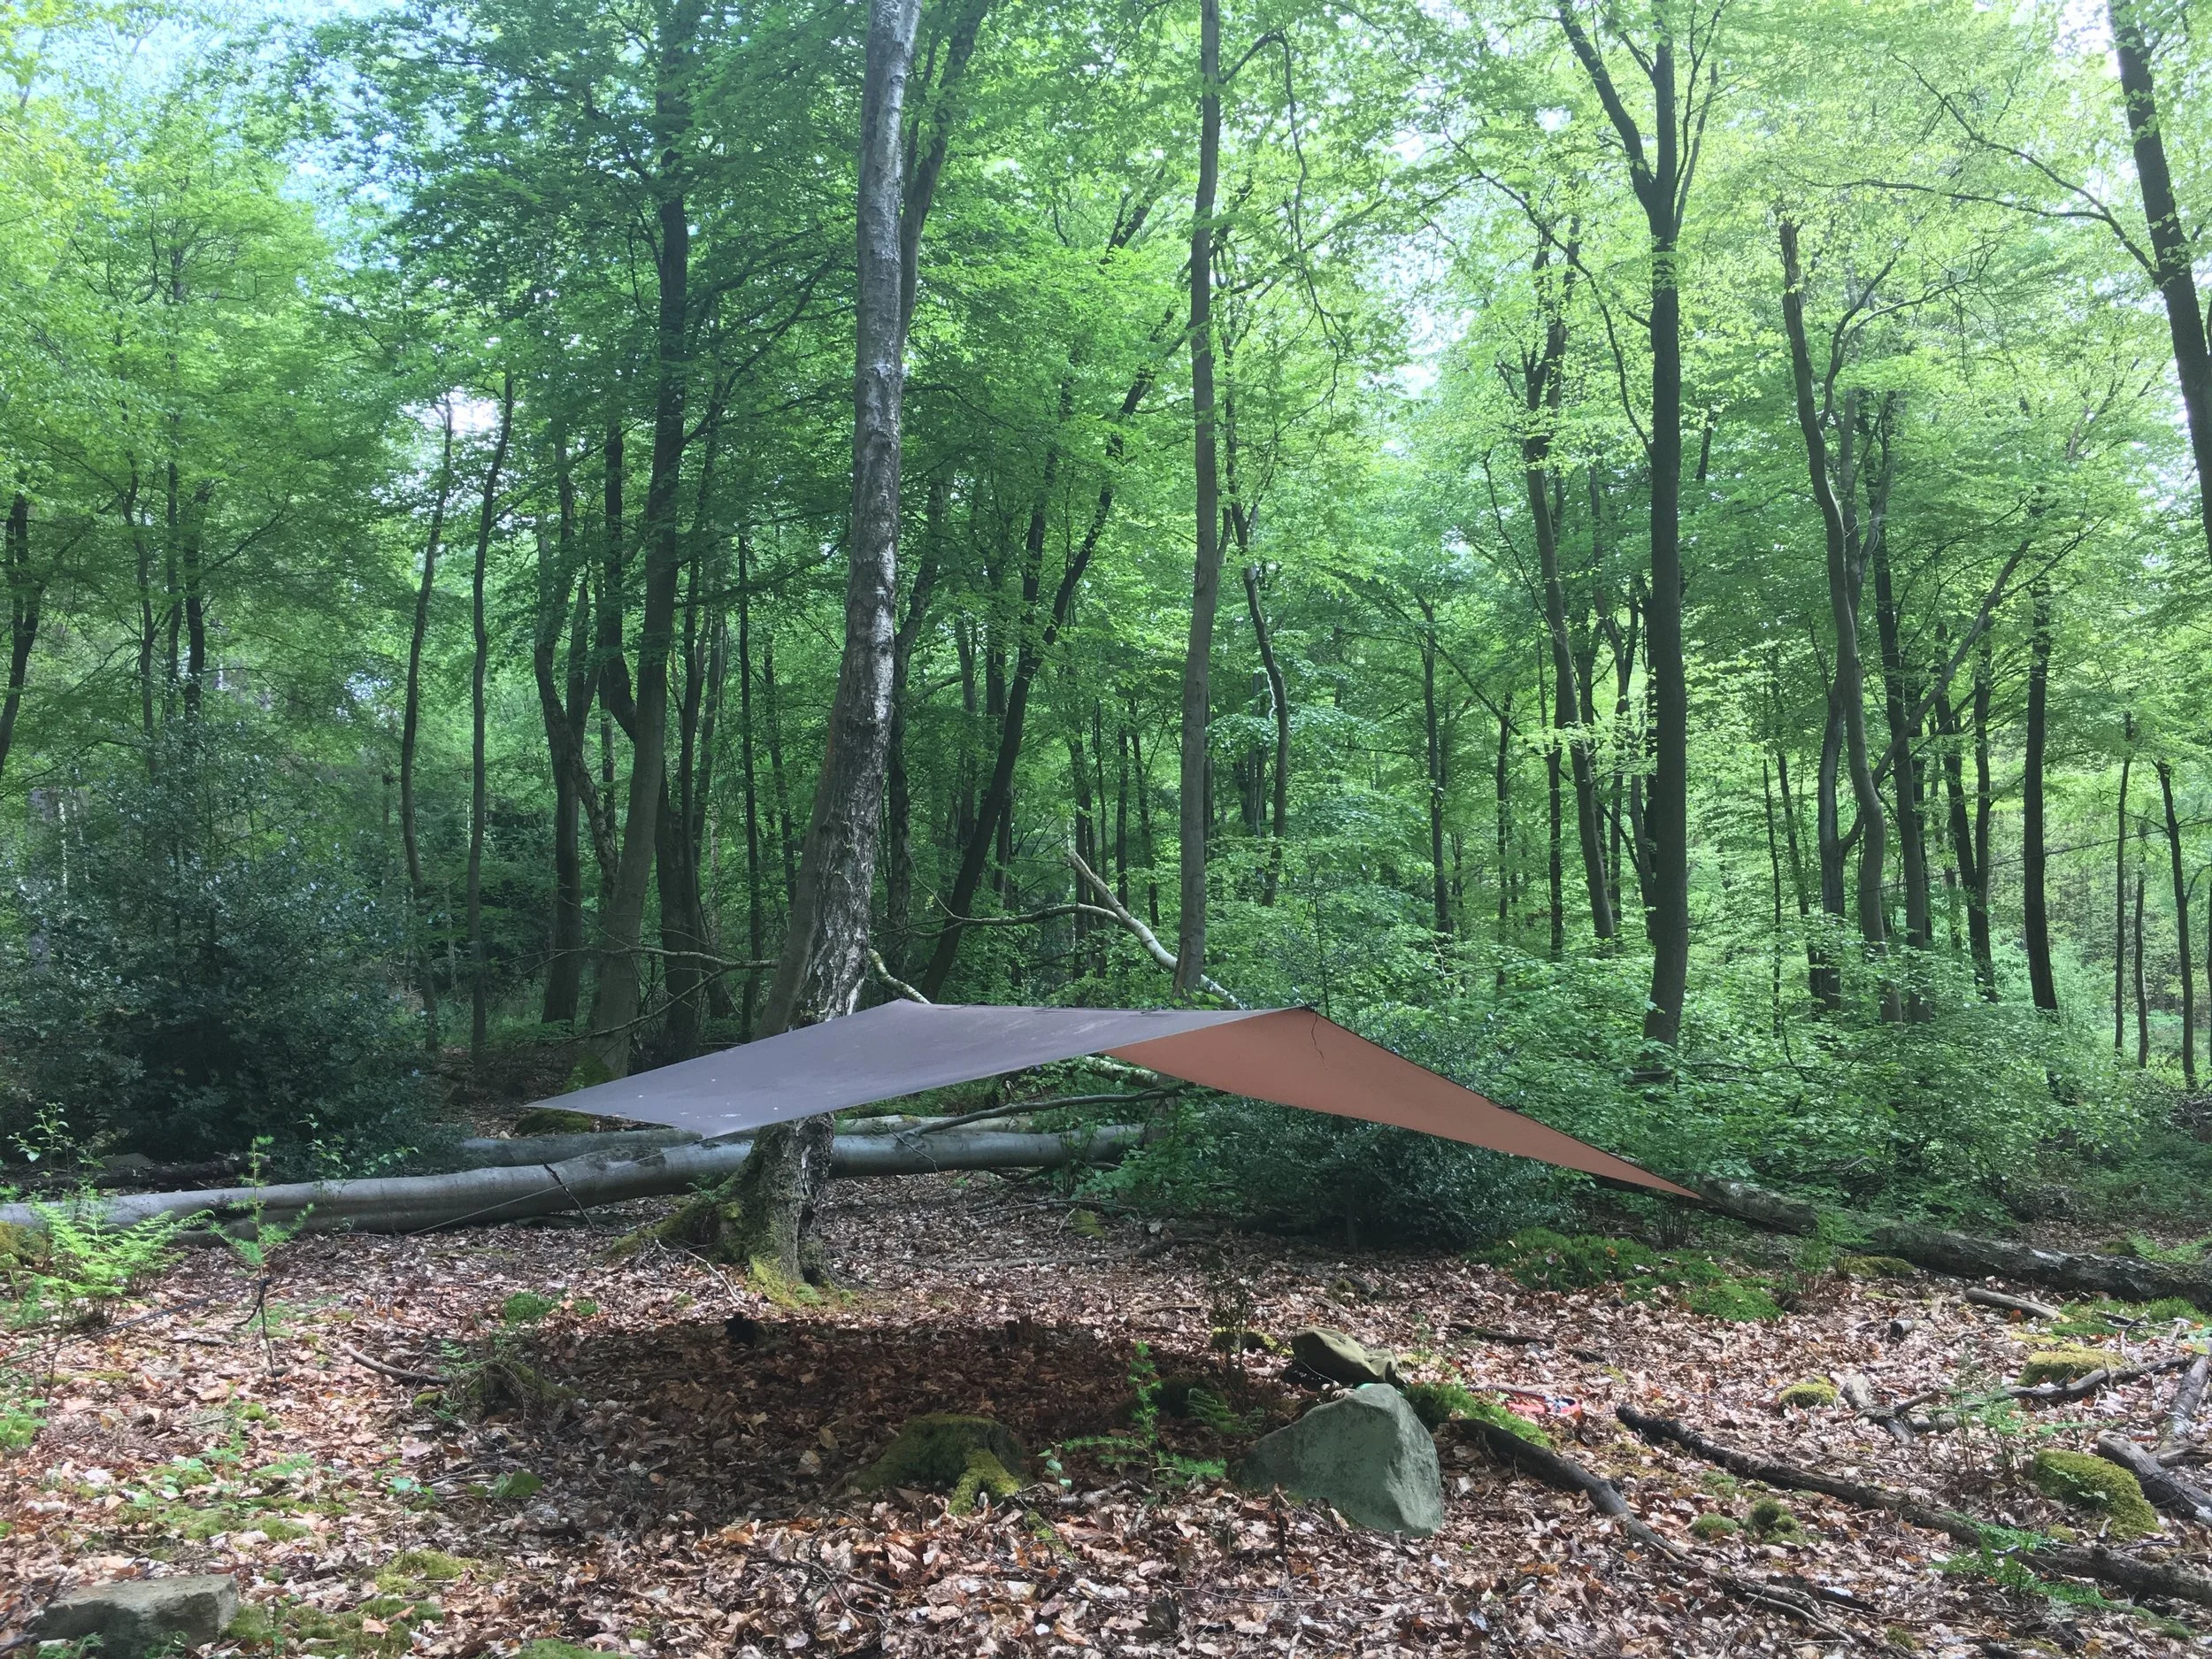
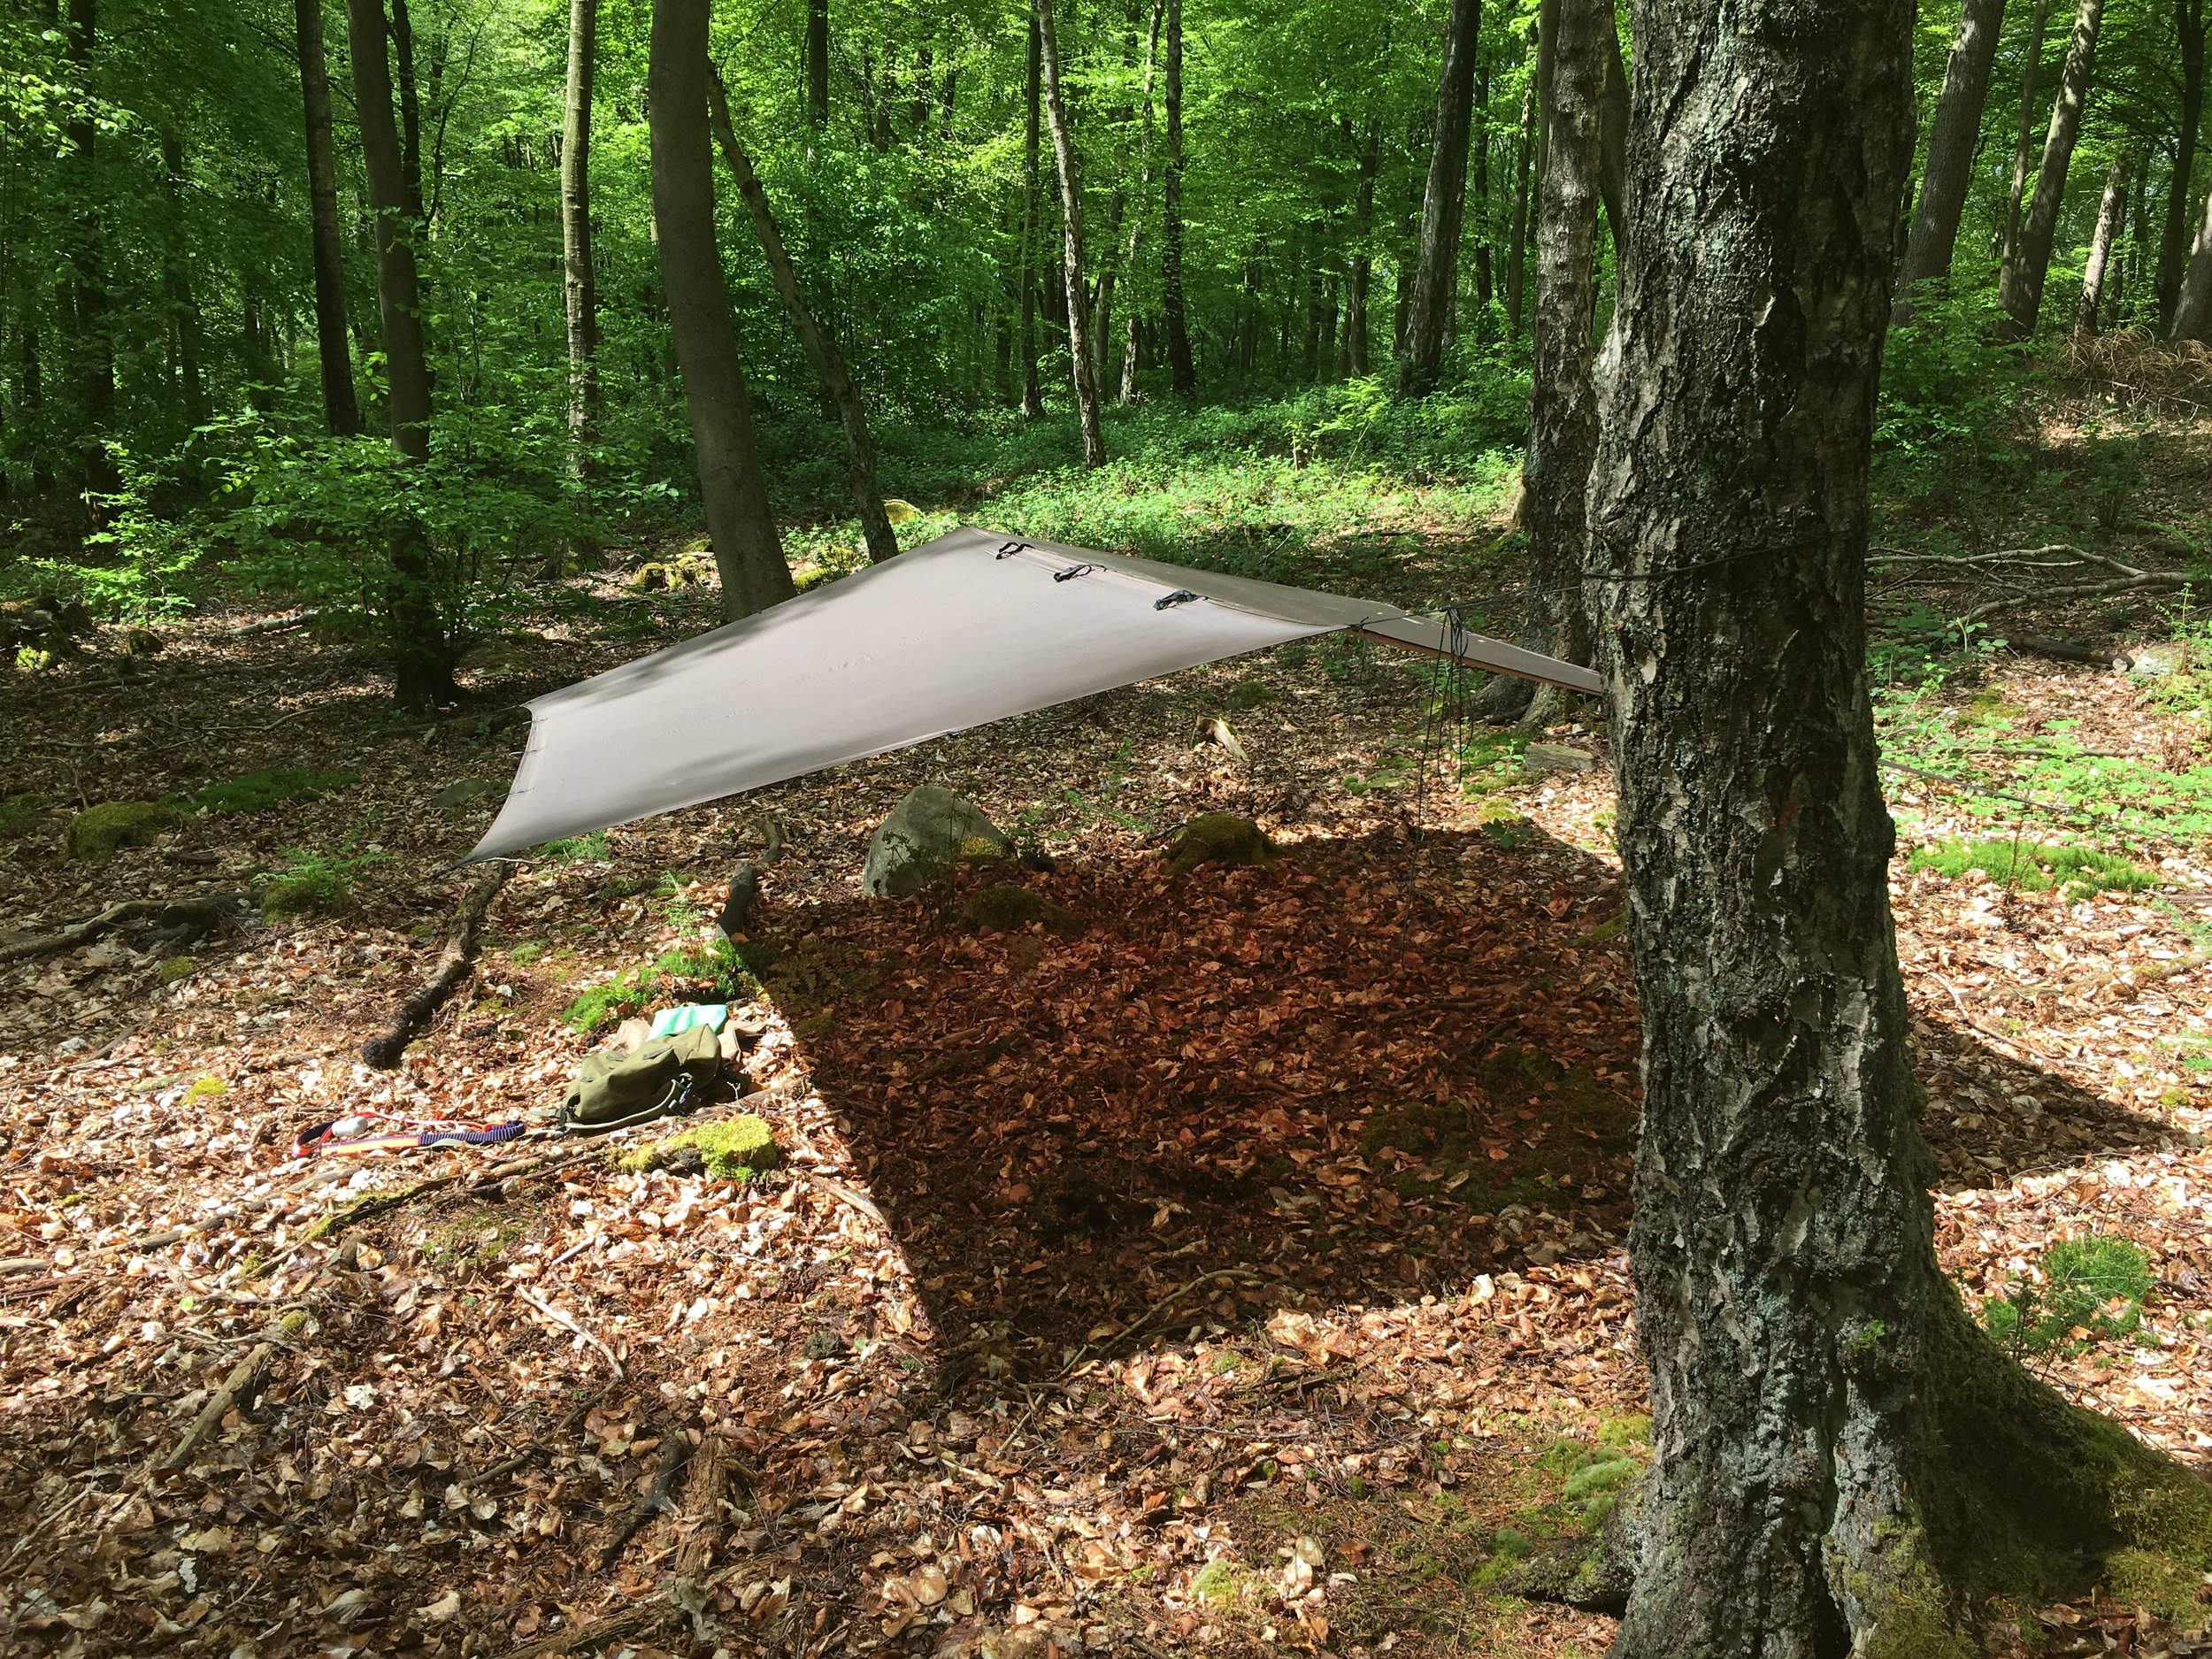
All setup for a lunch stop
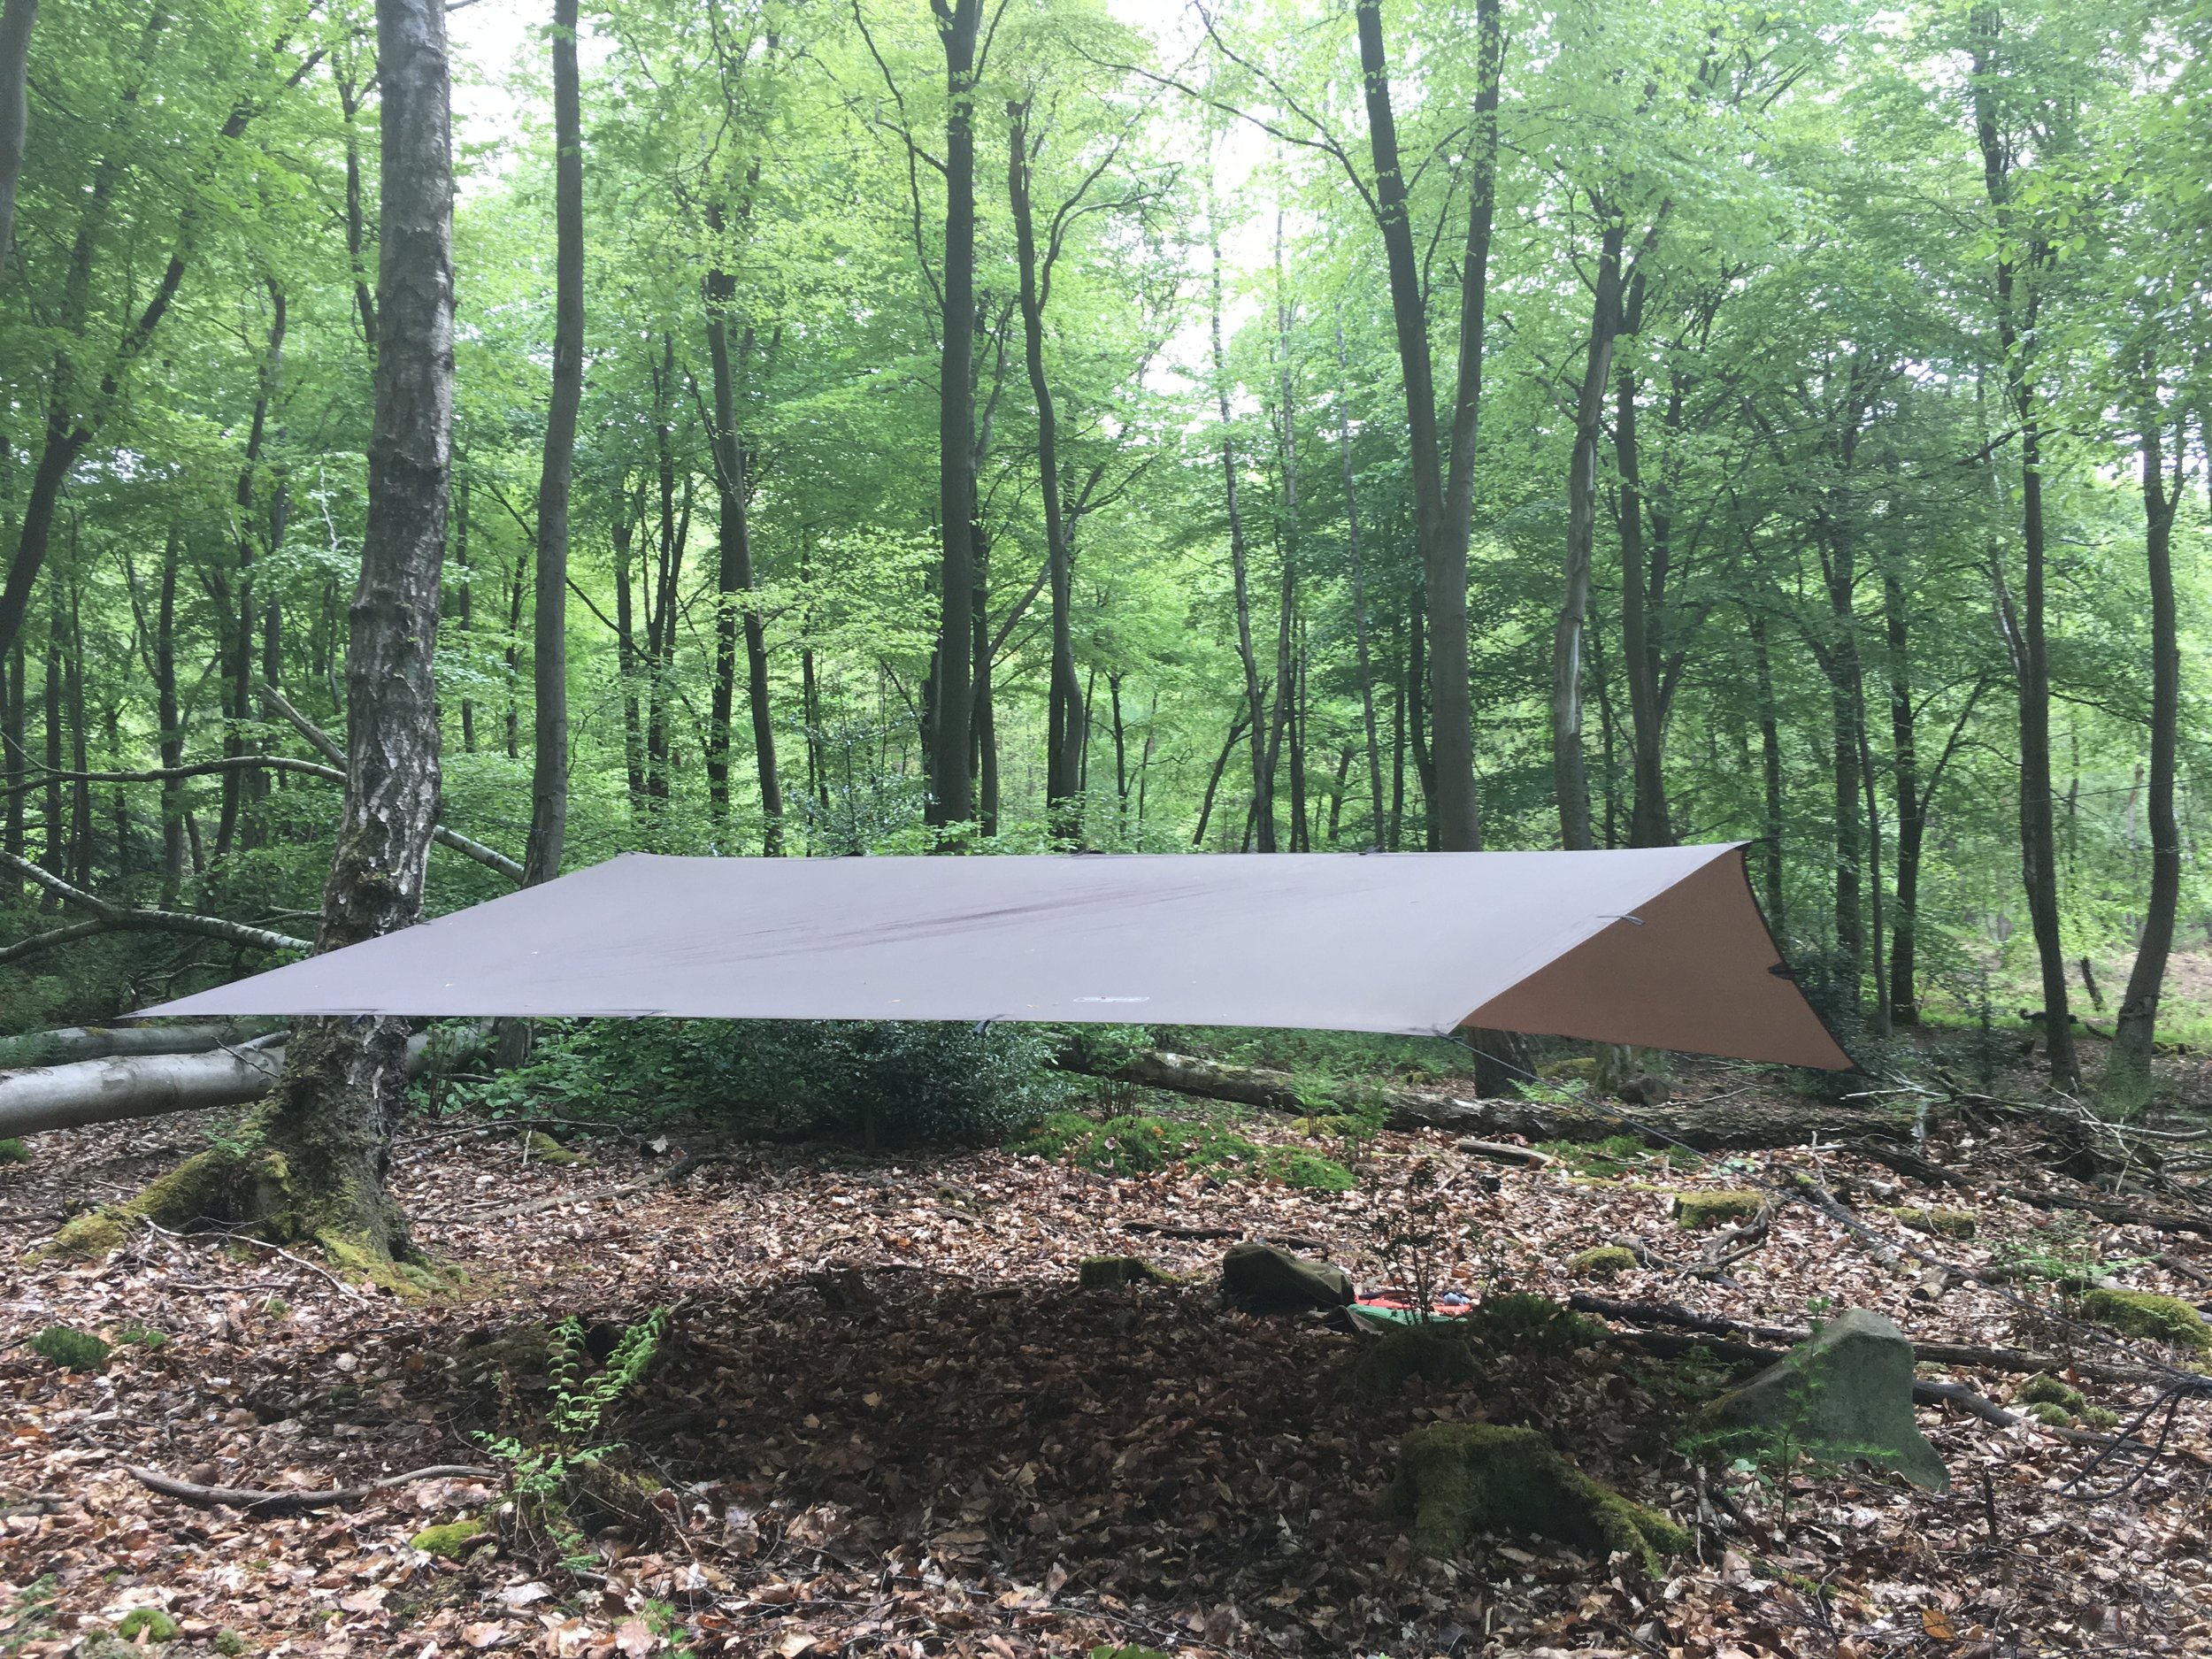
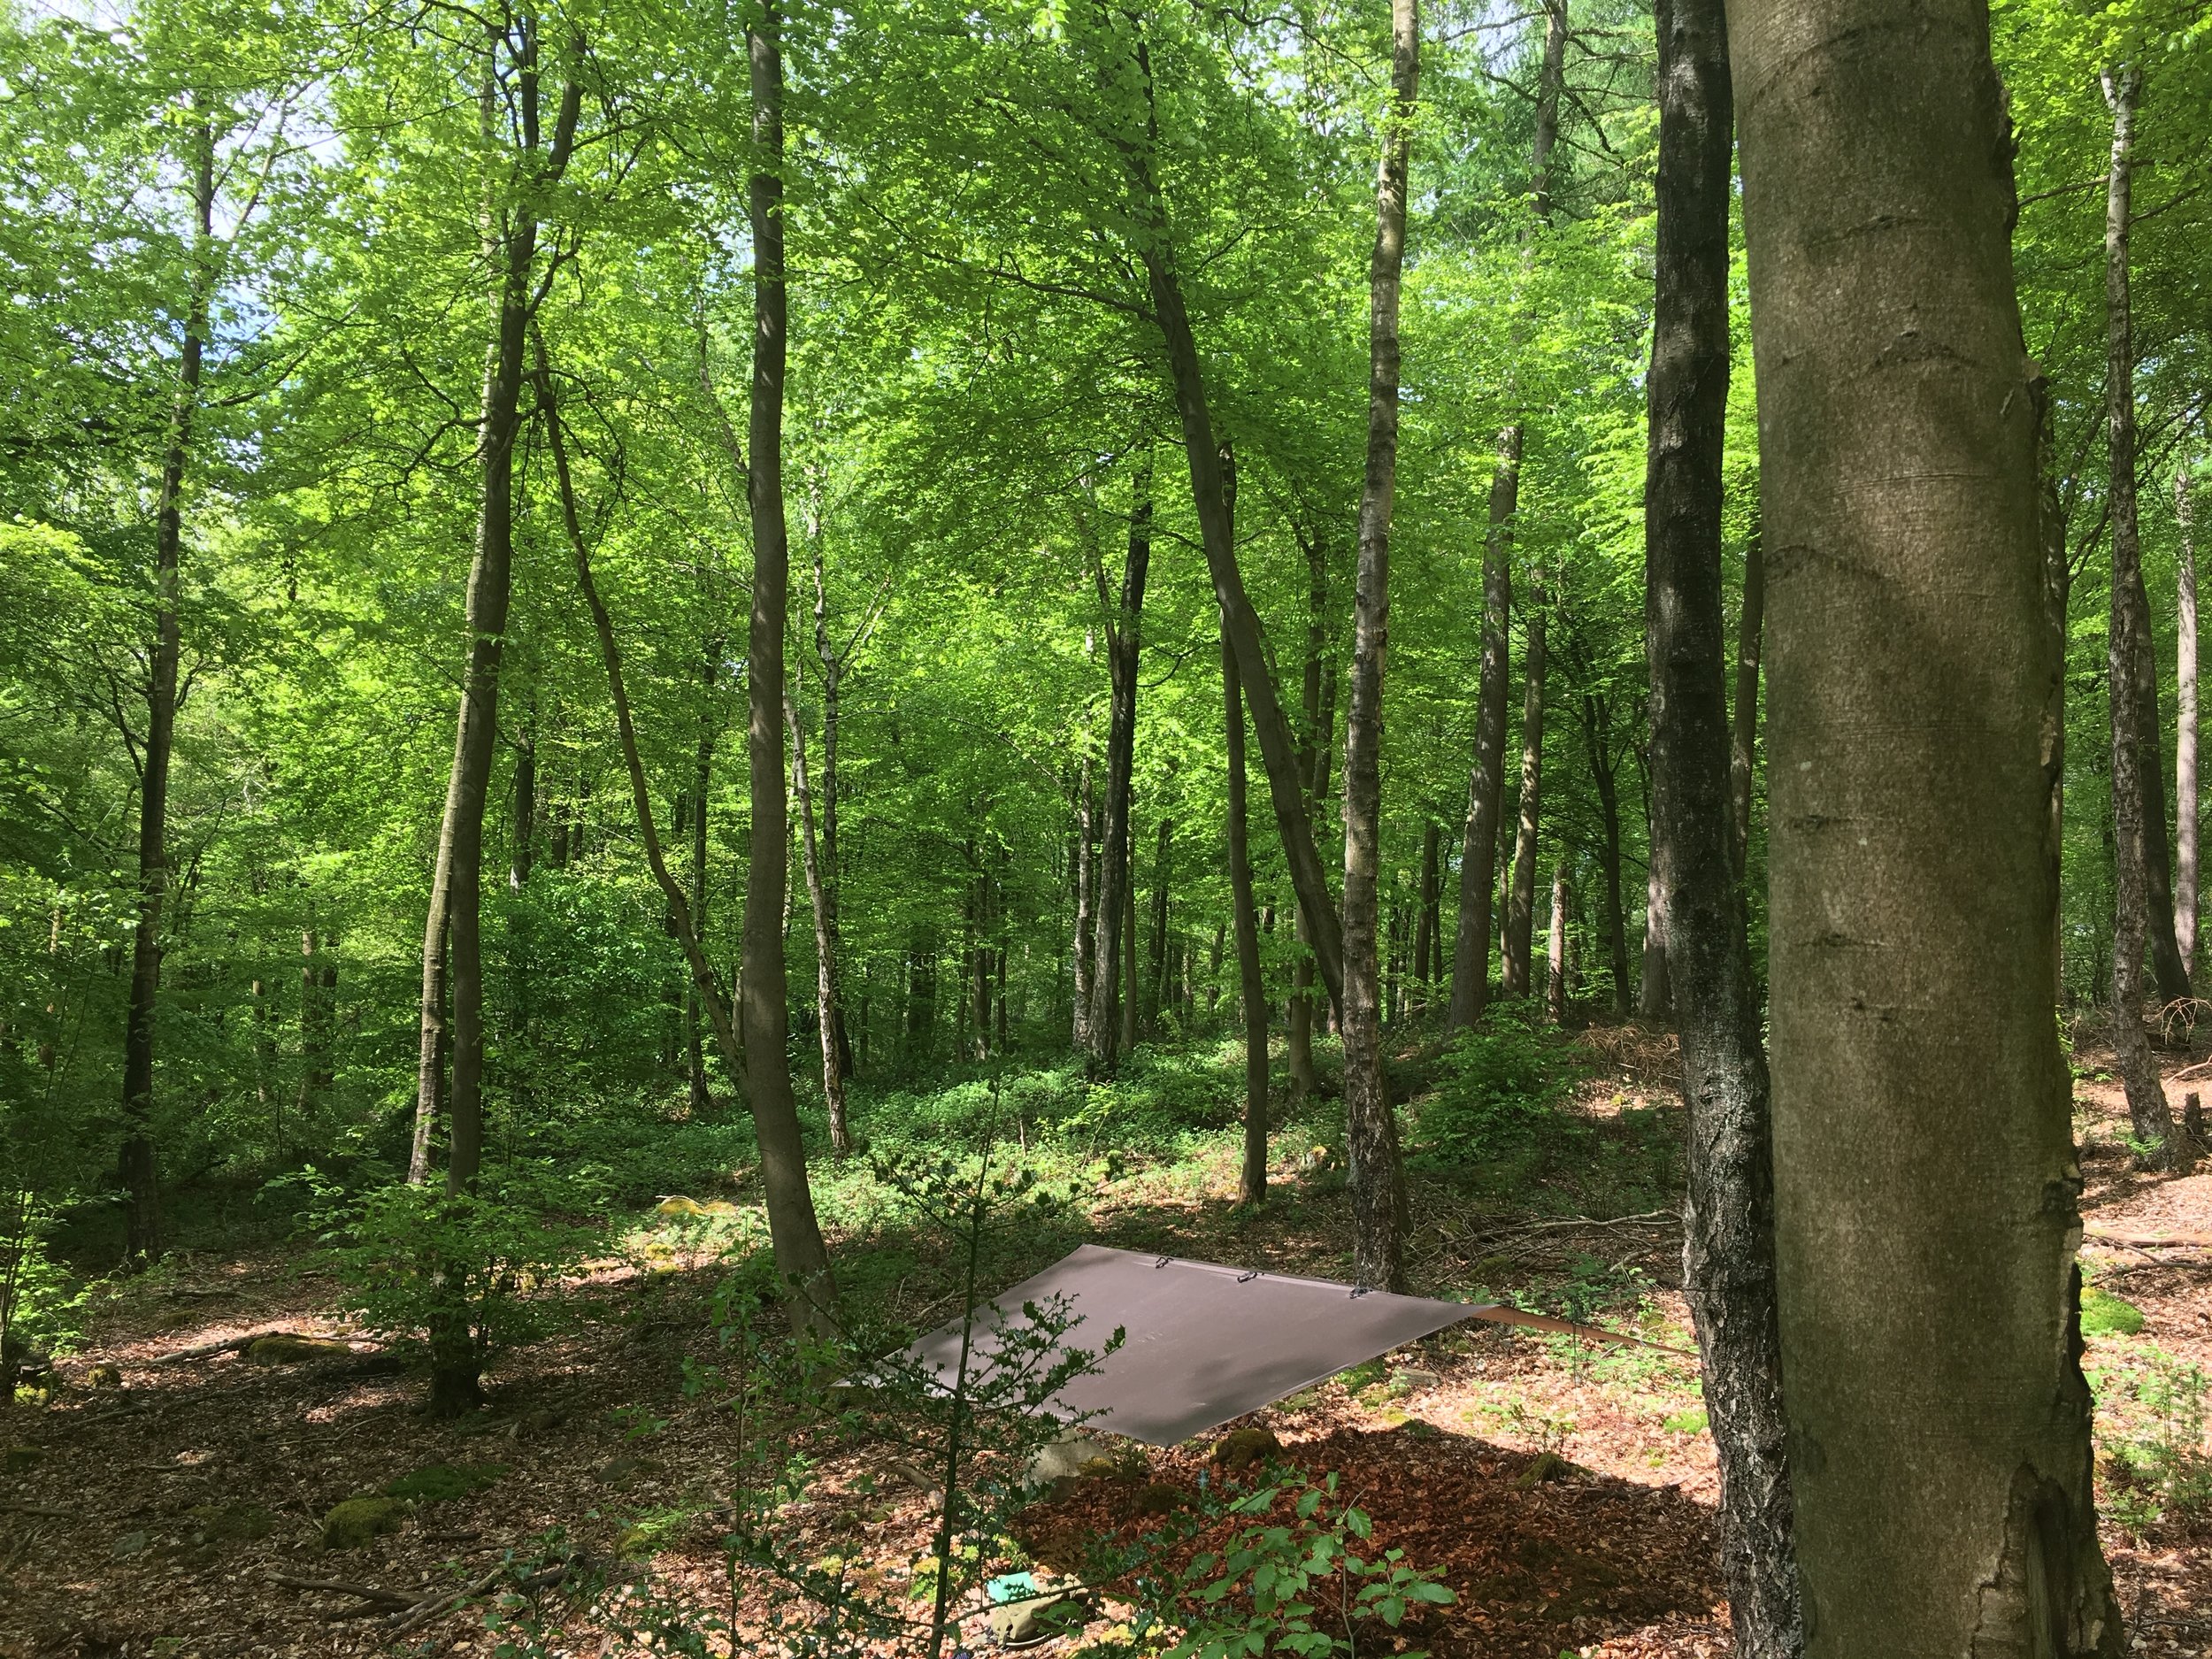
Here in the shade
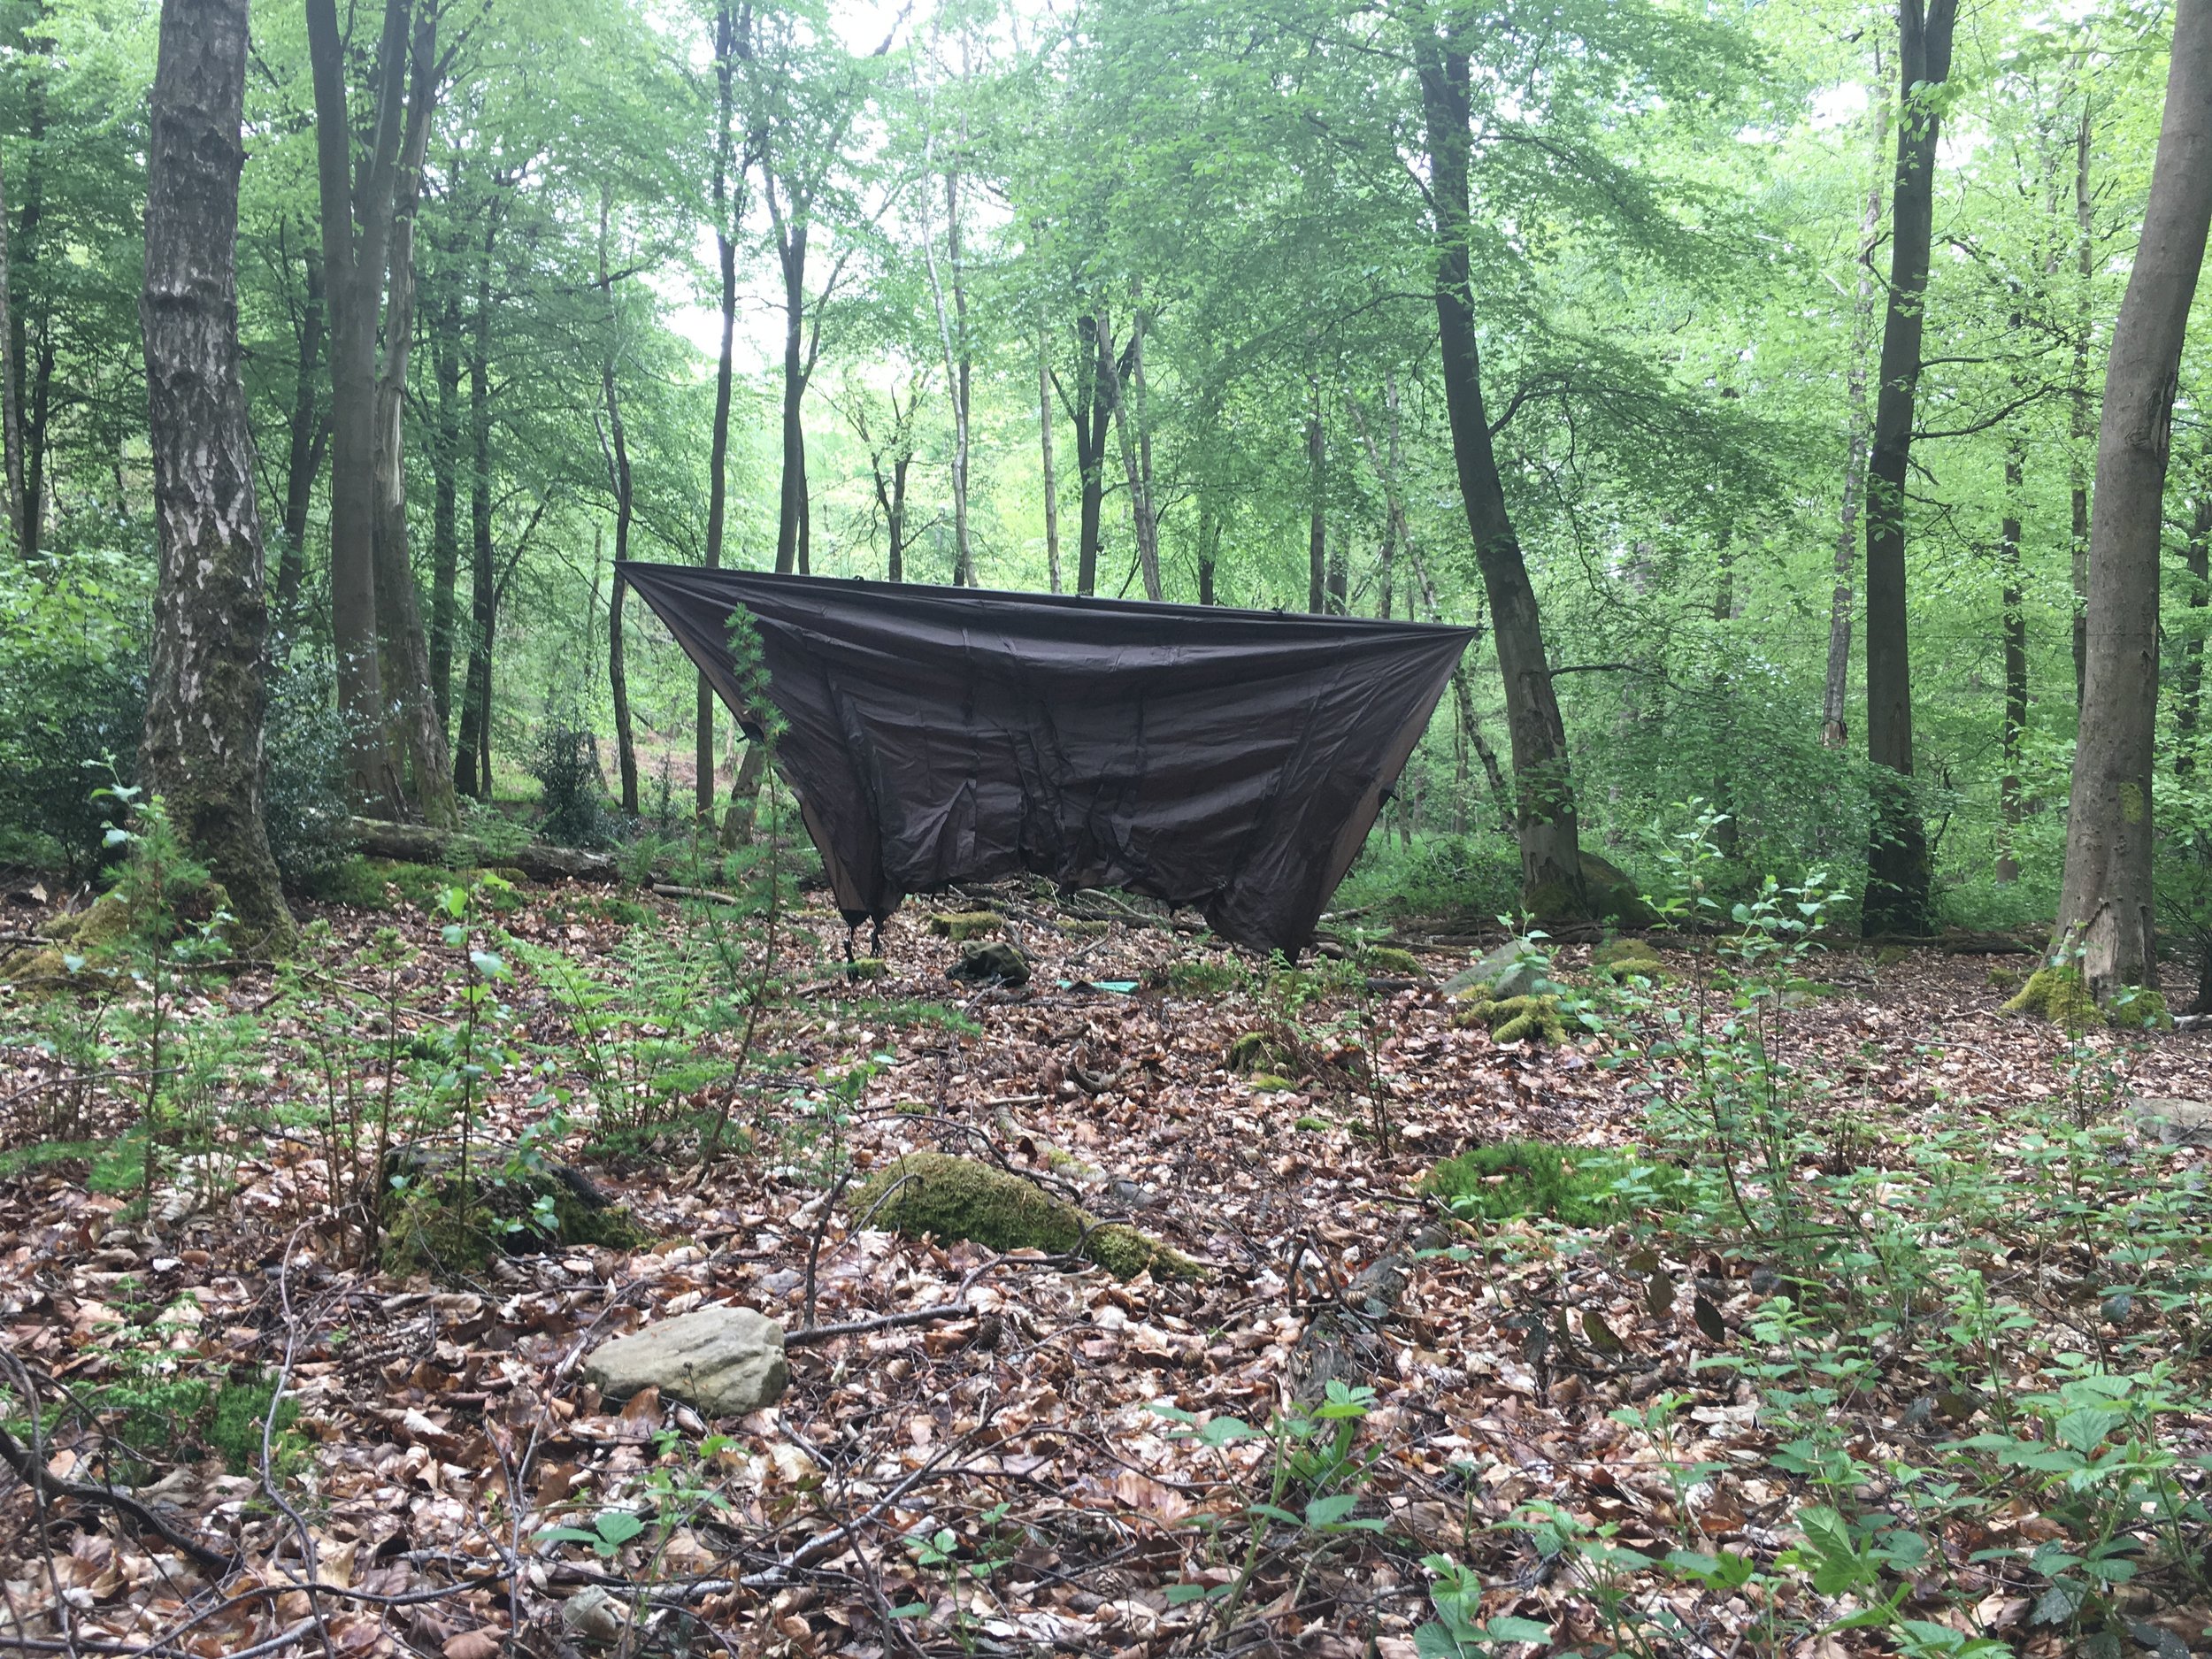
Today I wanted the tarp for a bit of shade, so the setup is quite wide. In rain, the side are a little steeper: just the tip of the iceberg in terms of tarp flexibility.
Hanked Guylines
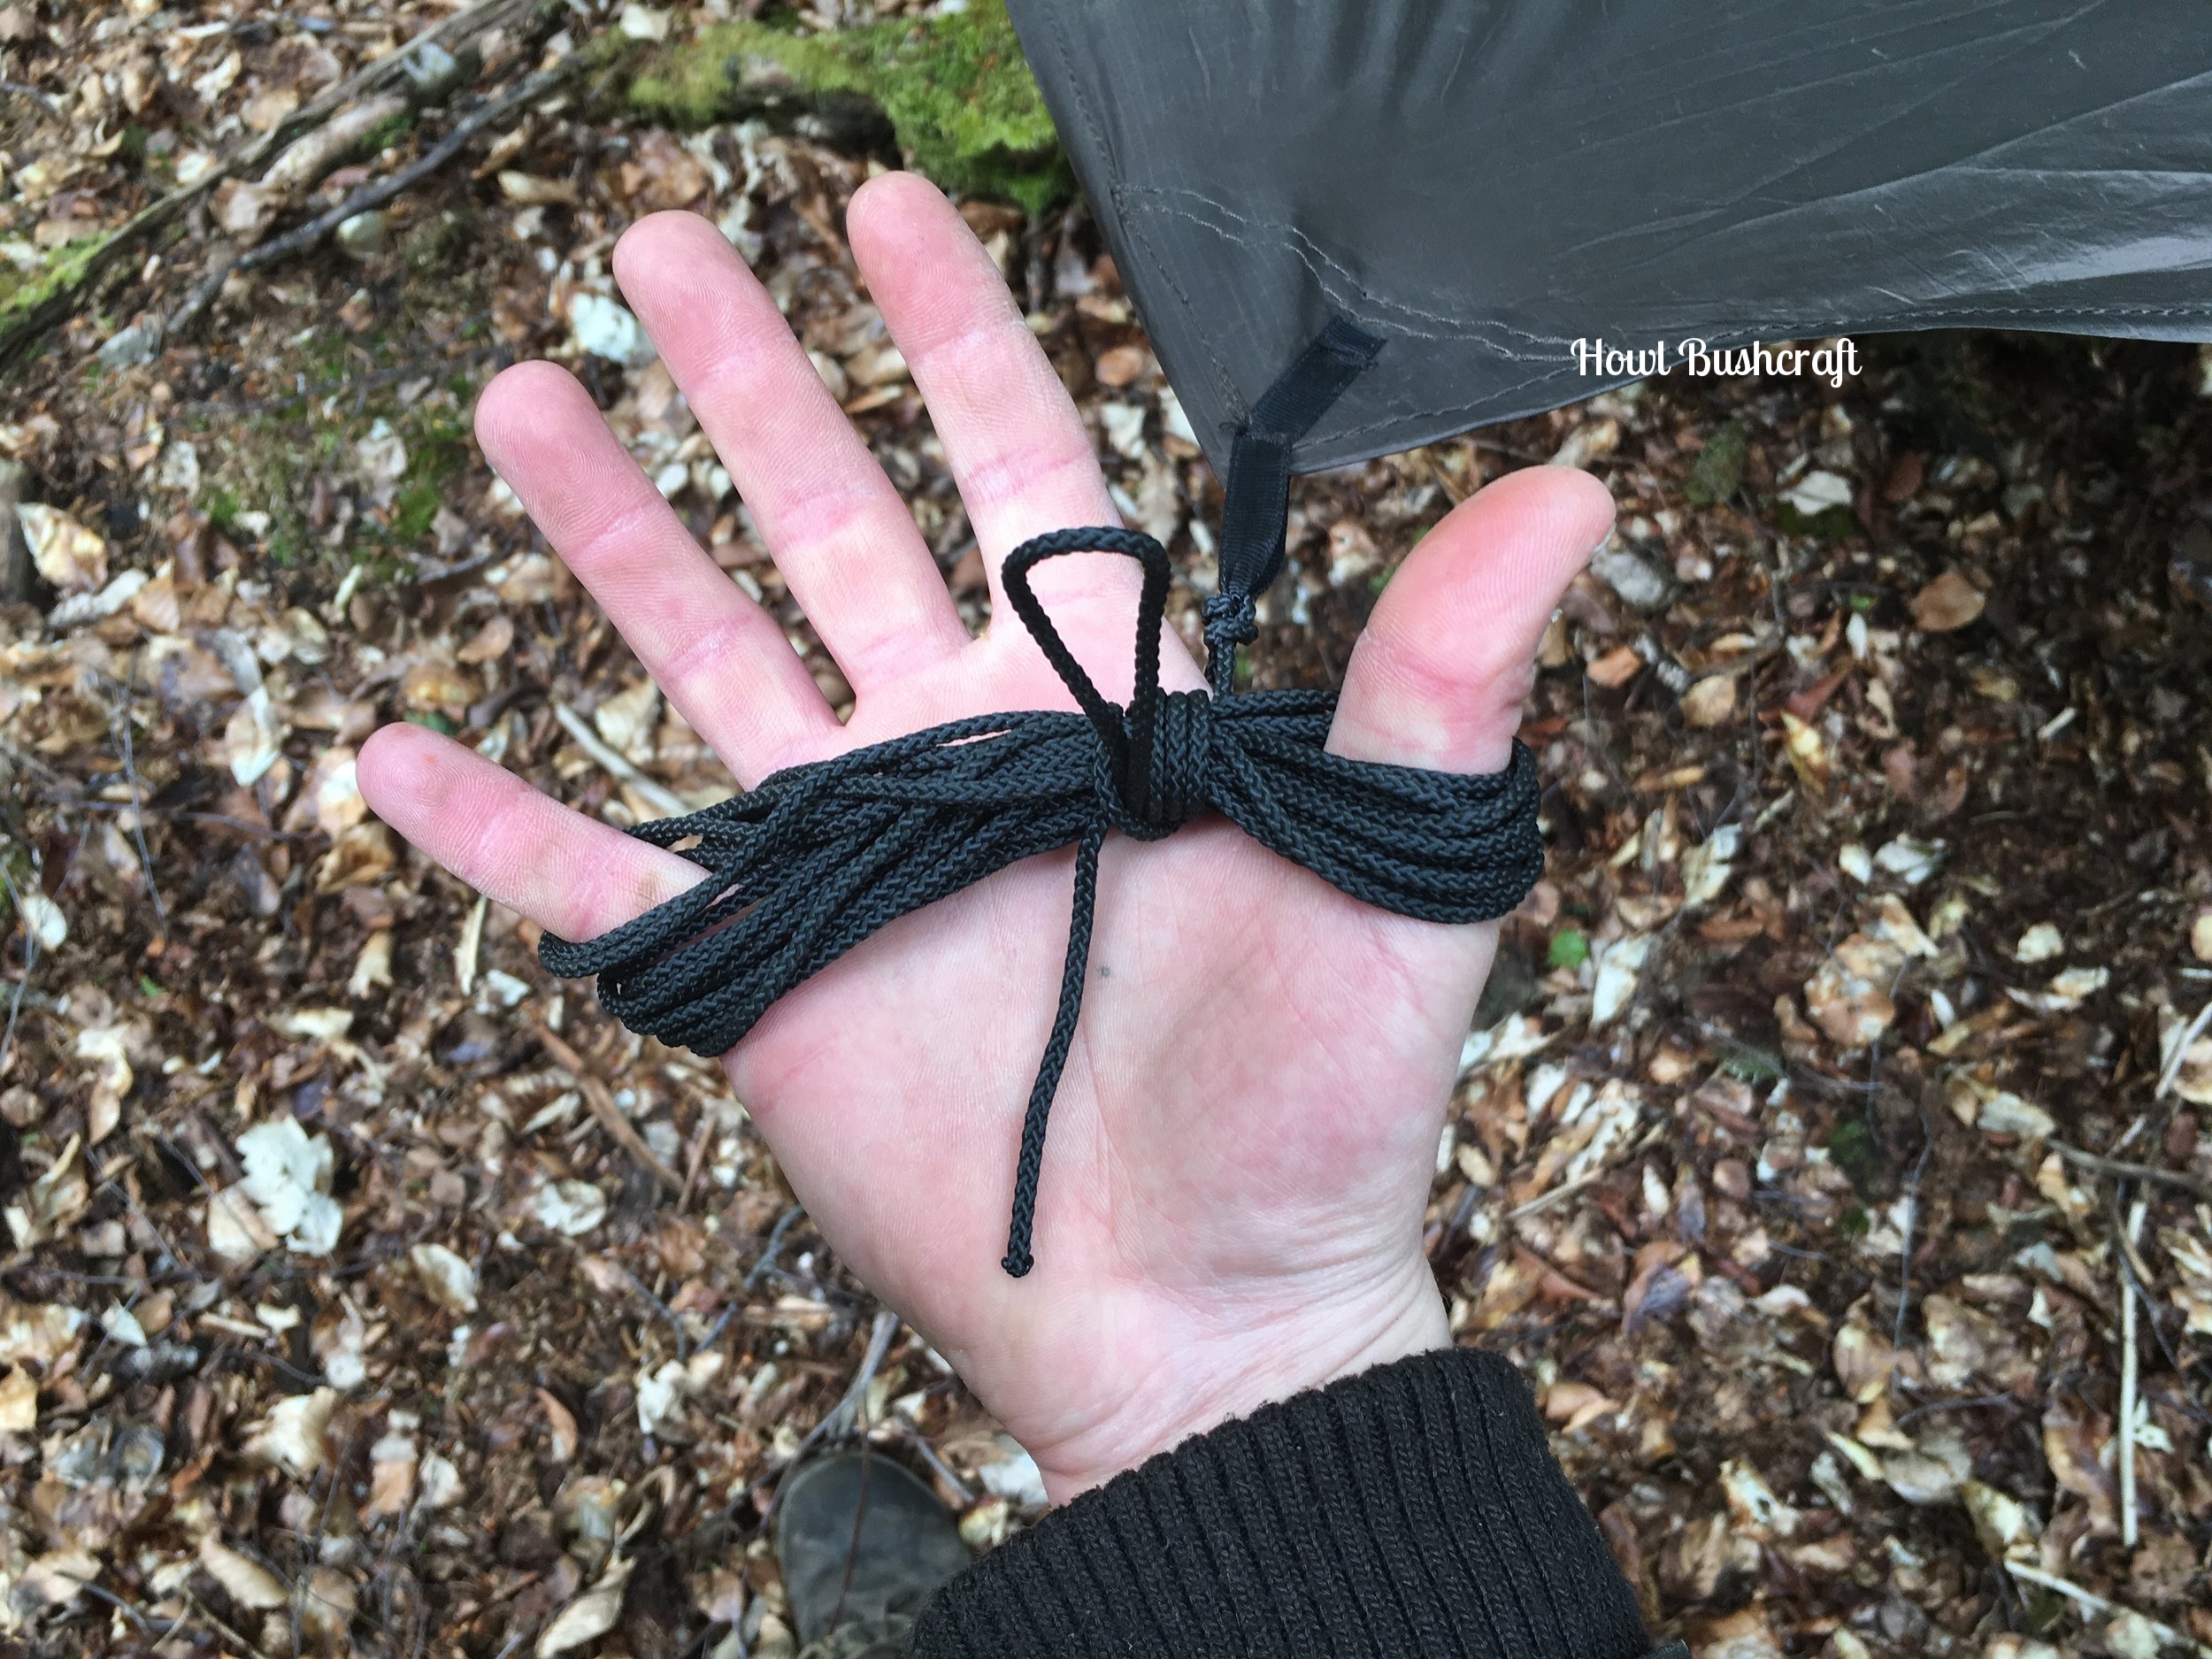
By wrapping the guyline figure 8 style around your thumb and little finger you make a neat bundle that is easily tied off.
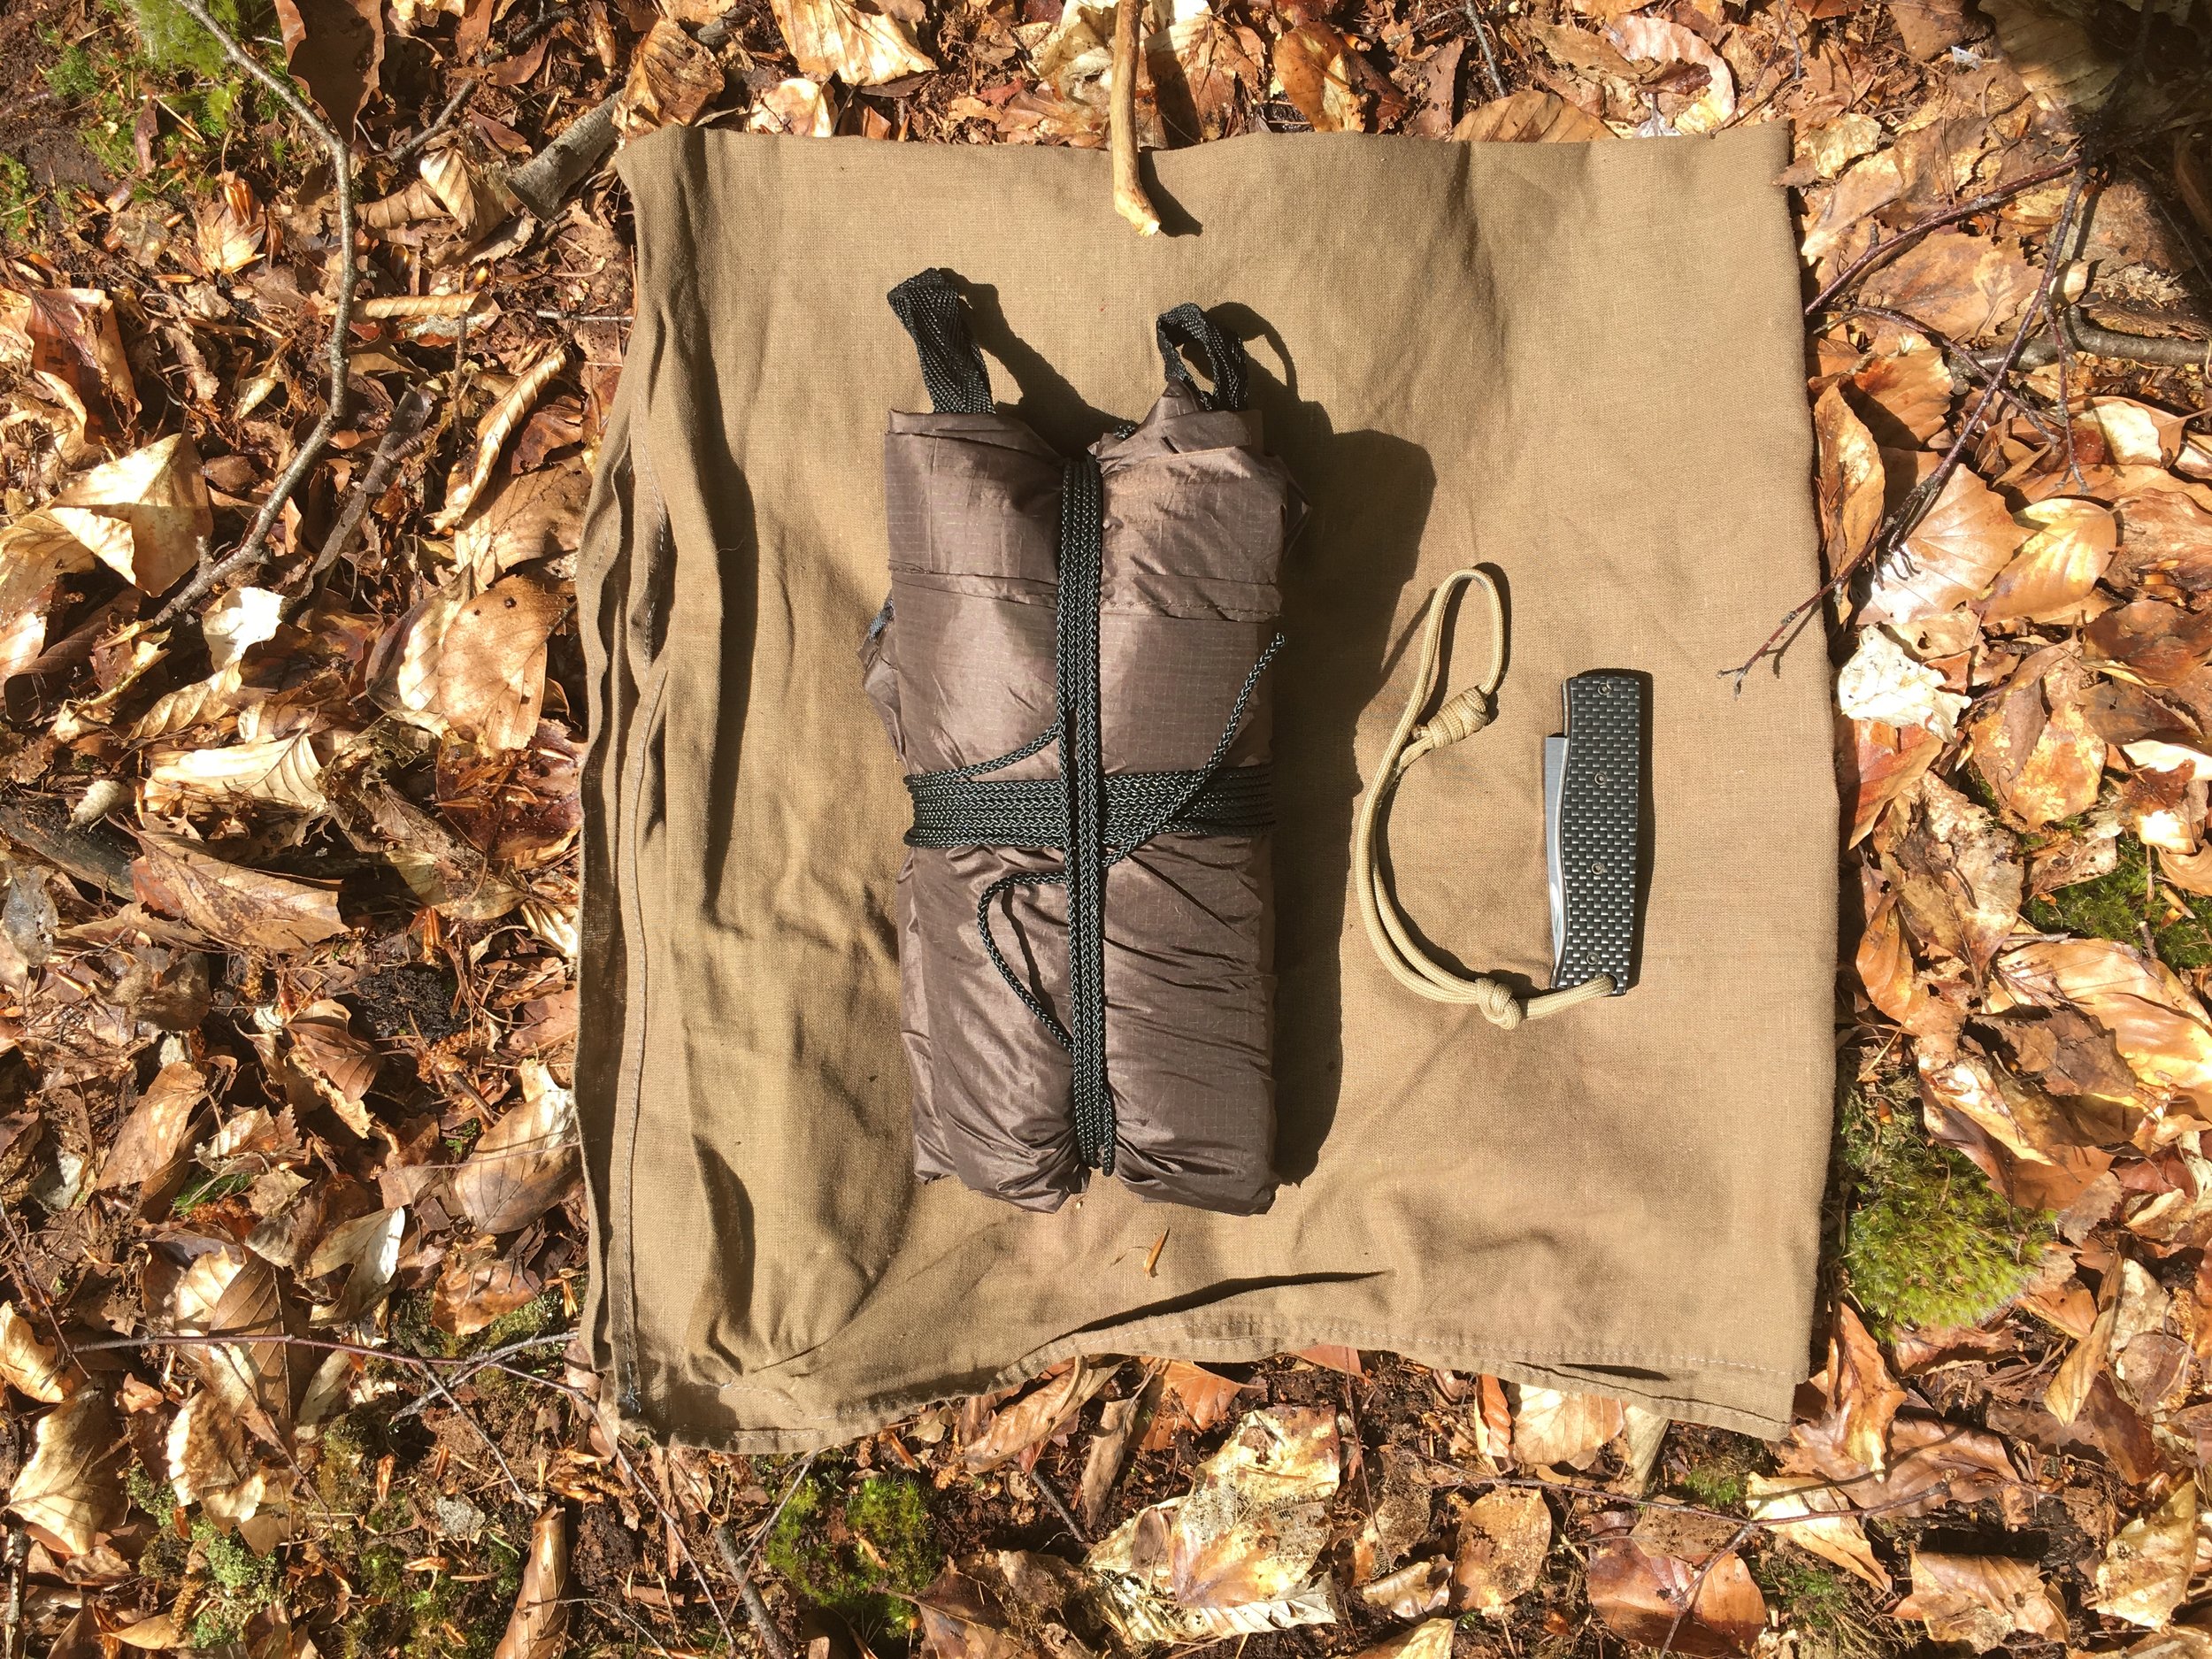
All packed up again
To tie up this tarp I hank each corner guy-line and one of the centre guy-lines. I then fold the tarp up neatly and roll it tight, using the final guy-line to hold everything together.
With this being a lightweight fabric I don’t ratchet this down as hard as a more durable fabric to prevent abrading it.
And that's it, just a quick one from today's stroll with the dog.
I hope you find something useful in the above, I'd love to hear anything you do differently in the comments below.
All the best
JD

