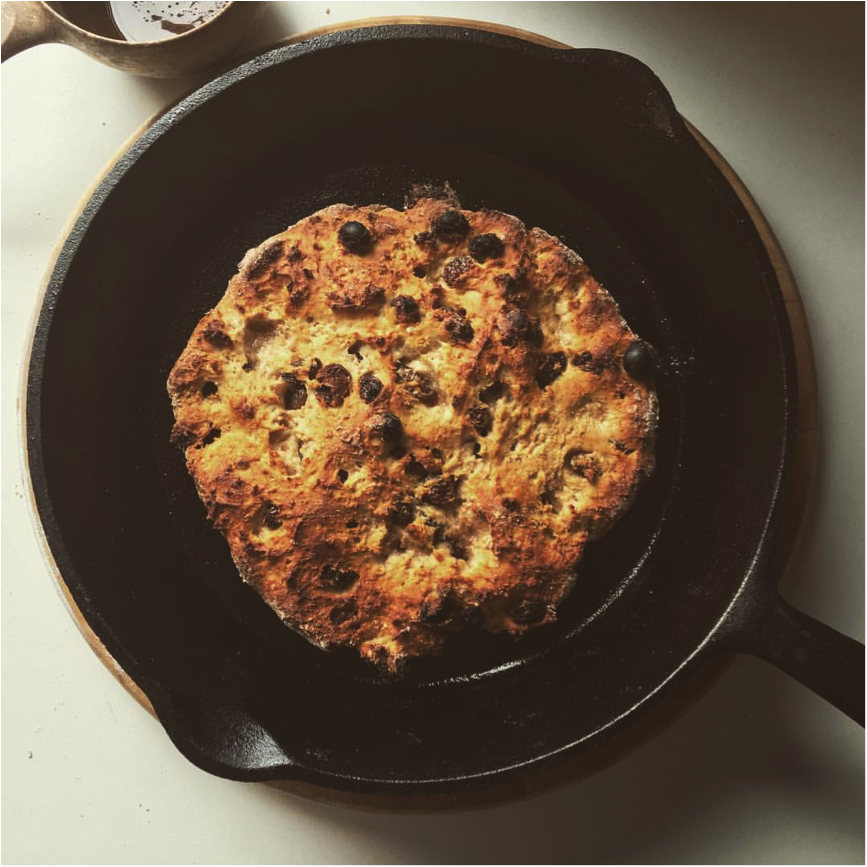
How to Make: Fast Garlic Bread Outdoors
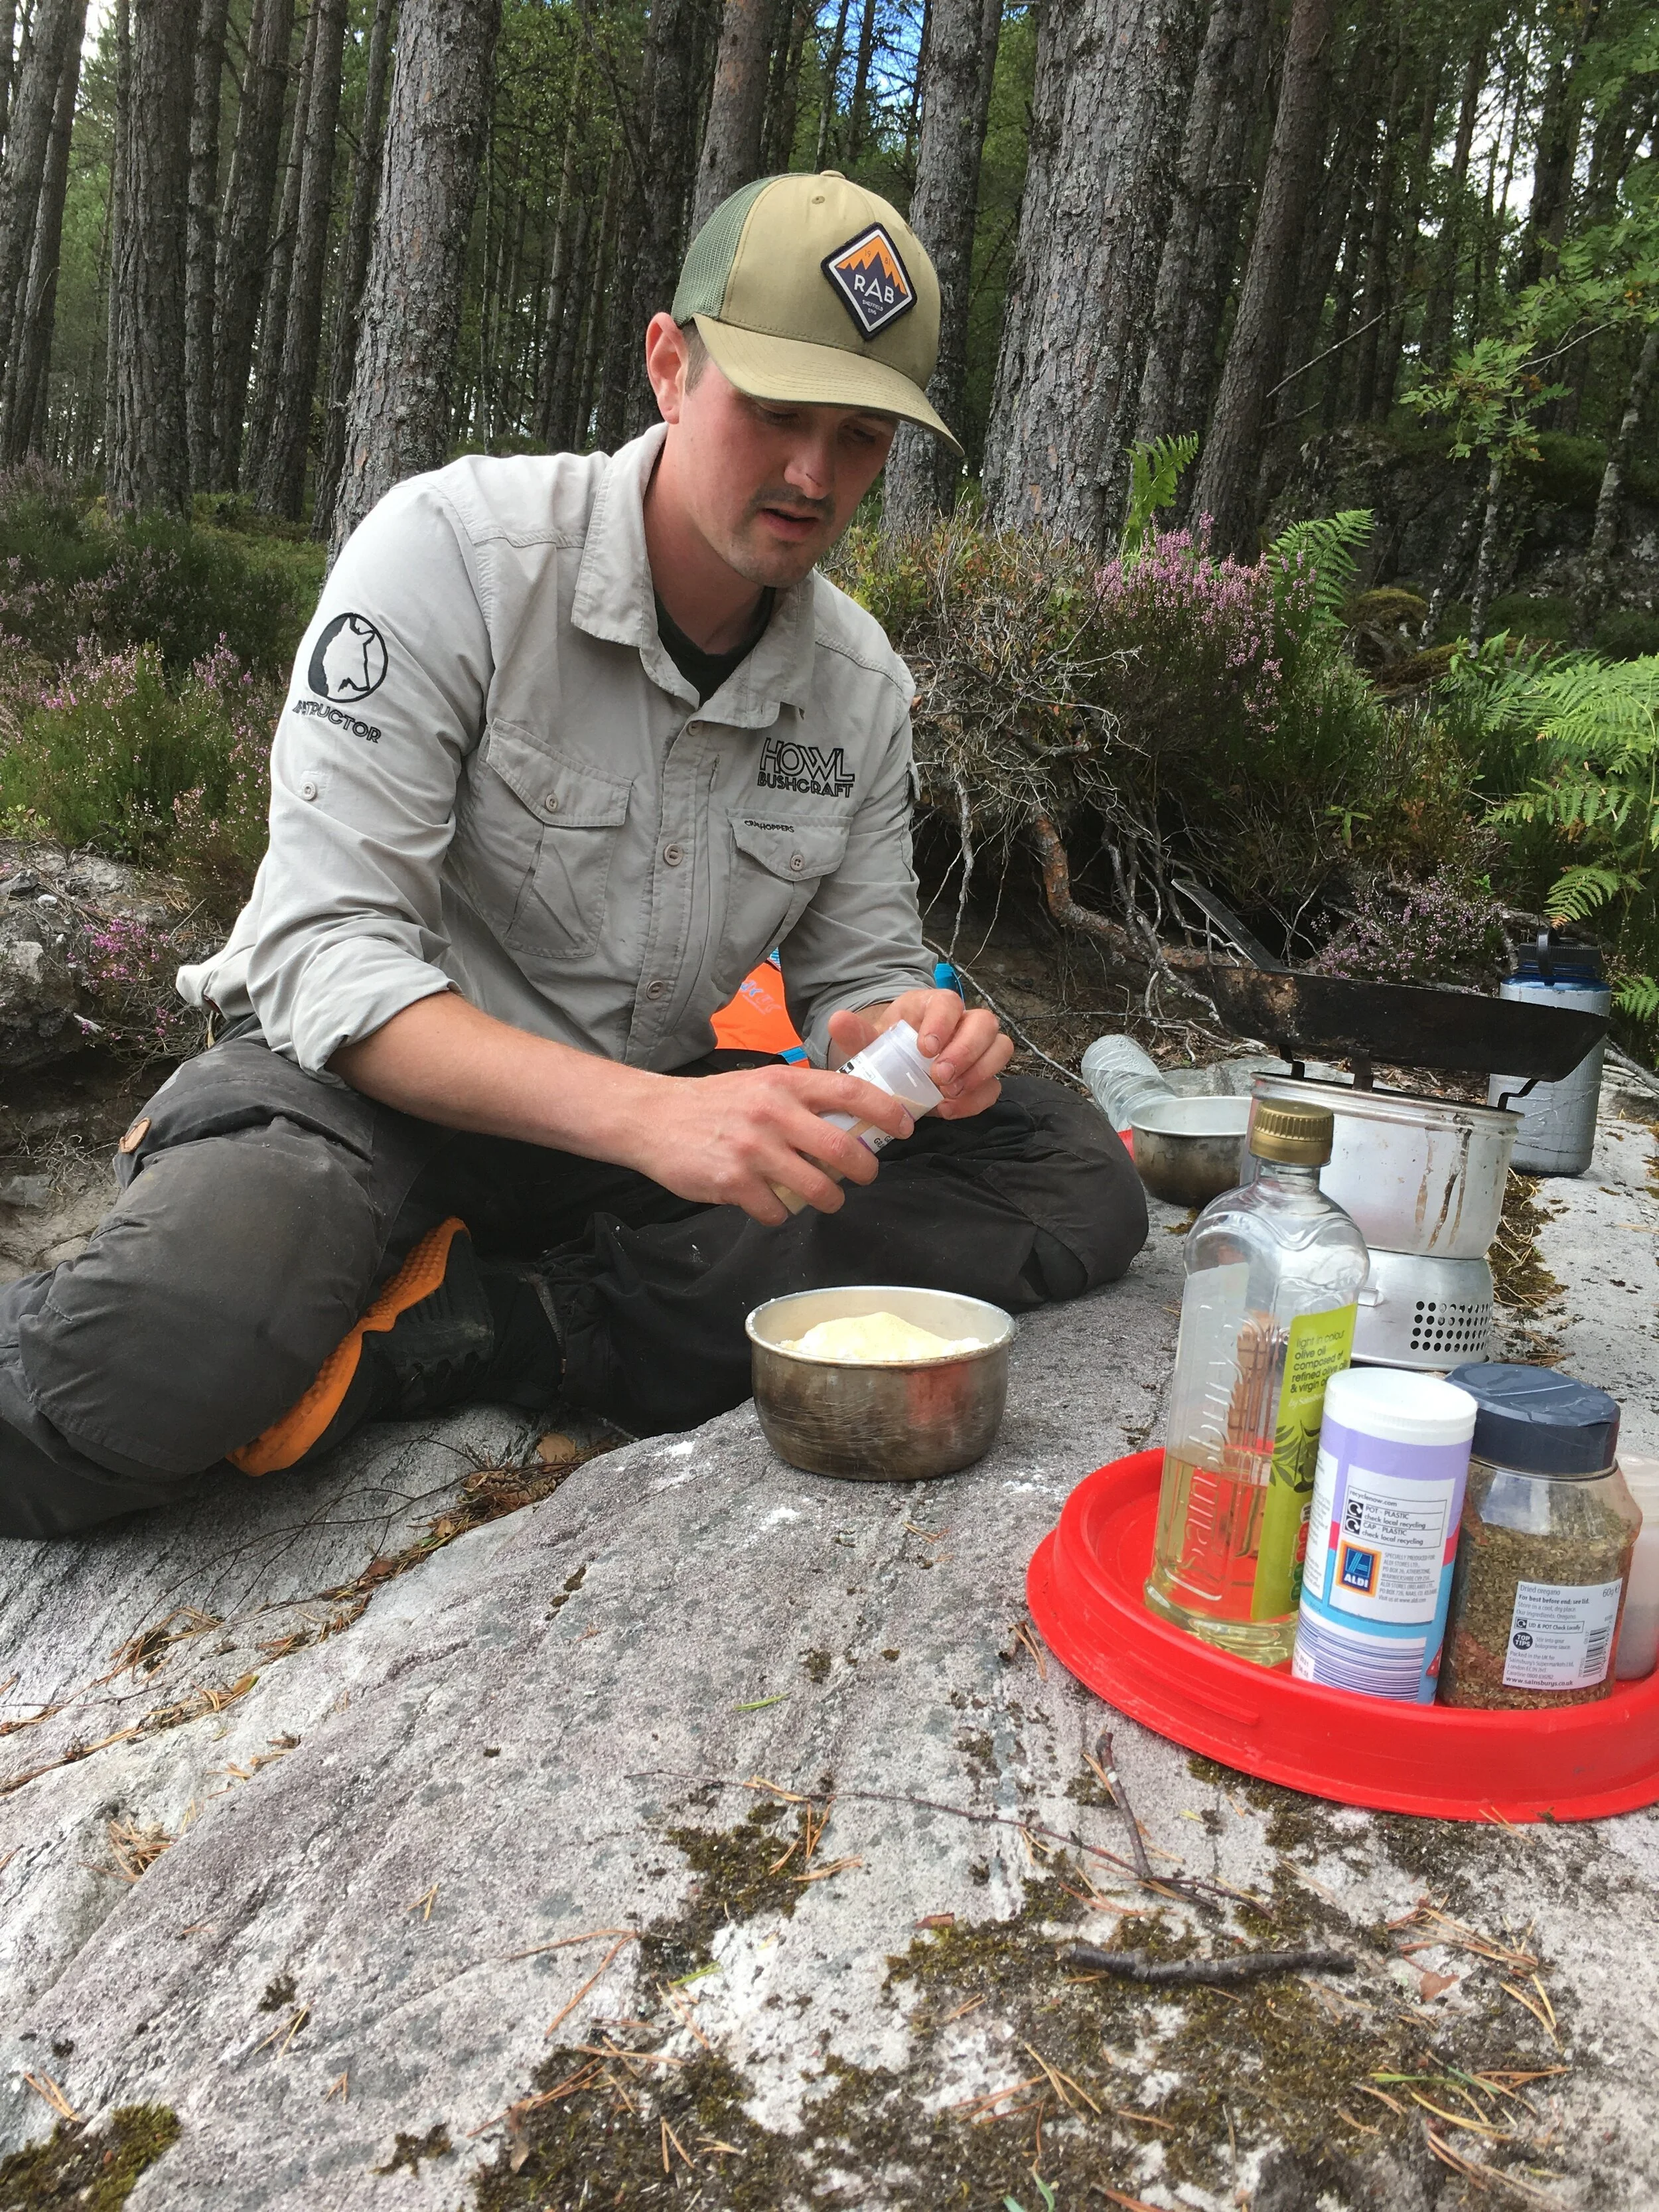
During a recent canoe trip to Glen Affric our clients commented on several of meals we had, but one stood out as a fast, calorie high lunch with a punch of flavour. What is in all honesty a very simple recipe, transforms during a hard hike or canoe trip into an aromatic bread that restores your energy and warms you from within.
During a recent canoe trip to Glen Affric our clients commented on several of meals we had, but one stood out as a fast, calorie high lunch with a punch of flavour. What is in all honesty a very simple recipe, transforms during a hard hike or canoe trip into an aromatic bread that restores your energy and warms you from within.
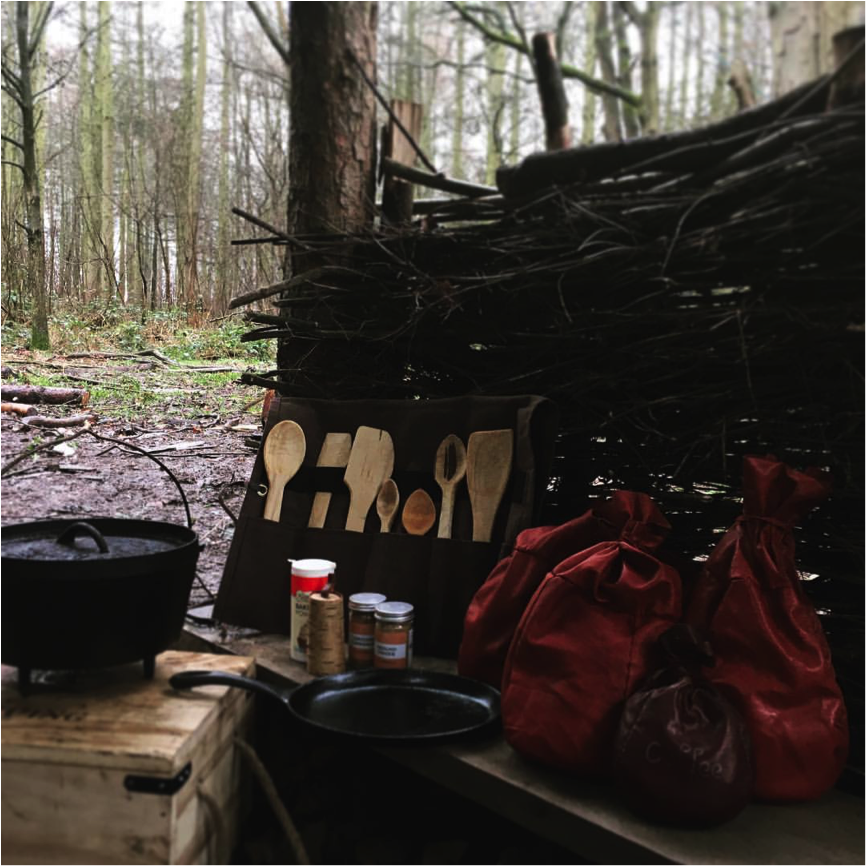
This recipe serves 6 people well or 8 as a lighter lunch. You’ll need a skillet around 22cm wide, and either a campfire or a stove. I find the alcohol Trangia stove to work very well.
Ingredients:
4 good handfuls of Spelt flour
4 good handfuls of Plain flour (When travelling I carry a blend of 50/50 spelt and plain flour, so I just use 8 handfuls of the blend)
2 Heaped Tablespoons Garlic powder
1 Heaped handful of Oregano
1 teaspoon sweet smoked paprika
1 teaspoon cumin
Salt and pepper to taste
1 Tablespoon Baking powder
Olive Oil
Cold water approx: 400ml
Method:
I find on the Trangia, with bioethanol in a full open burner, with no wind it takes around 20 minutes to cook this bread from start to finish.
Whether using a stove or a fire, heat the skillet with enough olive oil to cover the bottom of the pan in a good 2-3mm of oil.
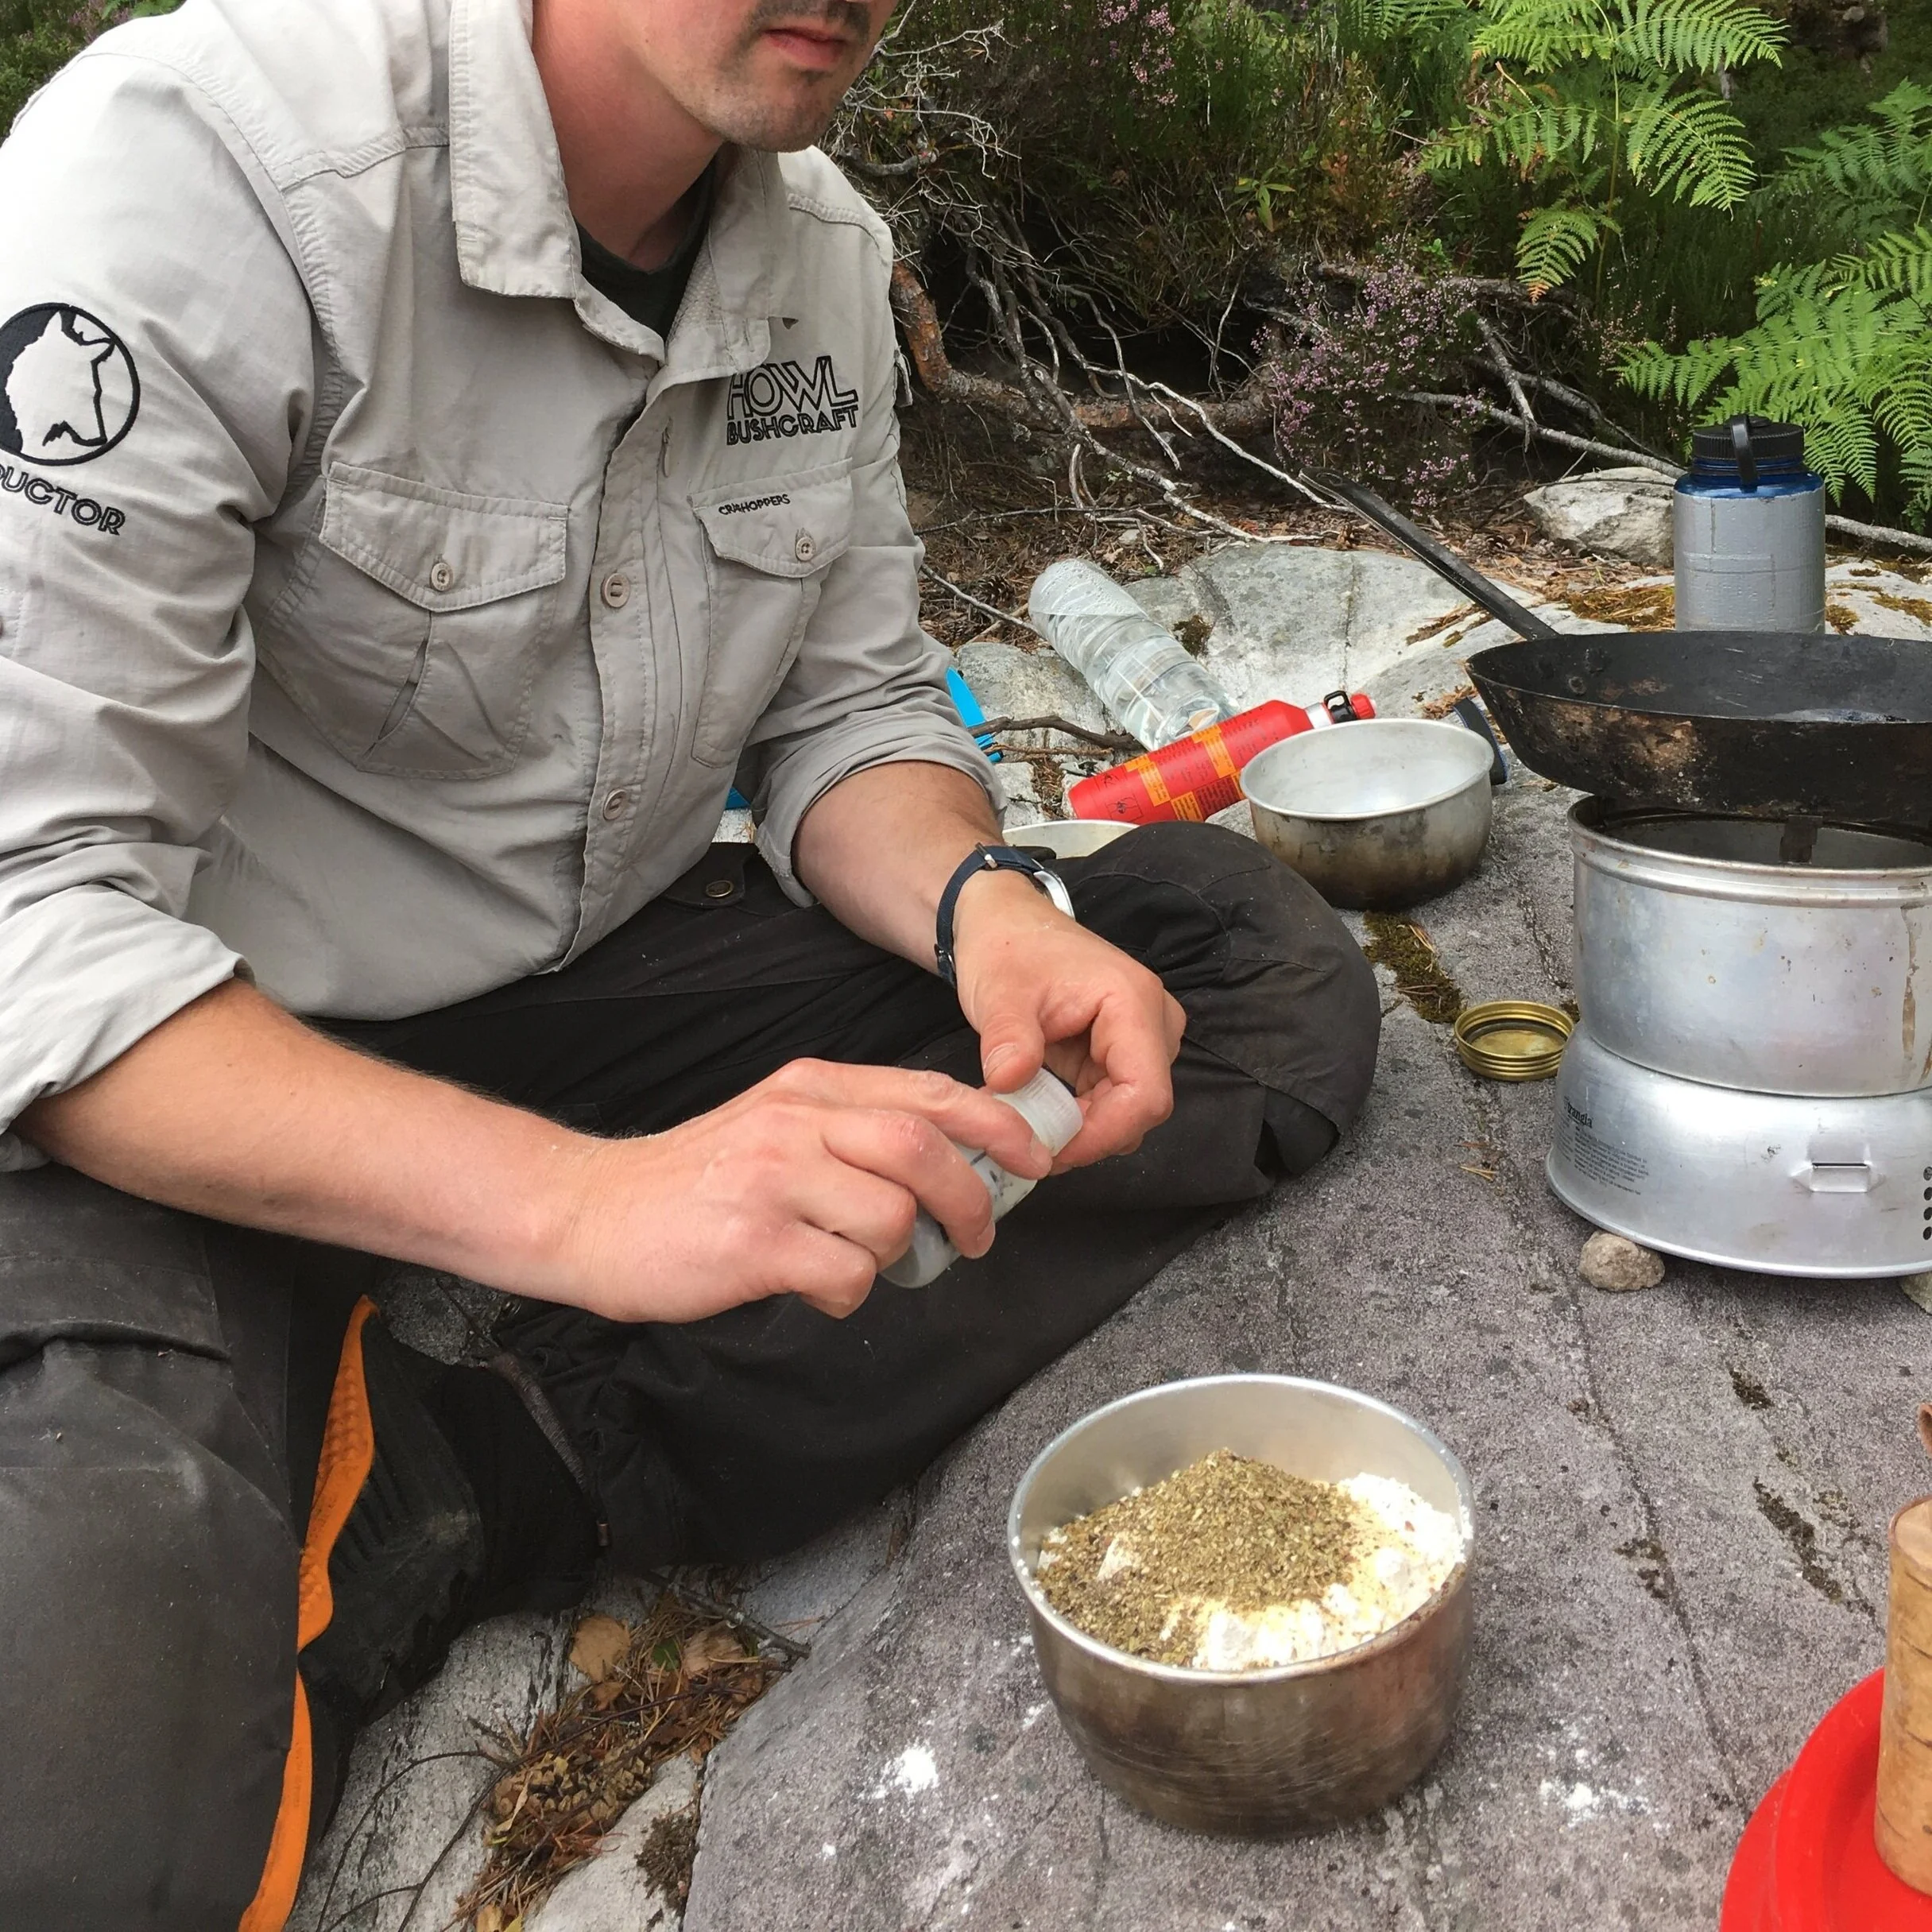
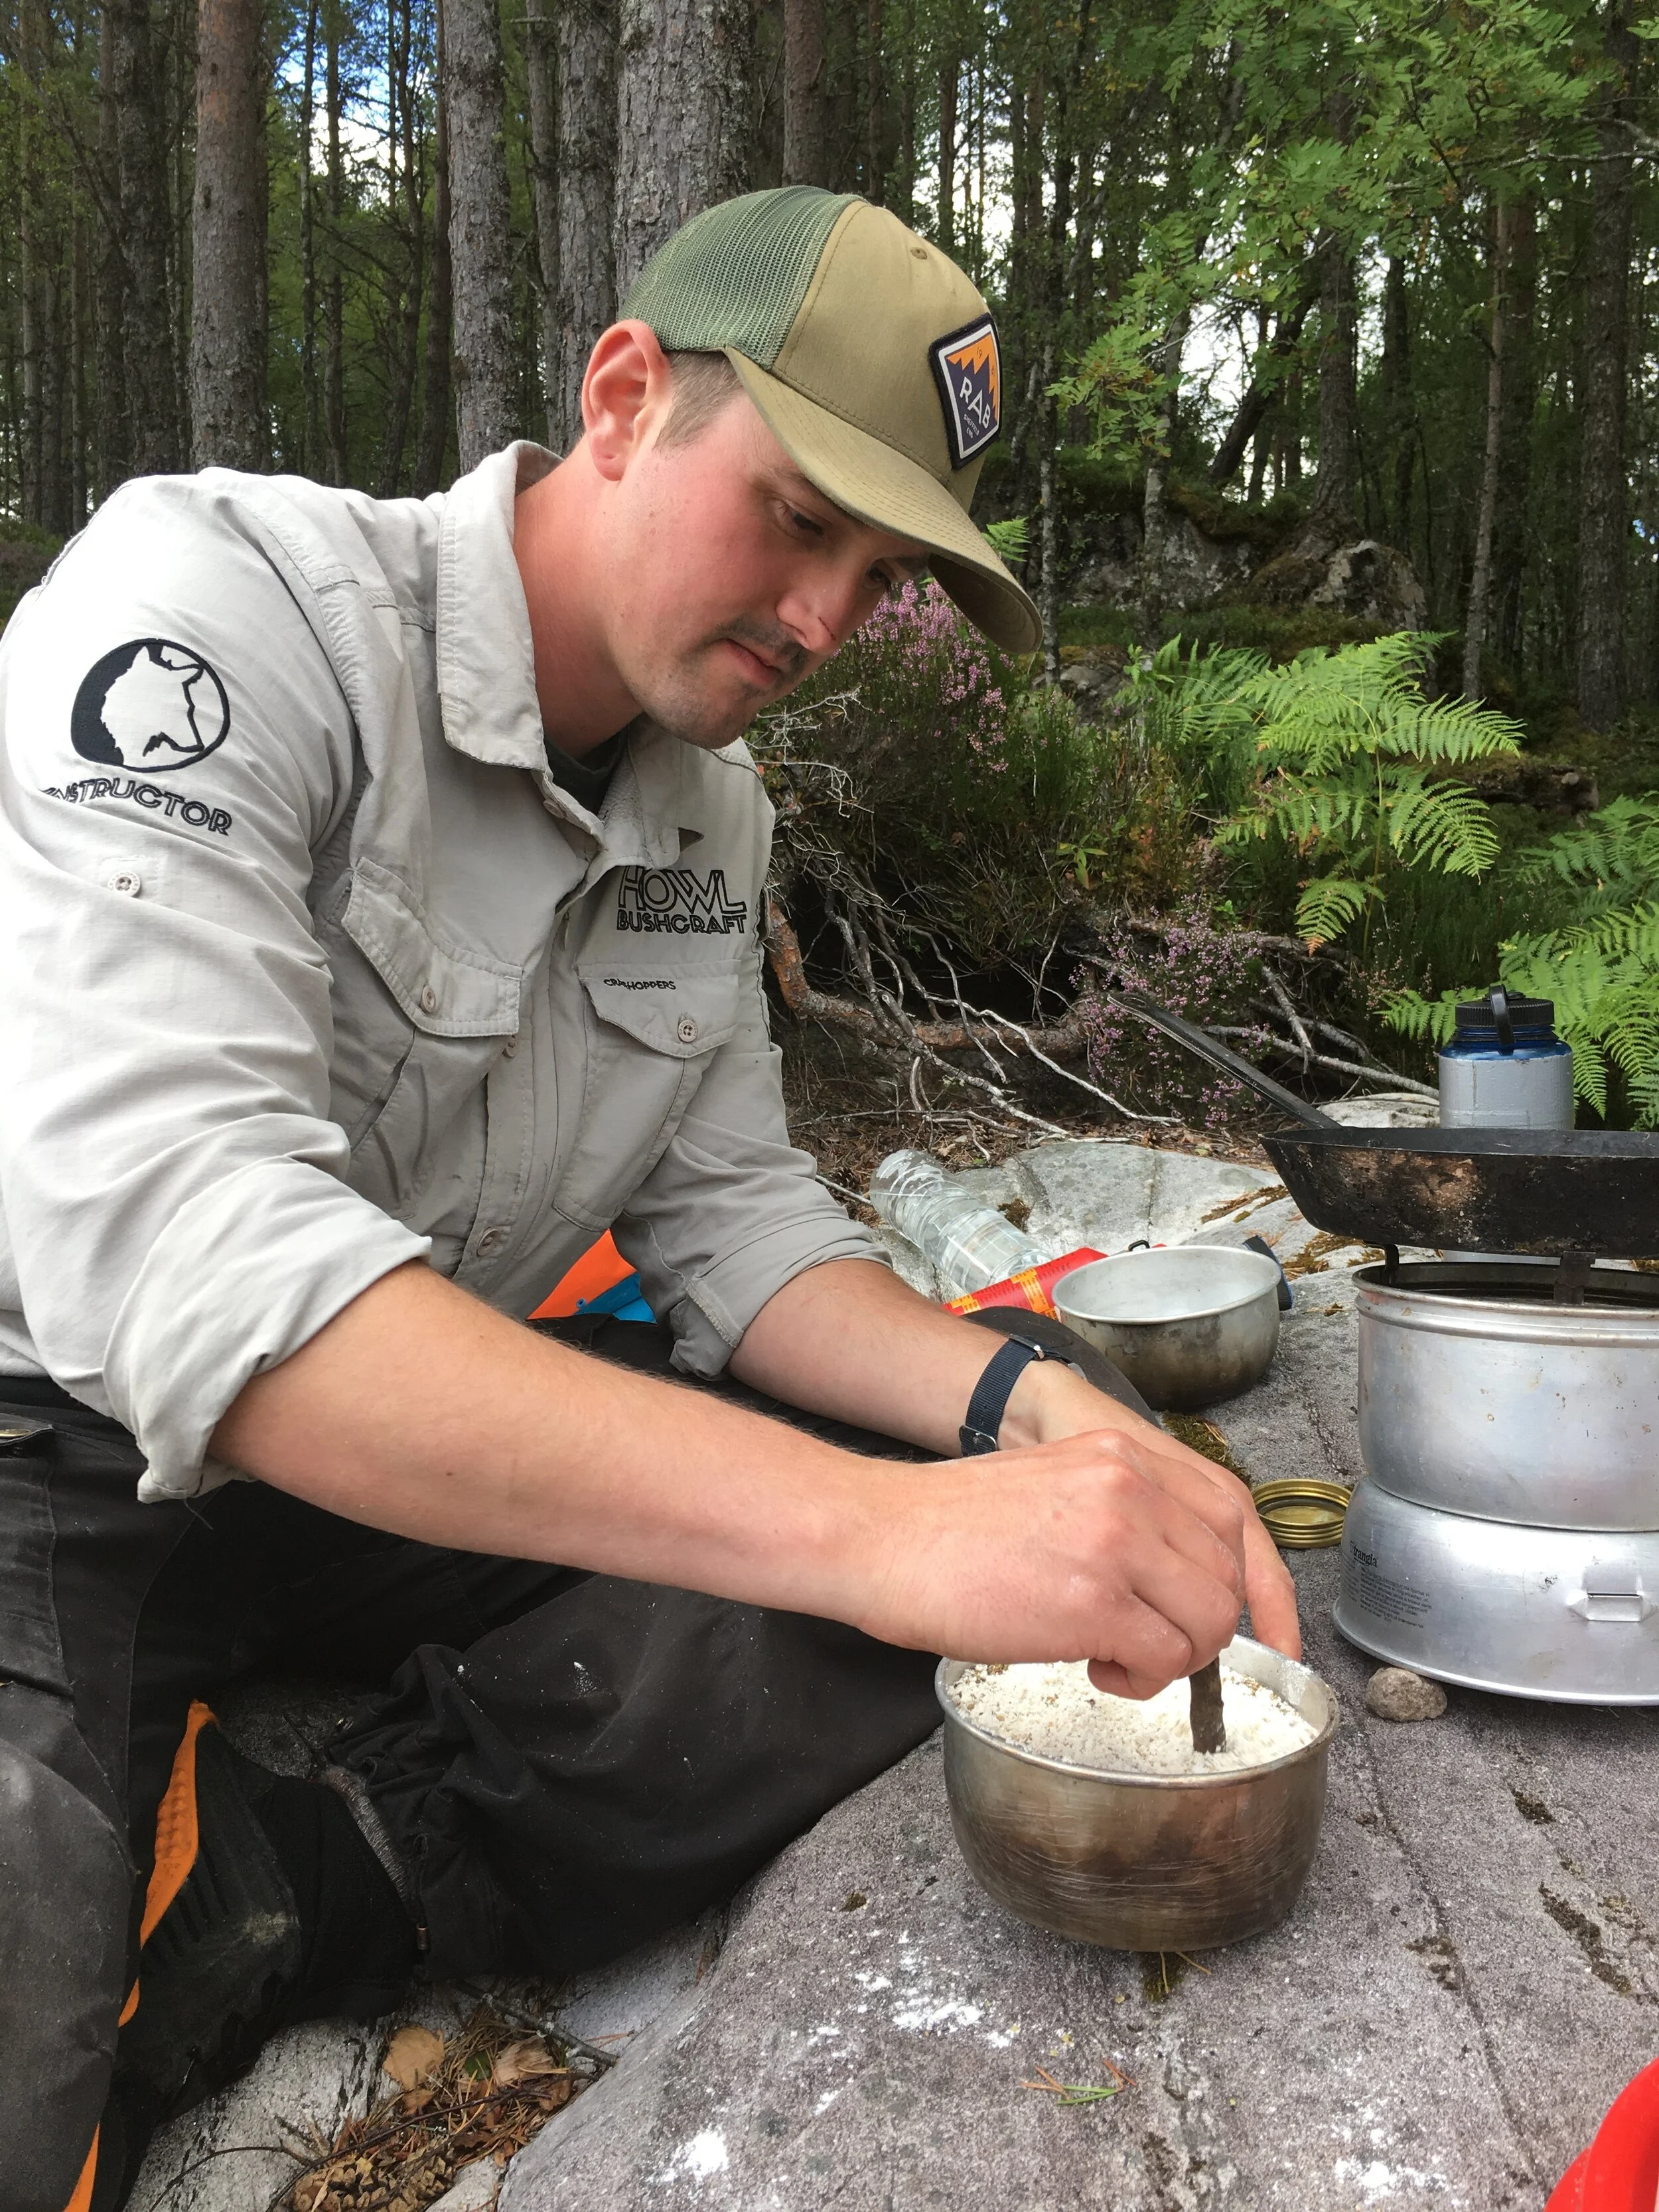
While the pan warms up, mix all the dry ingredients in a bowl and aerate. This action of fluffing up the flour is essential if you been travelling, as the flour gets compacted and therefore will create a dense flat dough if you don’t introduce a little air.
Add a little water at a time while stirring the mix, you’re aiming to get to a thick muffin dough texture as quickly as possible. It is very easy to over mix the dough and then the baking powder has less of an effect in cooking.
Once you have a thick dough, consolidate it into a ball. If you do this right the bowl will be practically clean and require very little washing up.
Check the oil is hot enough by dipping a sliver of dough in, if it bubbles straight away you’re good to go.
Remove the pan from the heat, and the spread the dough across the base of the pan with your fingers. Return the pan to the heat.
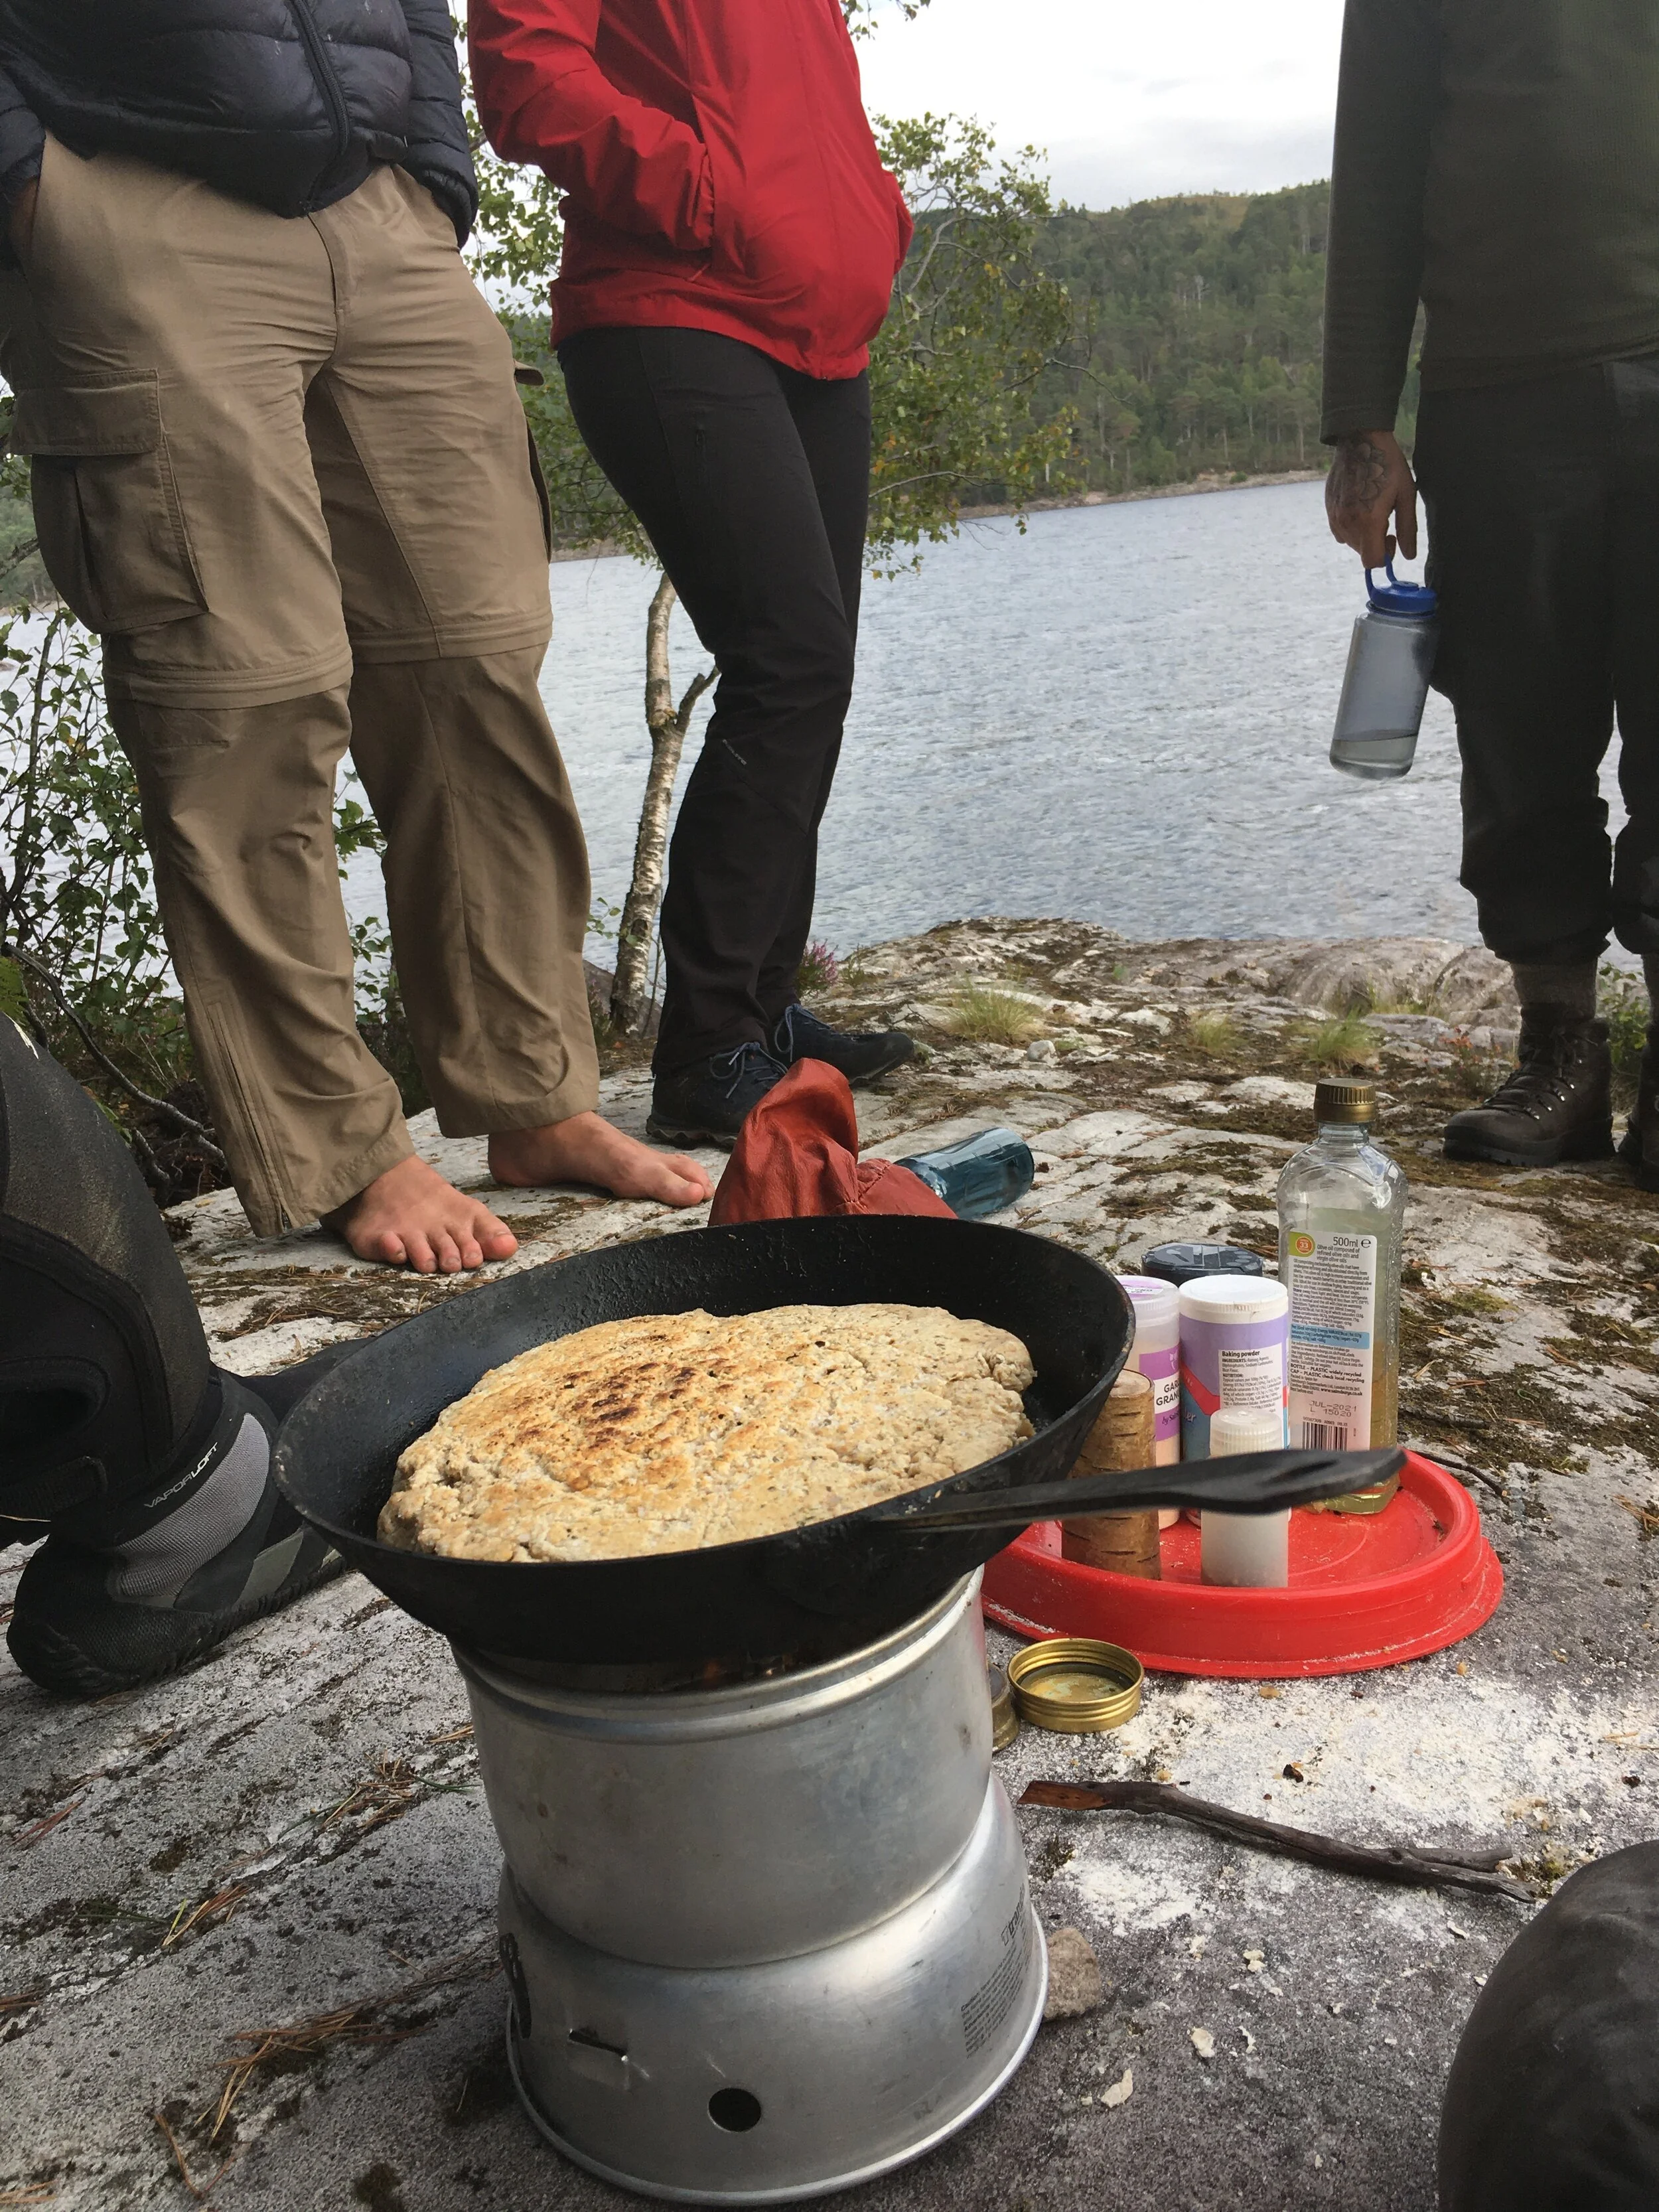
Fry/ bake until golden and crisp on one side, then flip to the other. You should find most of the oil is absorbed in the cooking process, there should be no need to add more to prevent sticking during the flip though.
Once golden on both sides, cut into portions (continue cooking if on the first cut it’s still doughy inside) and serve hot.
Wild Strawberry Tea
As Spring explodes around us, it’s a wonderful time of year to interact with your local environment and get to know your neighbourhood plants.
In this micro blog I wanted to share with you a quick nature fix I took, by collecting some wild strawberry leaves on my walk with the family and making a simple cup of wild green tea.
Wild Strawberry : Fragaria Vesca
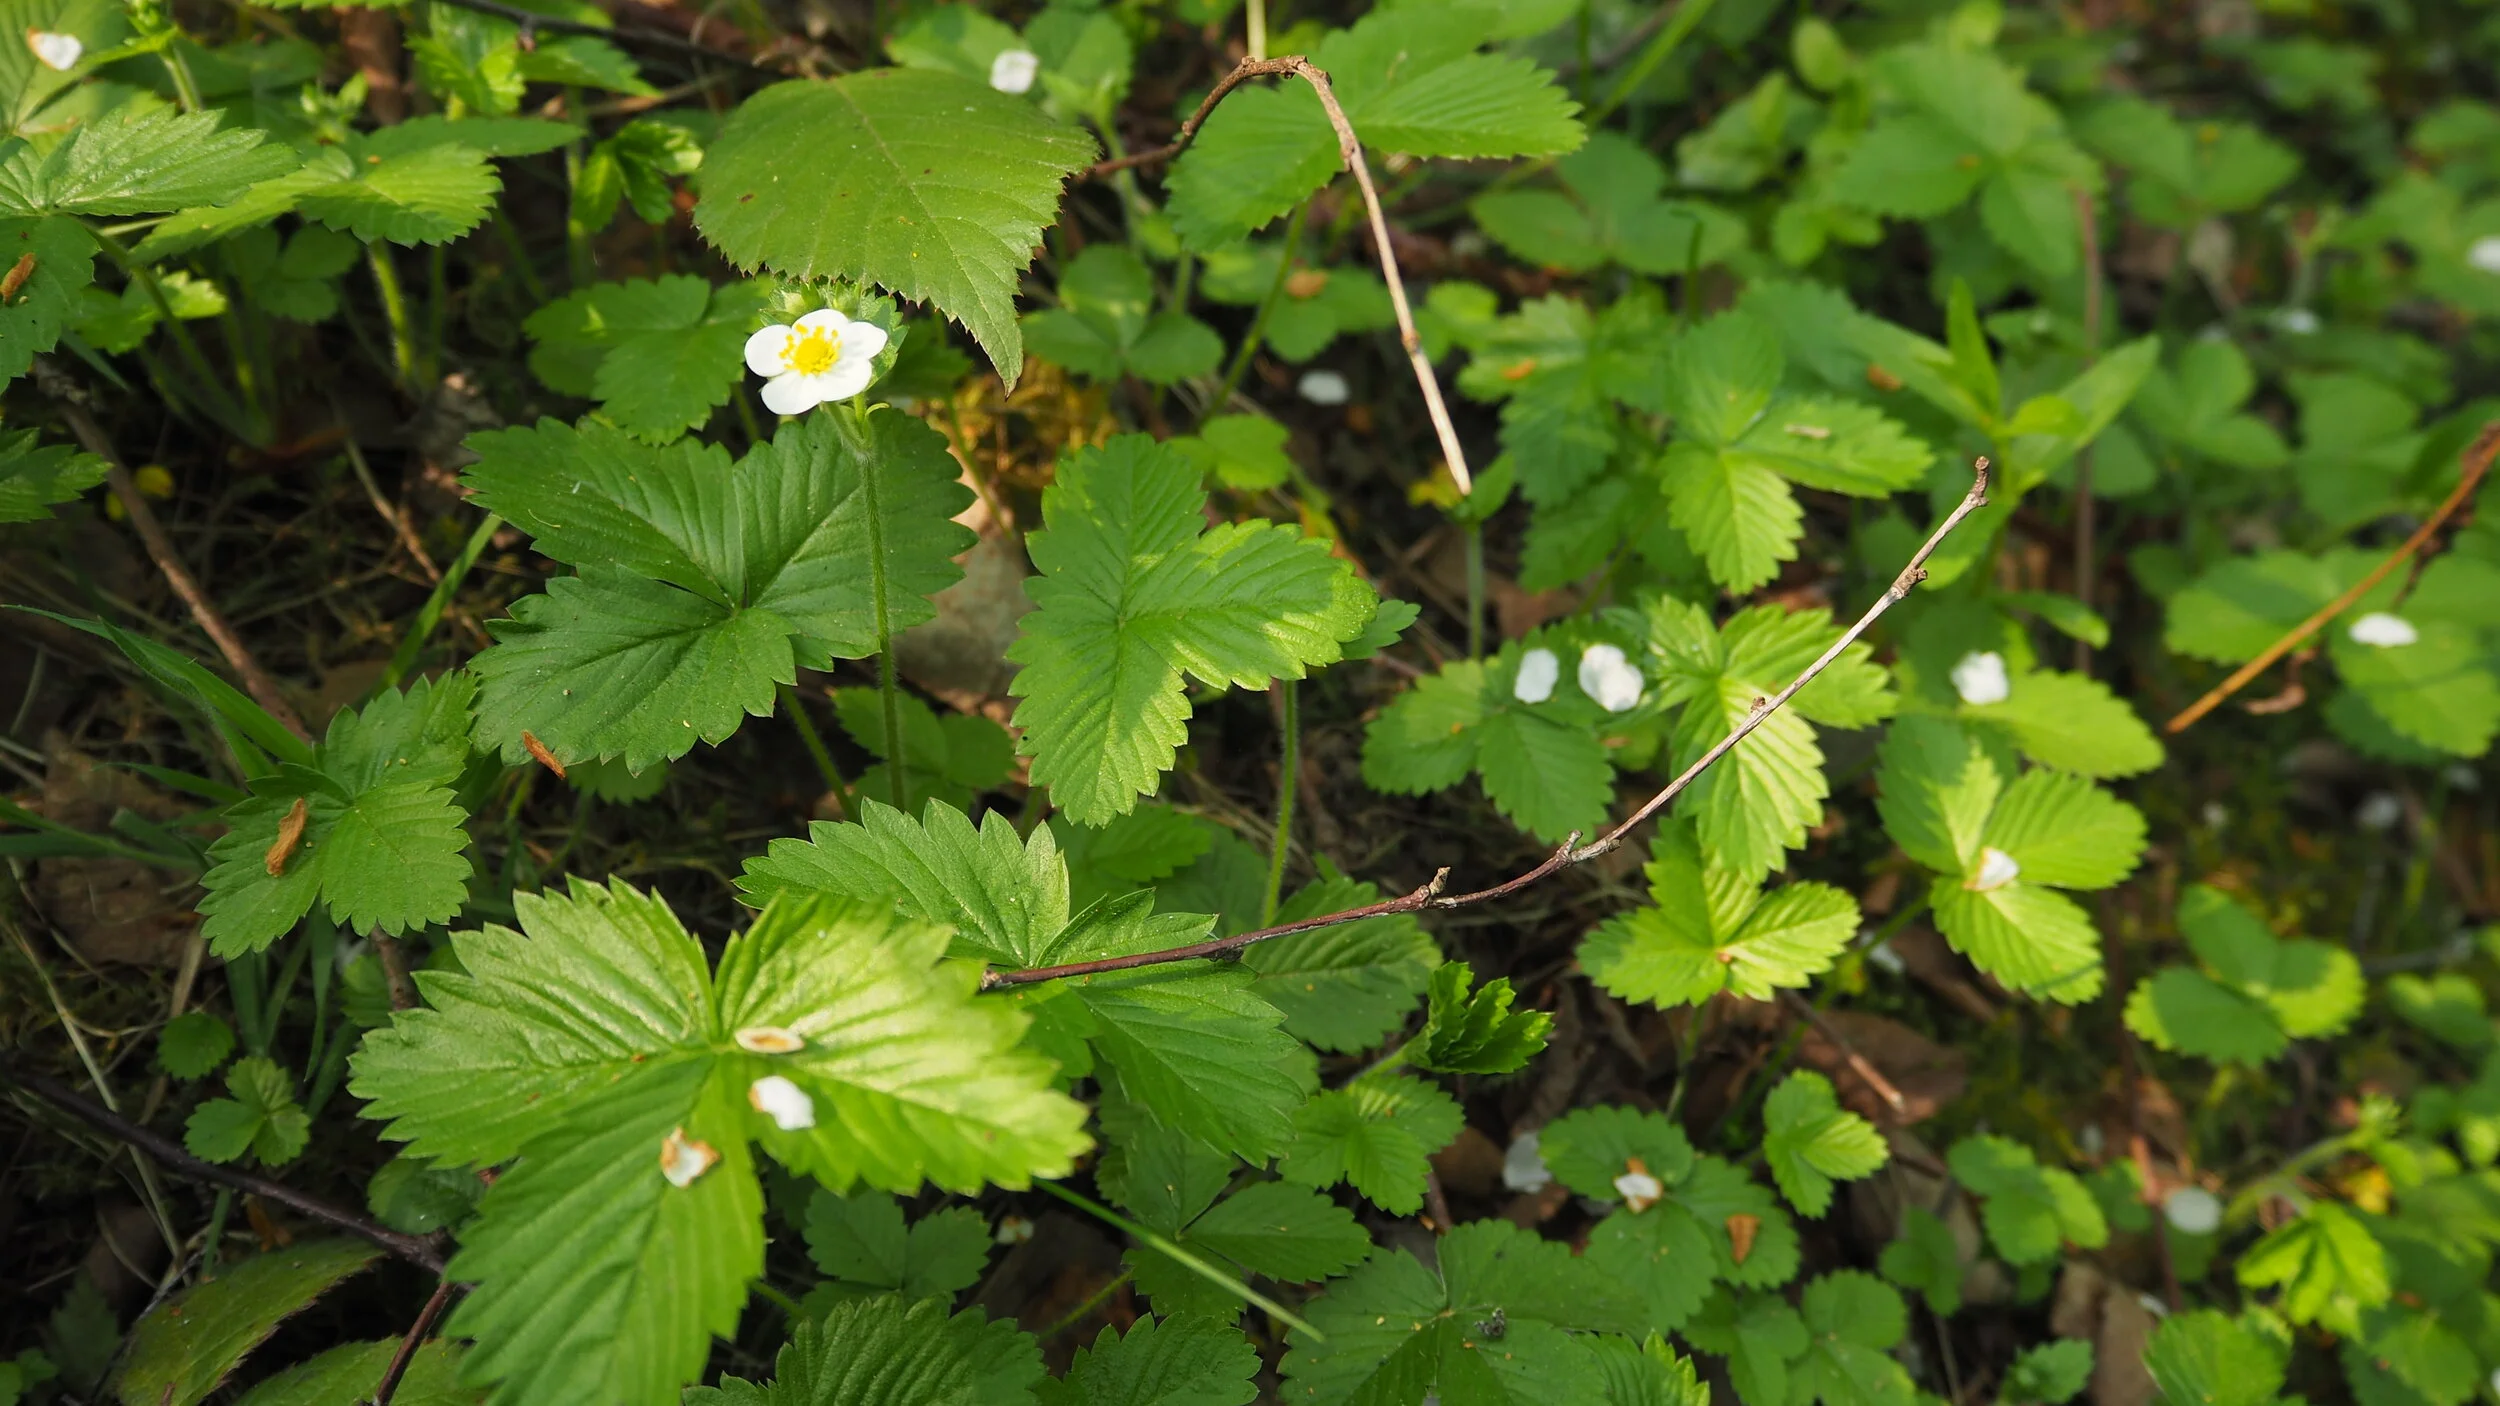
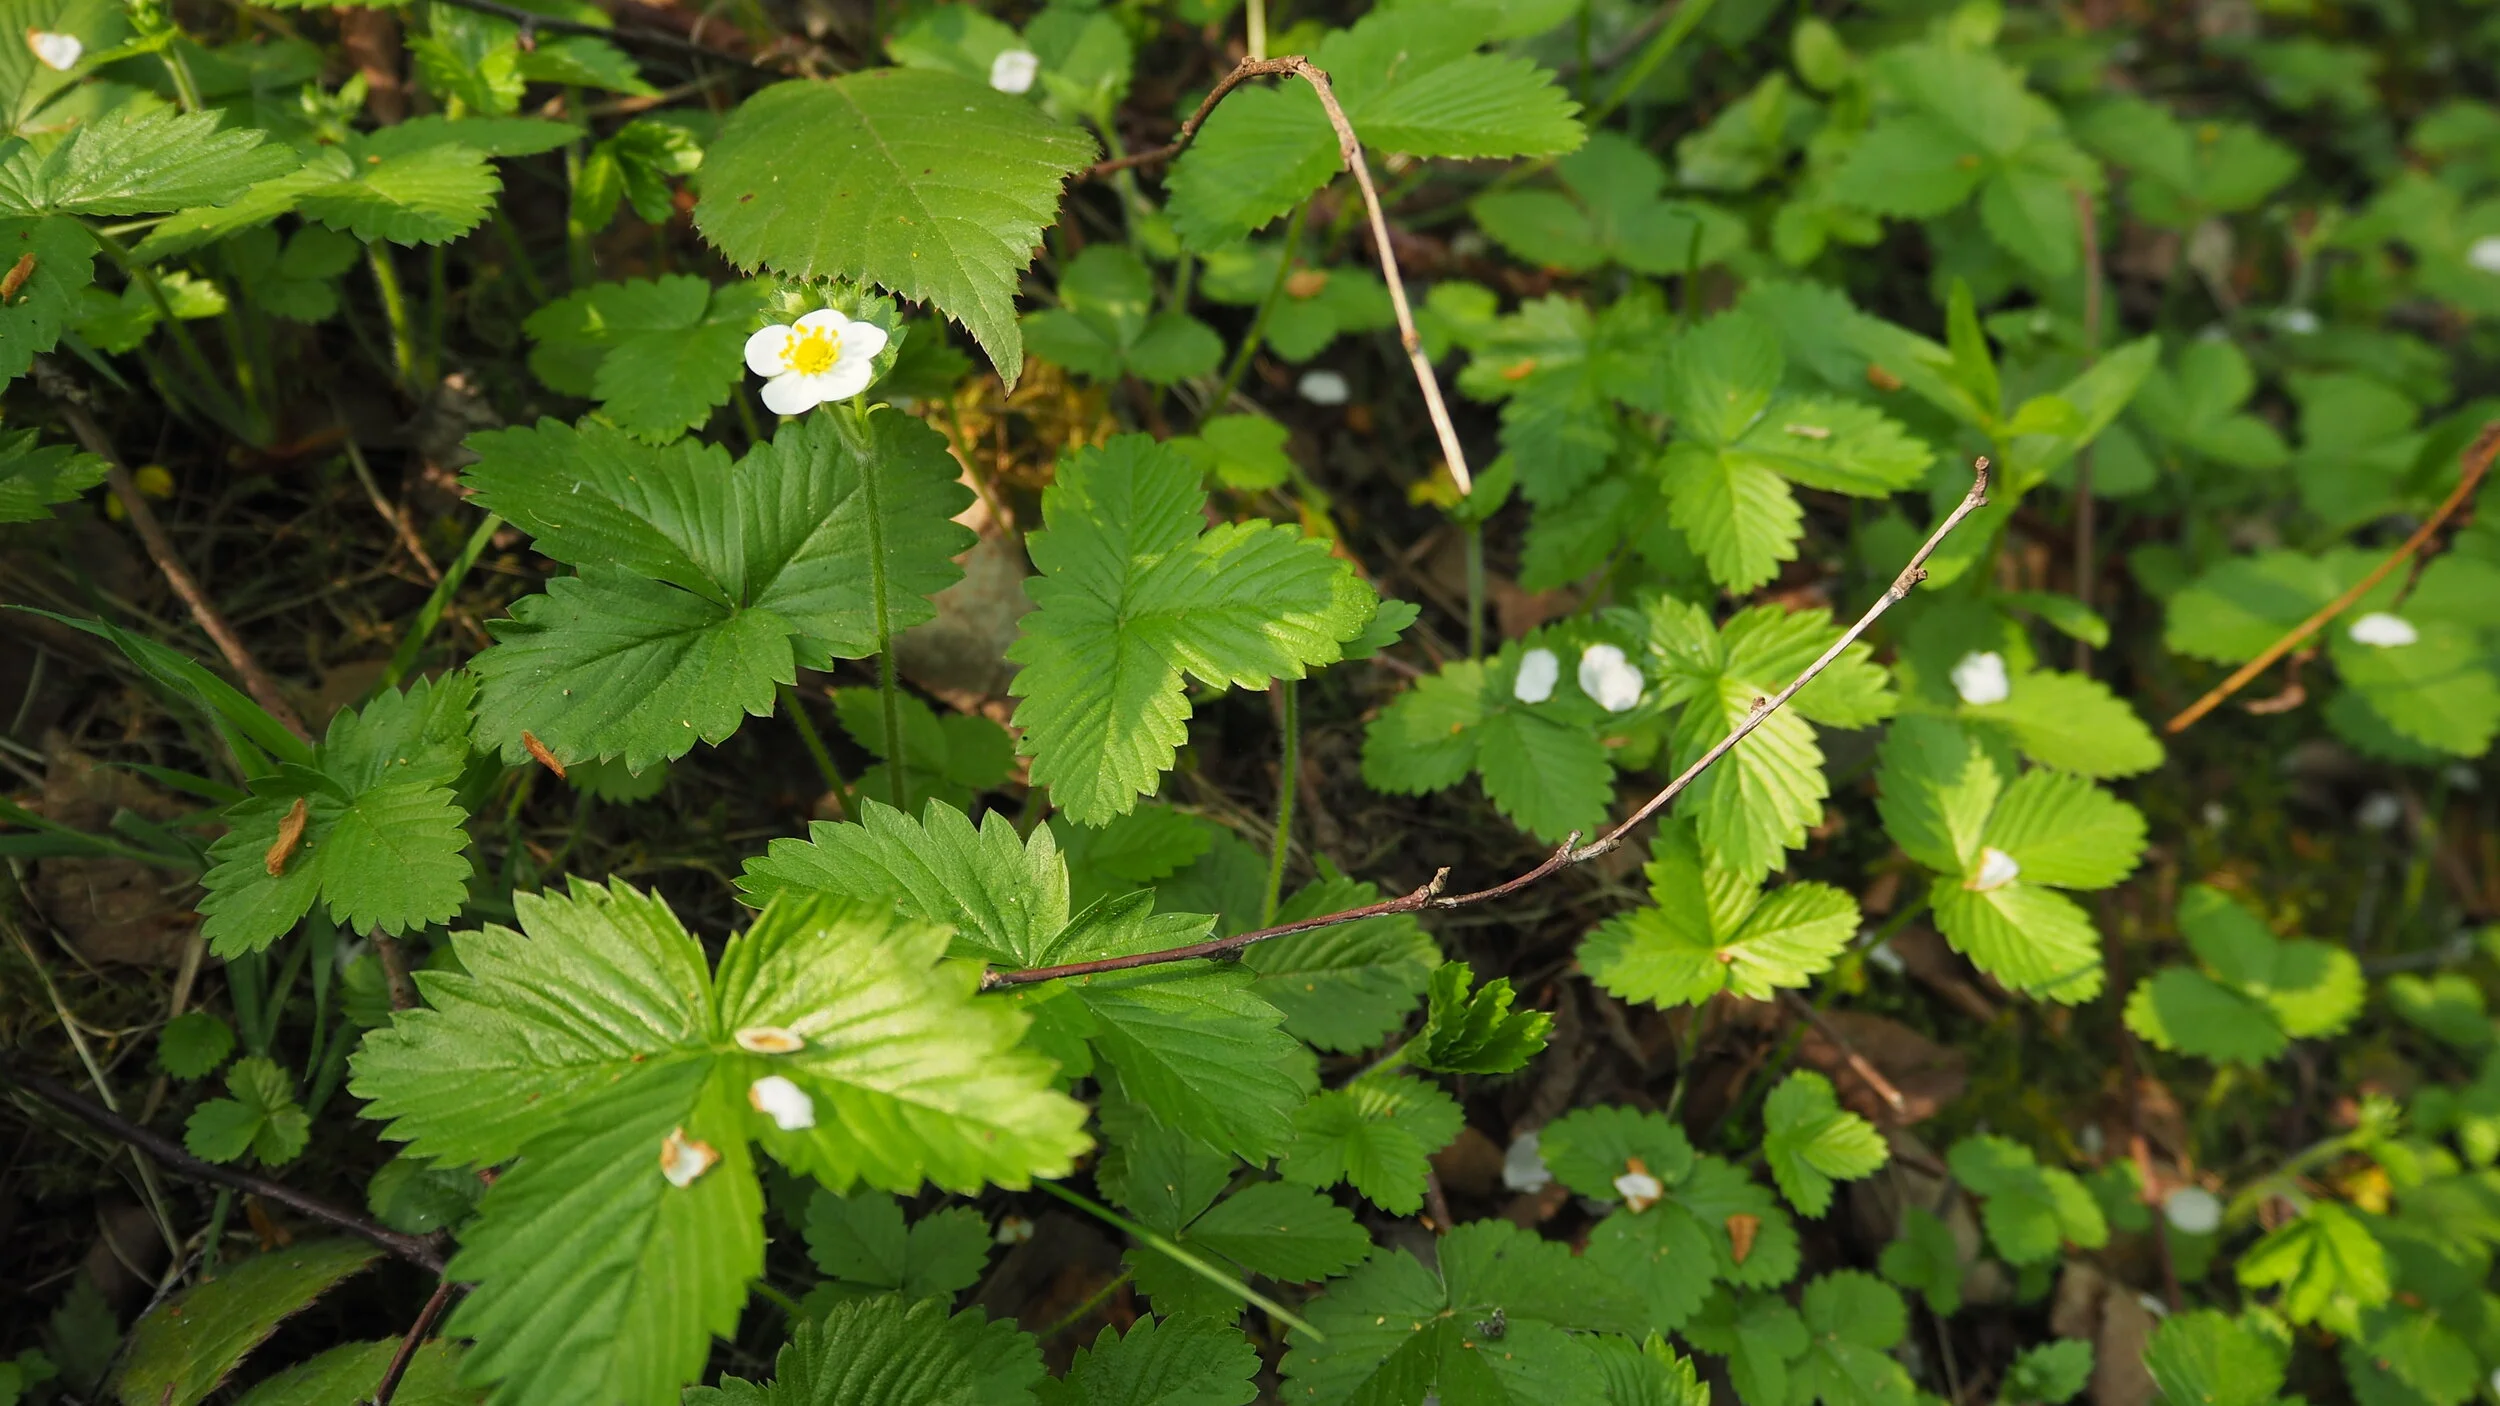
Wild strawberry is a beautiful little plant from the Rose family that can be found often as a spreading carpet in dappled shade, whether that’s under a birch grove or within long grass.
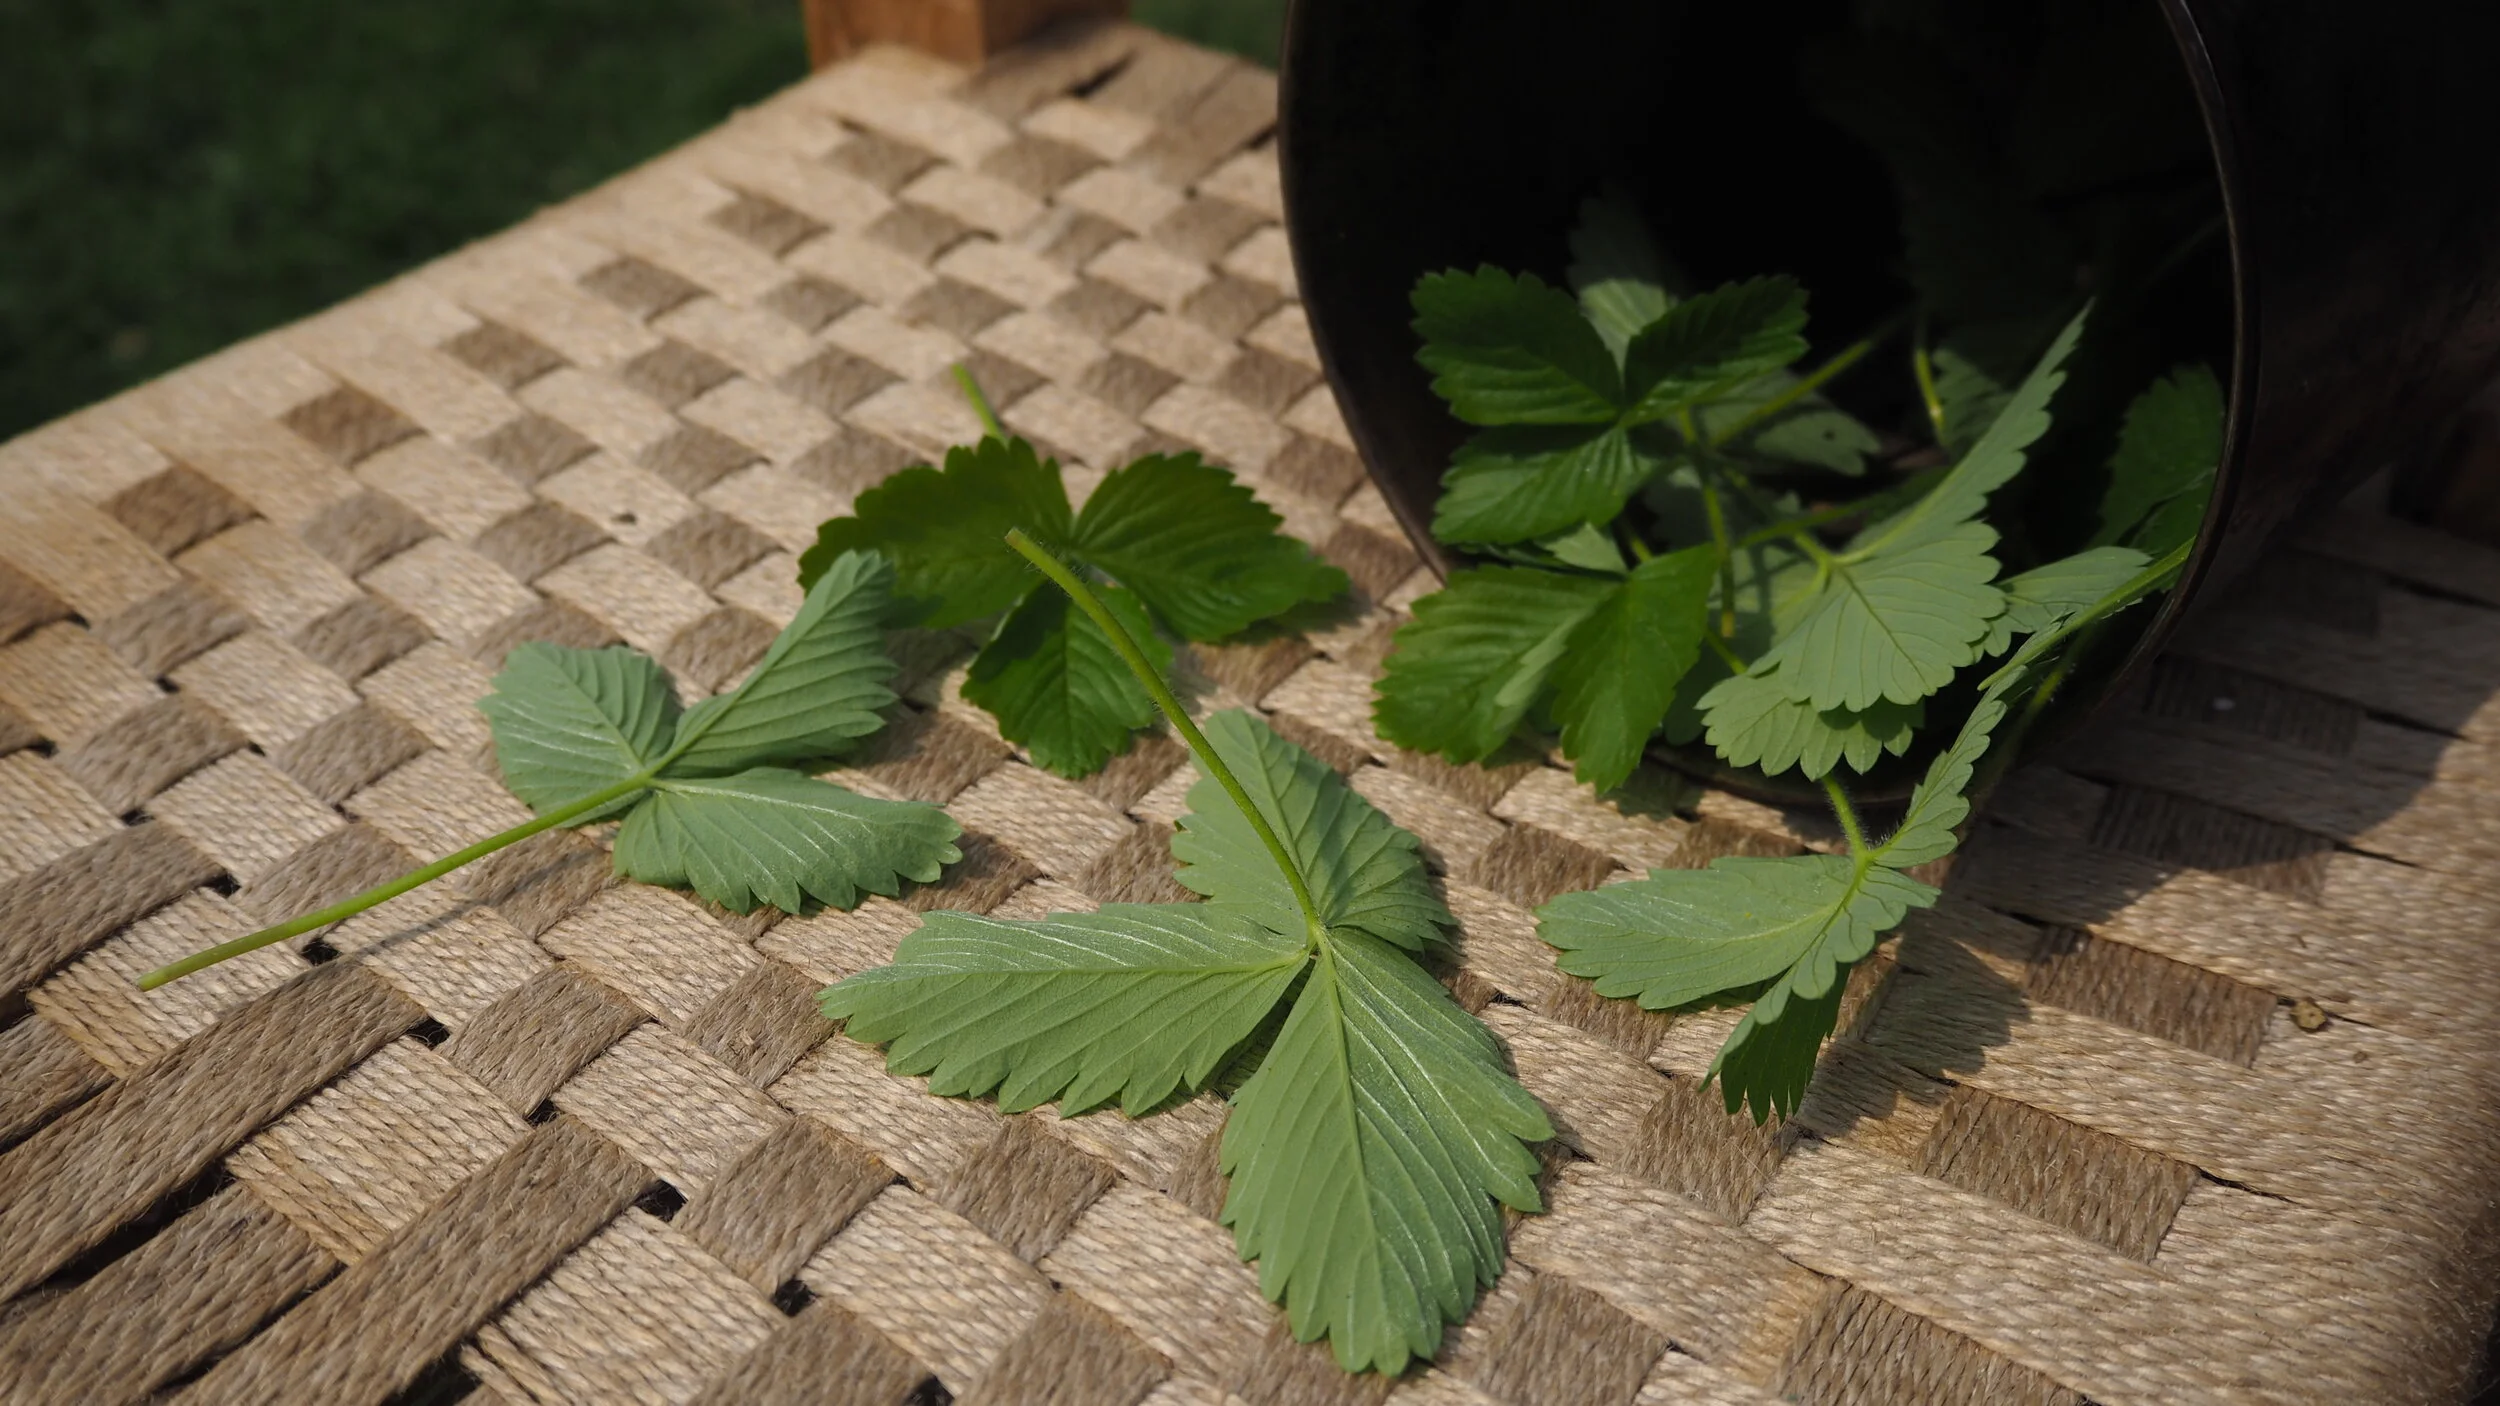
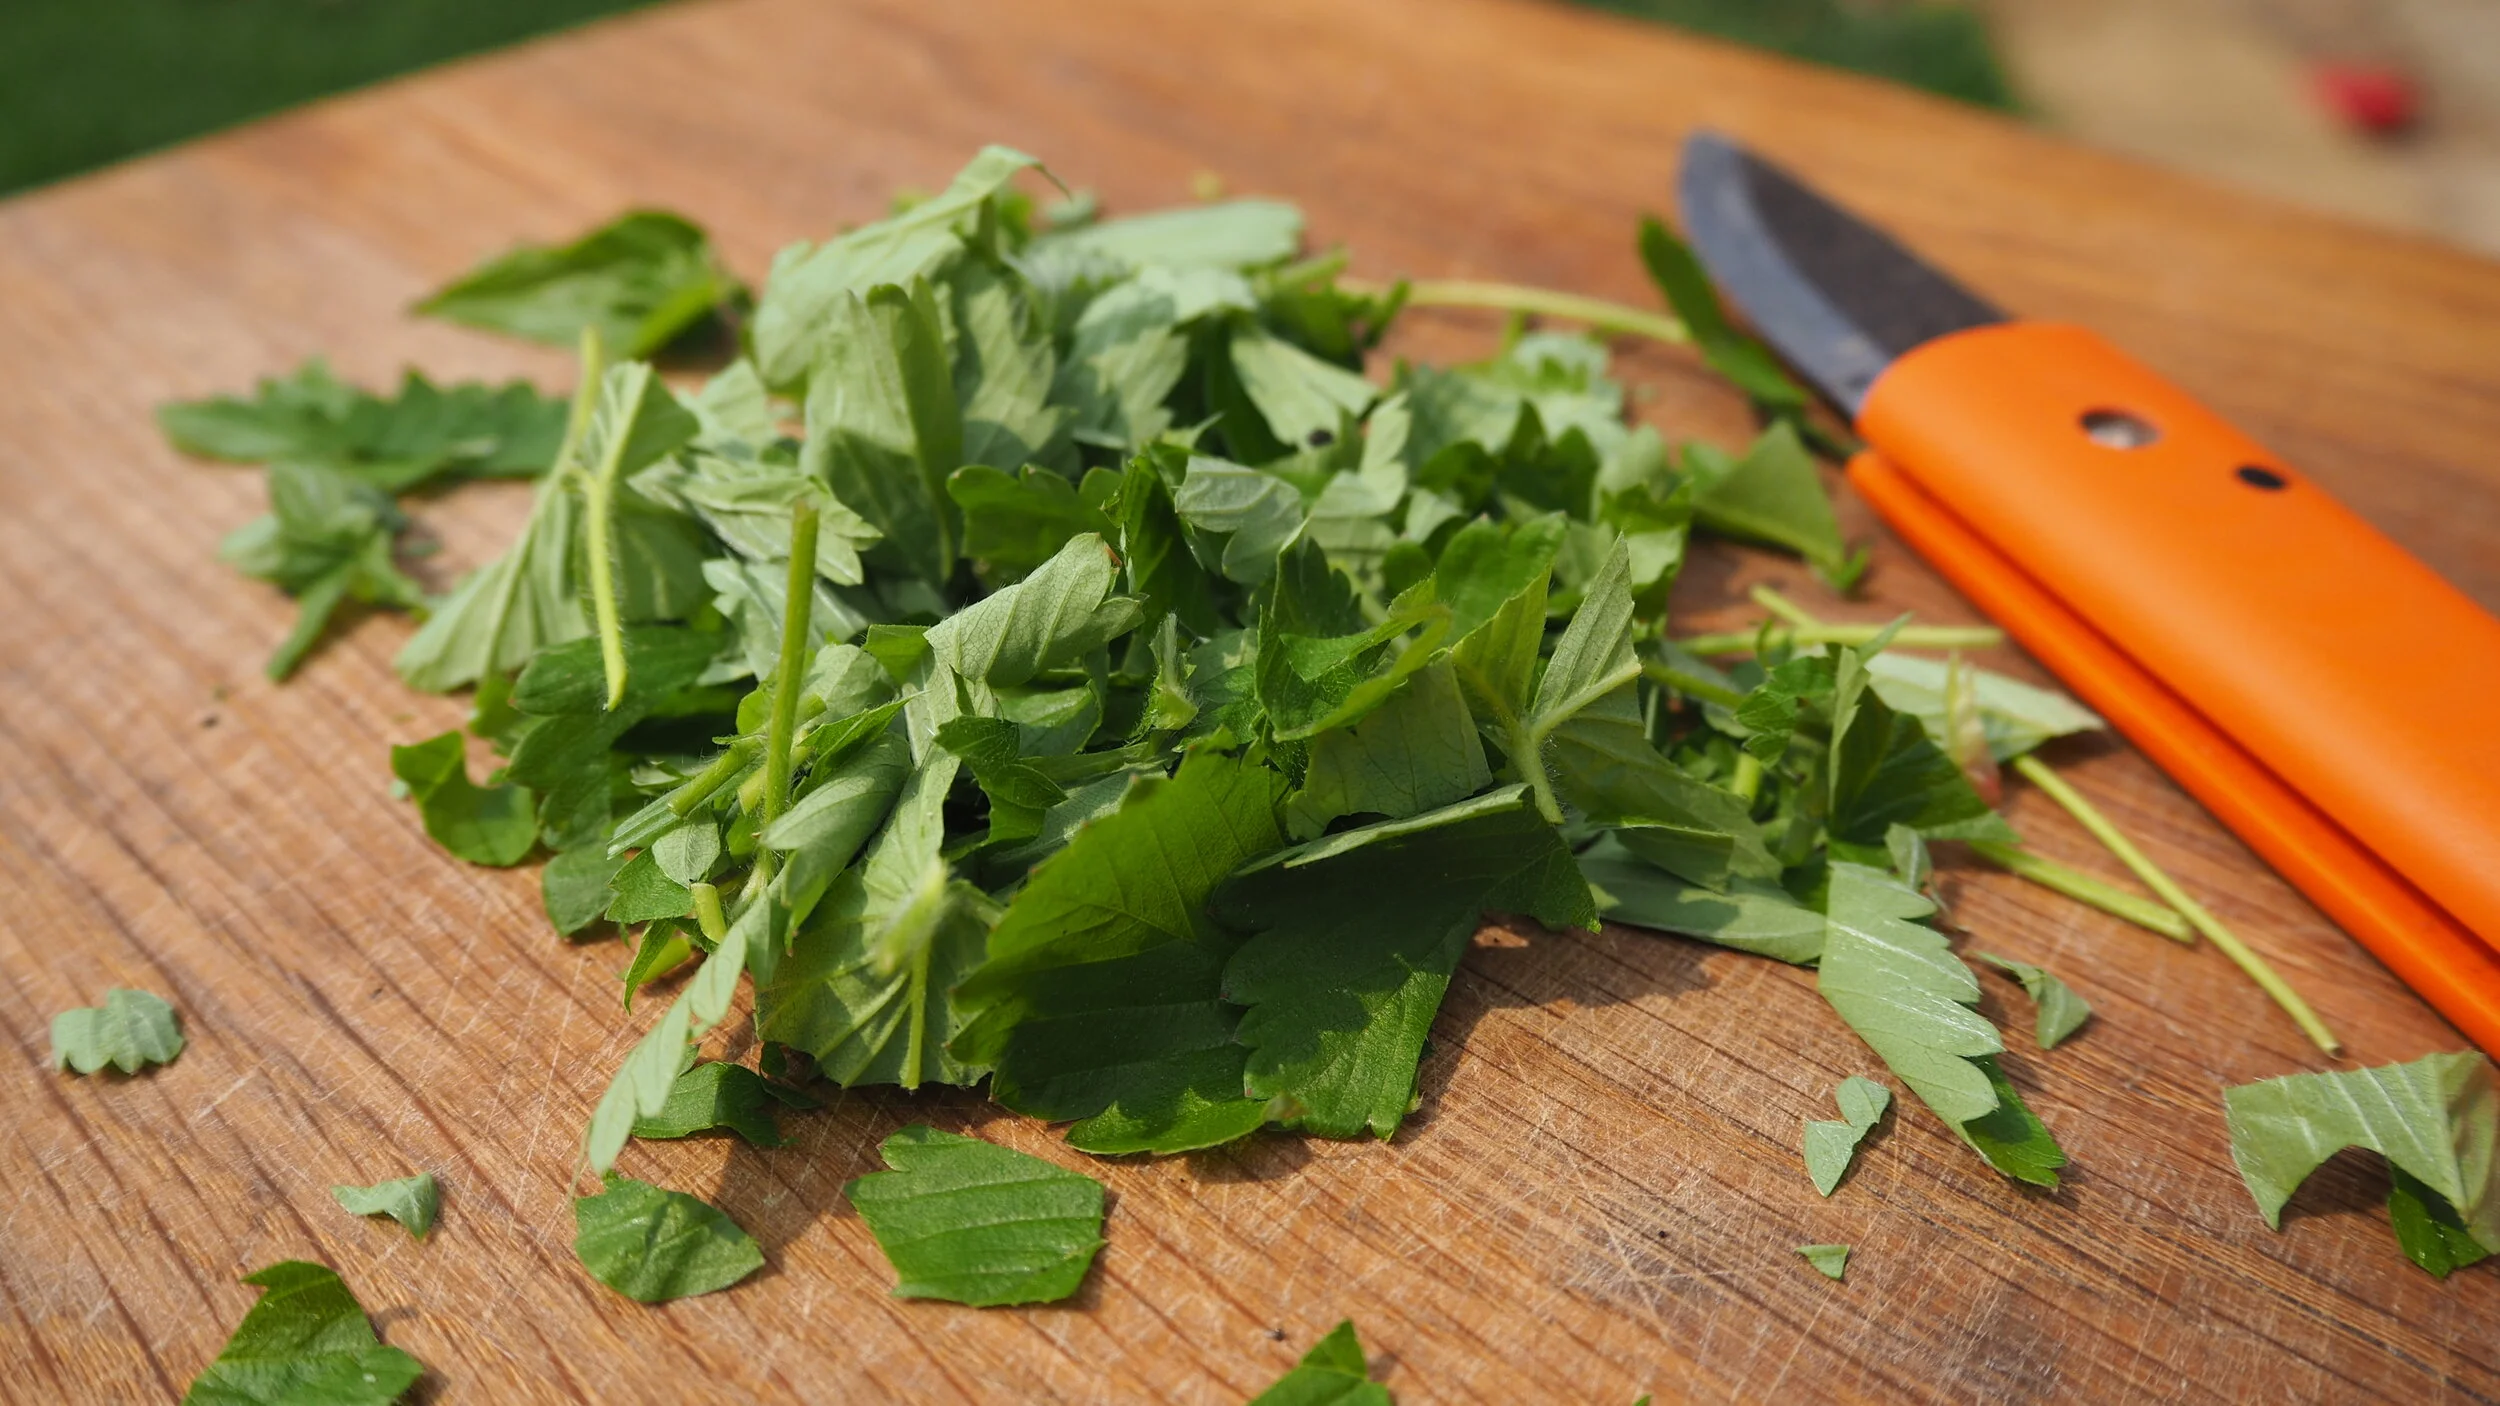
The hairy leaf stems protrude from an underground root network to lift the leaves off the floor. These three leaves emanate from a single shared point at the end of the stem, and are neatly toothed with a distinct point at the end of each tooth. The leaves are a glossy green on top, pale underneath, and clear even veins that run parallel to each other from the centre rib to the tip of each tooth.
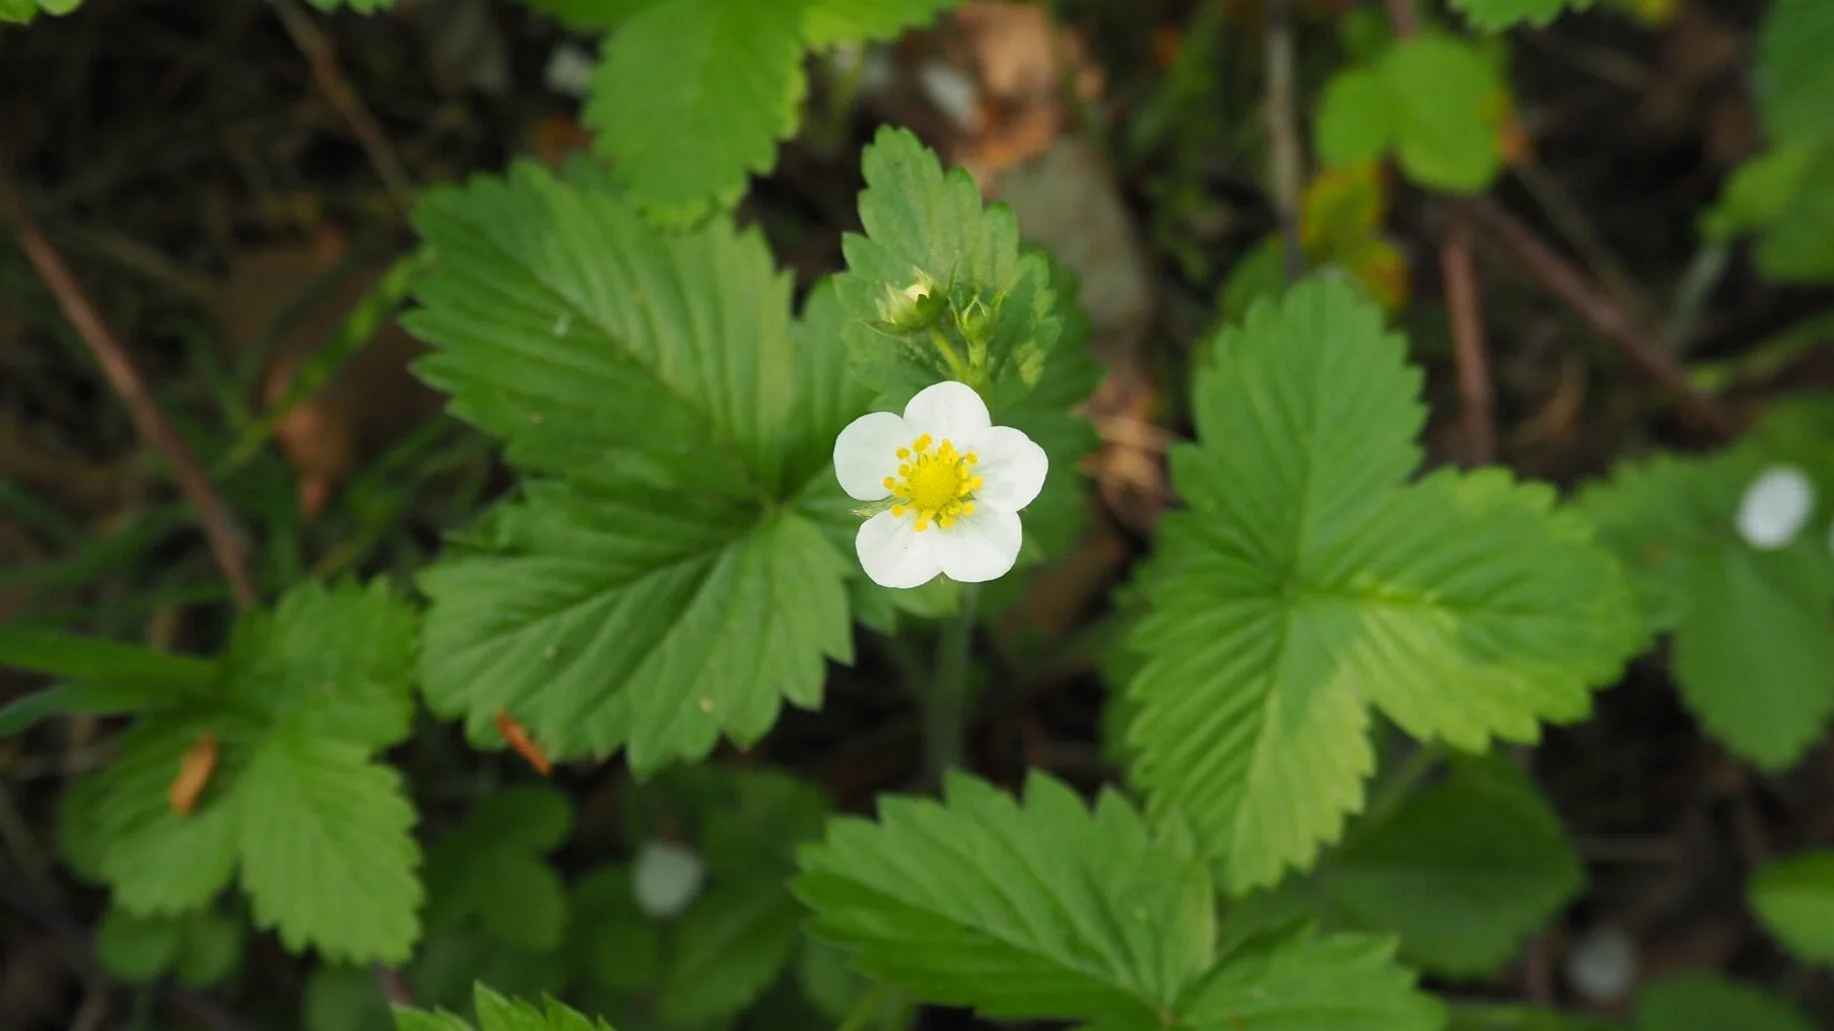
When the suns warm and the weathers fine they show off a white flower, with 5 separate petals as the leaf bracts are visible between the petals.
Wild Strawberry Leaf Tea
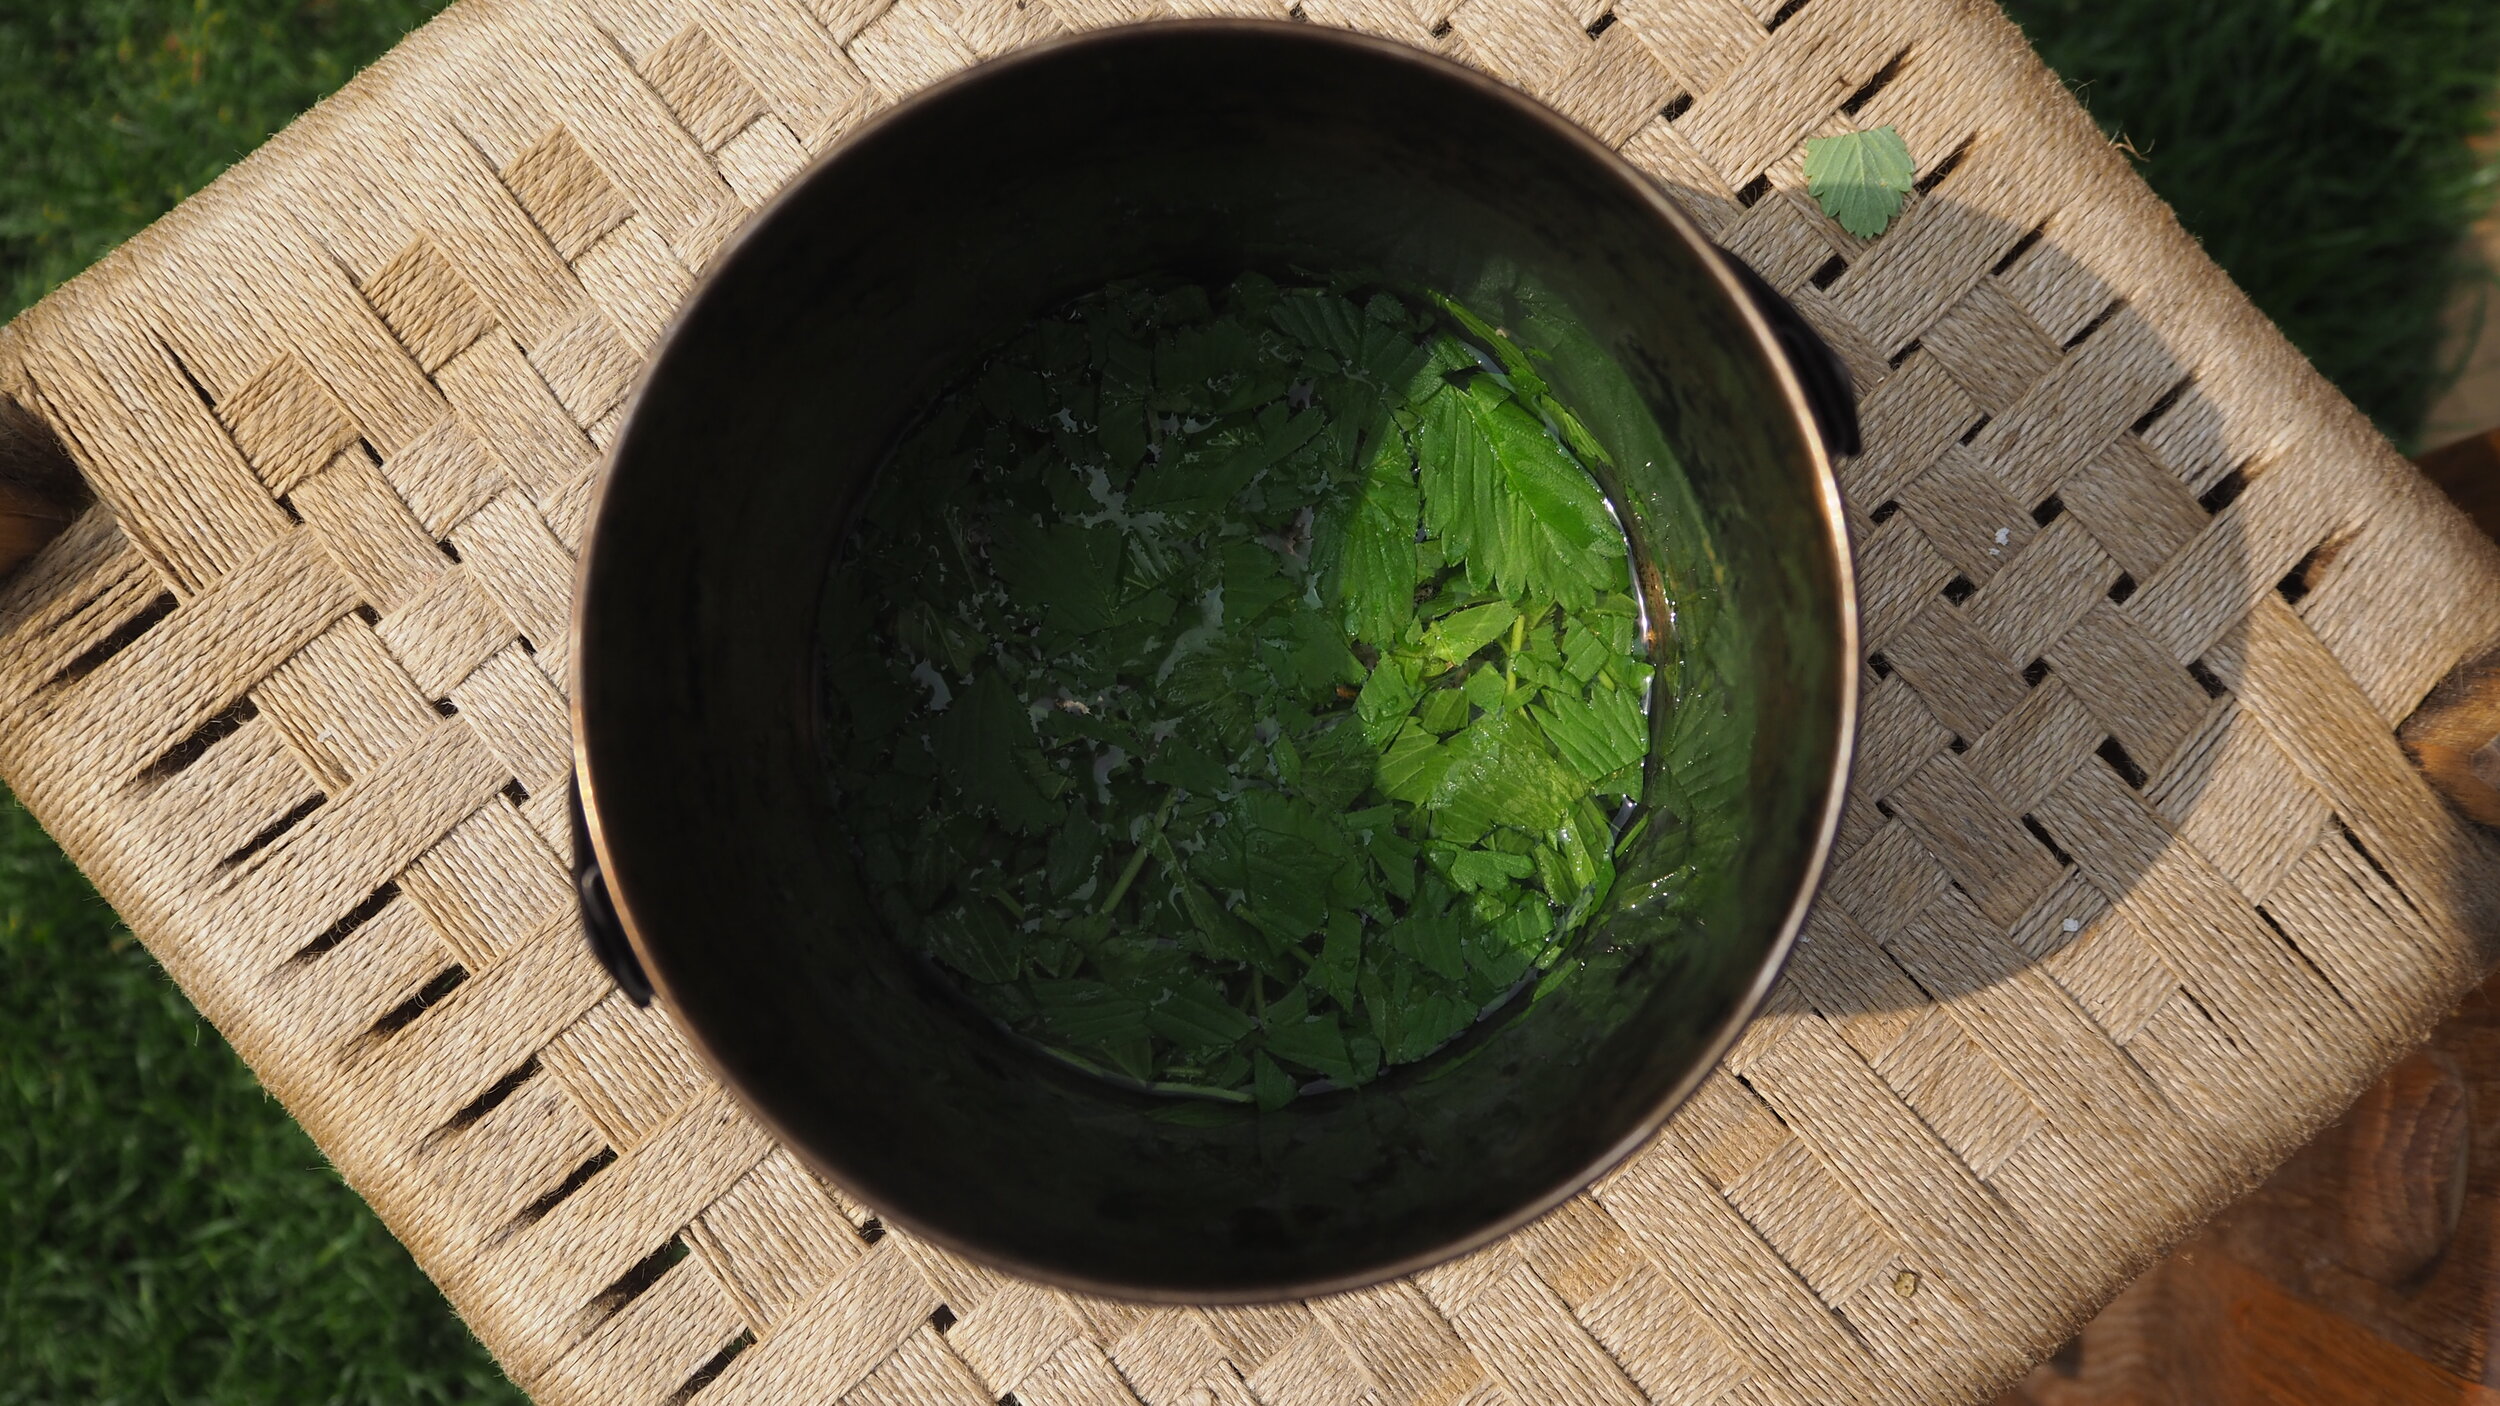
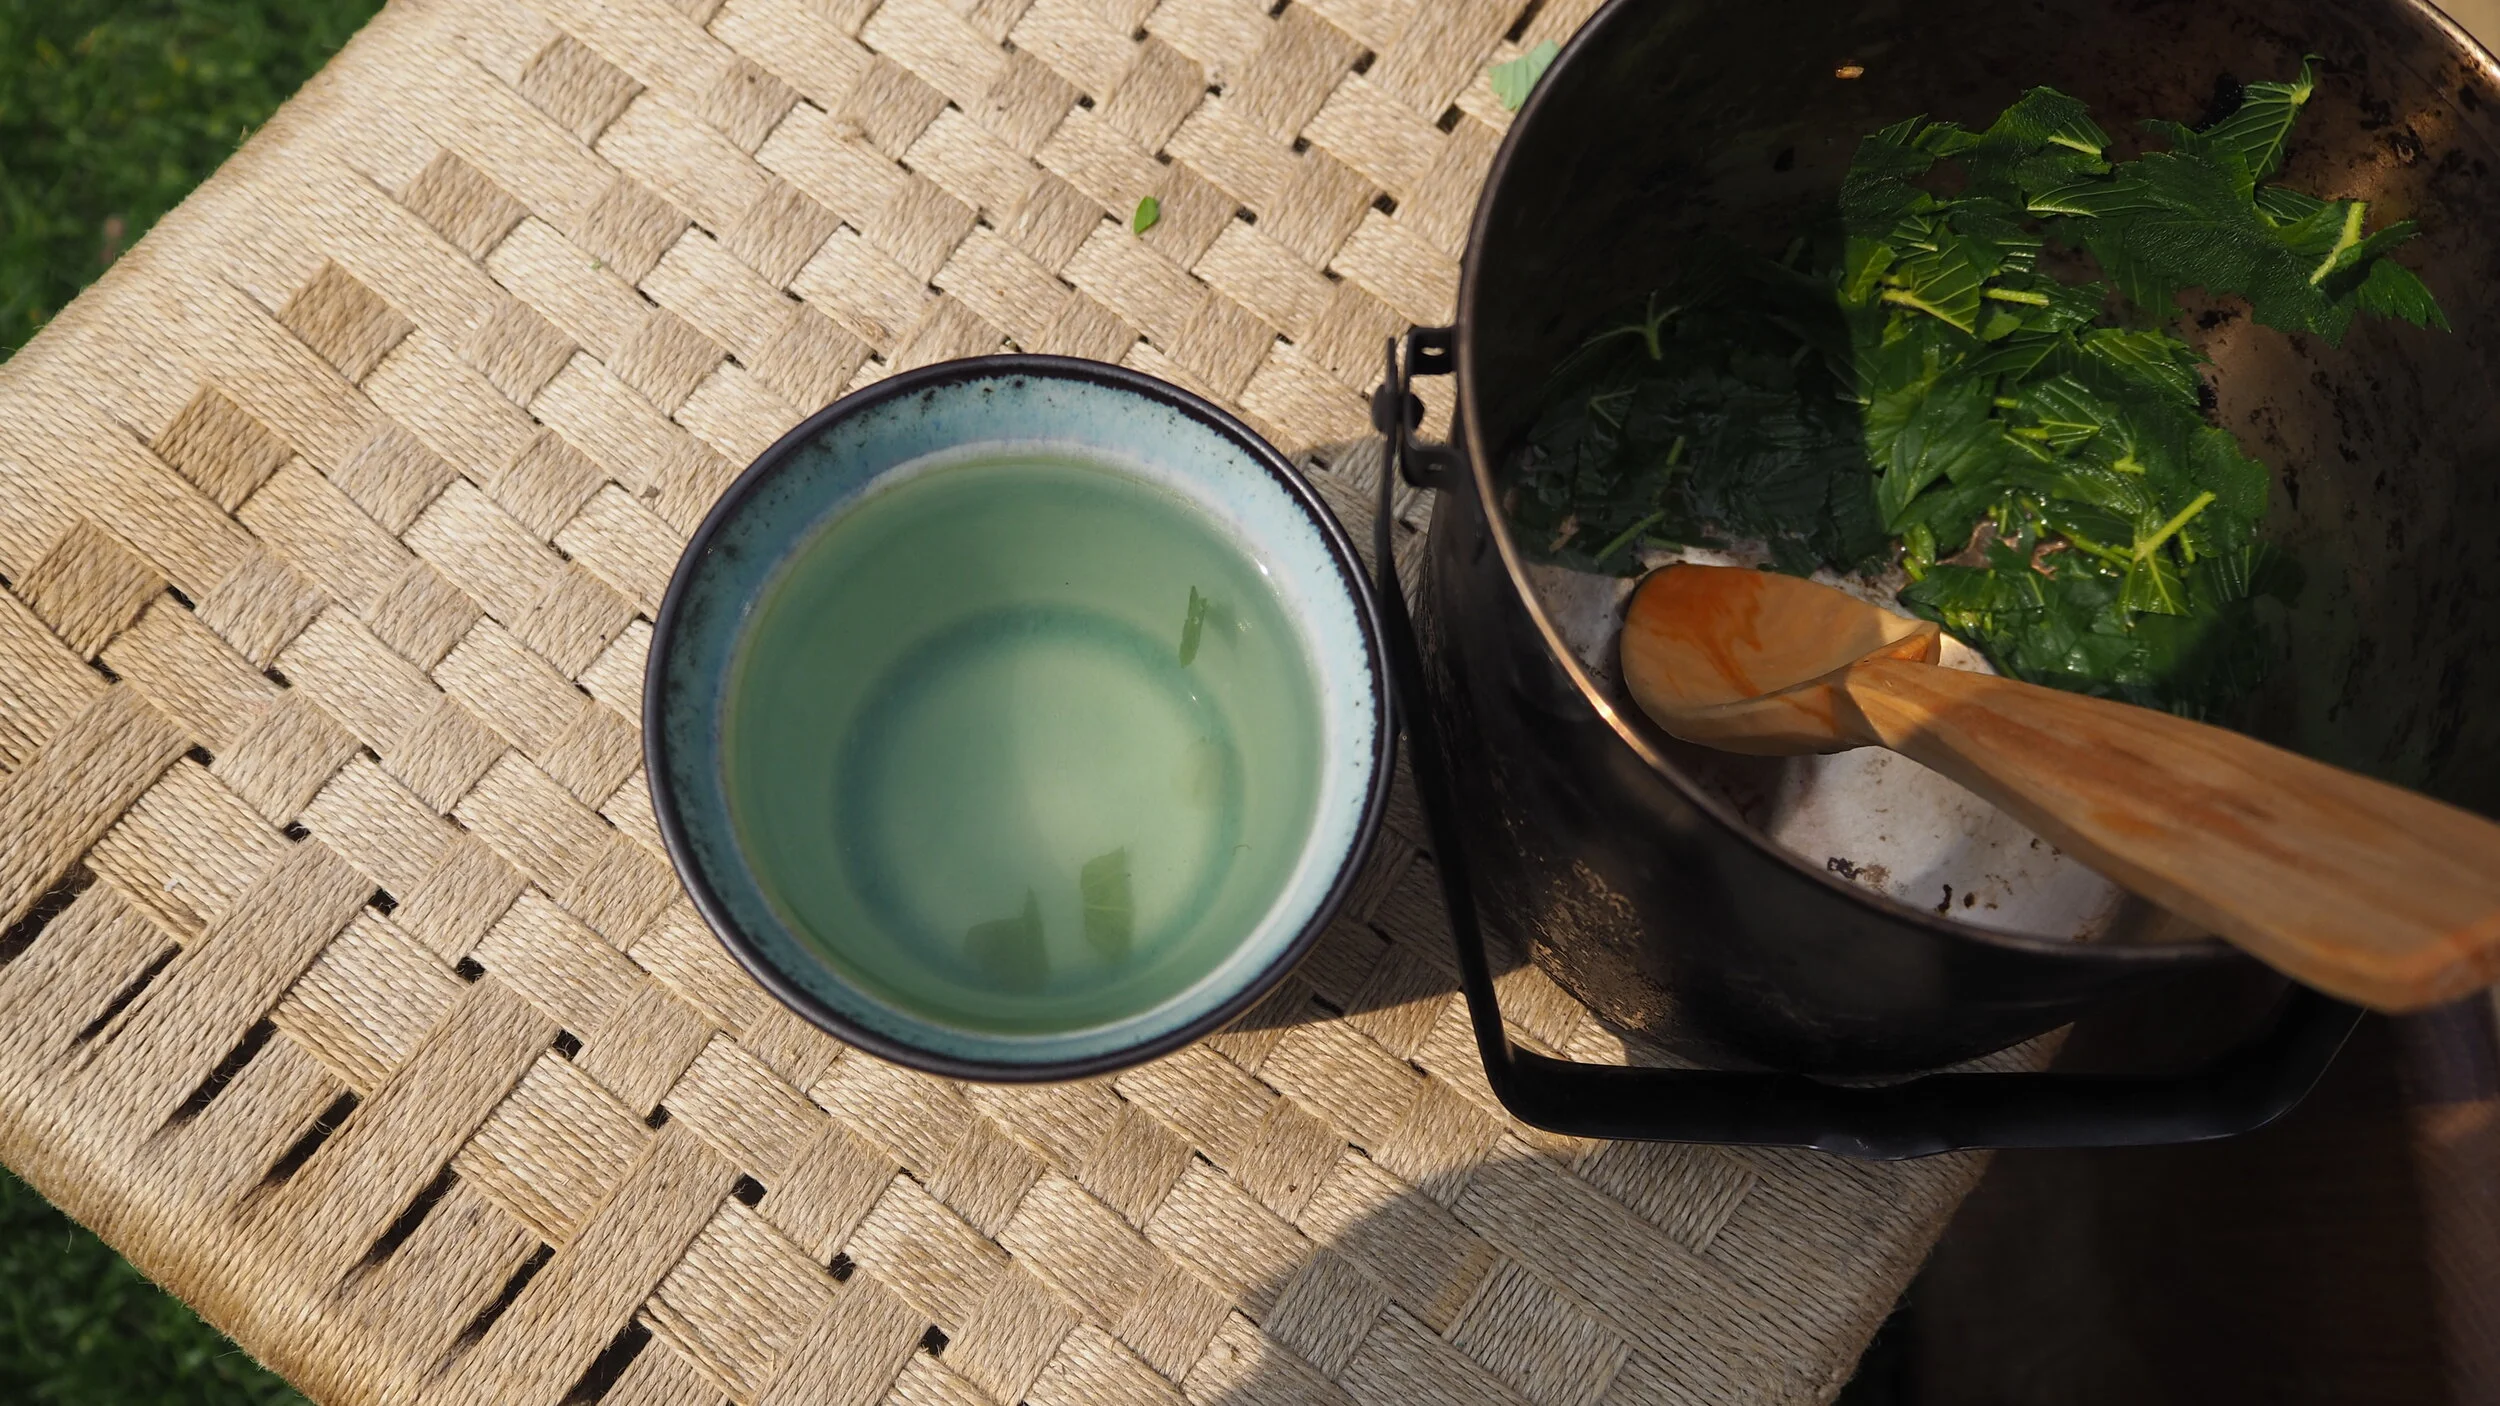
Click on the photo’s below to see the full details.
Review
I find the smell of fresh strawberry leaves to be quite sweet although that doesn’t really translate through to the final flavour of the tea. The tea is a mild, fresh, green tea with a very subtle astringent mouth feel.
I’m fortunate to live within 5 minutes of a huge carpet of wild strawberries, and pick only a few when the mood takes me. I’ll try and beat the slugs and mice to the berries later in the year and follow up with perhaps a jam.
I hope this might inspire you to get to know a plant in your local area a little better, even if you don’t end up drinking it! Let know if you find anything interesting.
All the best
JD
Bannock: A backwoods staple
I originally wrote this short tutorial for an online bushcraft store, I've recreated in full for you here.
I thought I’d share with a simple recipe that forms the basis of a staple bread in the wilds, needing only three primary ingredients which can be long stored and transported in such quantities as to sustain you during extended periods away from resupply.
I thought I’d share with a simple recipe that forms the basis of a staple bread in the wilds, needing only three primary ingredients which can be long stored and transported in such quantities as to sustain you during extended periods away from resupply.
A Bannock is quite simply an expedient bread cooked flatly on a griddle or skillet. I had intended for this article to demonstrate how you might cook this bread by an open fire, but the British weather being lovely as usual my photography looked very grey and dull. So for now we’ll concentrate on the ingredients and I’ll follow this up with a campfire cooking display on a brighter day! If you’d like to see me cook a similar, more cake-like, bannock we made a video this summer:
Ingredients: Optional:
- Plain flour
- Milk Powder Ginger
- Baking Powder Cinnamon
- Salt
- Raisins
- Rum!
Method:
- I use a metal army mug to measure the key ingredients: 1 mug of flour, 2/3 a mug of milk powder to which I add 1 teaspoon of baking powder. Vary the optional ingredients to your own personal tastes and of course…experiment! especially with foraged fruits.
- Set a pan, lightly oiled, to warm by the fire. In a bowl or billy can add the dry ingredients.
- If you’ve been travelling or the ingredients have been packed tightly, be sure to sieve them through your fingers to aerate them.
- Slowly add water bit by bit, mixing with a spoon until you have a soft dough a little thicker than a cake dough.
- Now take your dough into your hands and gently shape it into a ball.
- It’s important here not to knead the dough, as this will push the air out of it.
- Remove your pan from the fire and spread the bannock evenly out across the surface of the pan to around 1 ½ inches thick.
- Place this near the fire at the ‘5-second hand heat’ temperature.
- Cook until golden brown, check with a clean stick poked into the bannock to ensure it’s cooked through.
Just as I remove the bannock from the fire I’ll dash a shot of rum over the bread…you’d have to smell it for yourself!
If you’d like to learn how to cook bread and other backwoods staples see our Itinerant Bushcraft Weekend Course.
I hope you found this short article useful, what do you add to your backwoods breads?
All the best
Jamie


